

FUSING FUNDAMENTALS
Glasswork Pixie® partners with Oceanside Glass™ in this instructional series to teach the fundamental skills needed to start glass fusing.
This course covers the most important fusing concepts and skills, from the significance of C.O.E.s and compatibility principles, to reliable techniques for slumping, draping, and casting, and everything in between!
-
Lesson 1
-
Lesson 2
-
Lesson 3
-
Lesson 4
-
Lesson 5
-
Lesson 6
-
Lesson 7
-
Lesson 8
-
Lesson 9
-
Supplementary Lesson A
-
Supplementary Lesson B
-
Supplementary Lesson C
-
Bonus Lesson!
Each Lesson Includes
Supporting Documentation
Jam-Packed with Valuable Info!

Meet the Course Creators
|
Meet the Course Creators |
JACKIE KNOWLES
Glass Artist | Course Creator & Producer
Glass Manufacturer | Course Collaborator & Sponsor
“I collaborated with Oceanside Glass™ to create this series as a comprehensive introductory course to glass fusing.
As an experienced artisan of the craft, I've structured it to include everything I wish I knew when I first started fusing, as well as knowledge it took me years to learn, with the goal of providing a free, easy-to-follow method of becoming skilled in this unique art form.
I’ve used Oceanside Compatible® products in my studio for years because their predictable fusing behavior and their wide spectrum of stunning colors enable me to create beautifully vibrant pieces that I know will withstand the test of time.”
— Jackie Knowles
Creator of Glasswork Pixie®
You’ll Learn to…
-
Understand how glass behaves under heat, the compositional properties that cause this behavior, and how to manipulate heating conditions to produce a specific project aesthetic.
-
Learn how to build multi-layer projects that come out of the kiln with your intended size and shape, free of undesirable effects like distortion-inducing bubbles and devitrification.
-
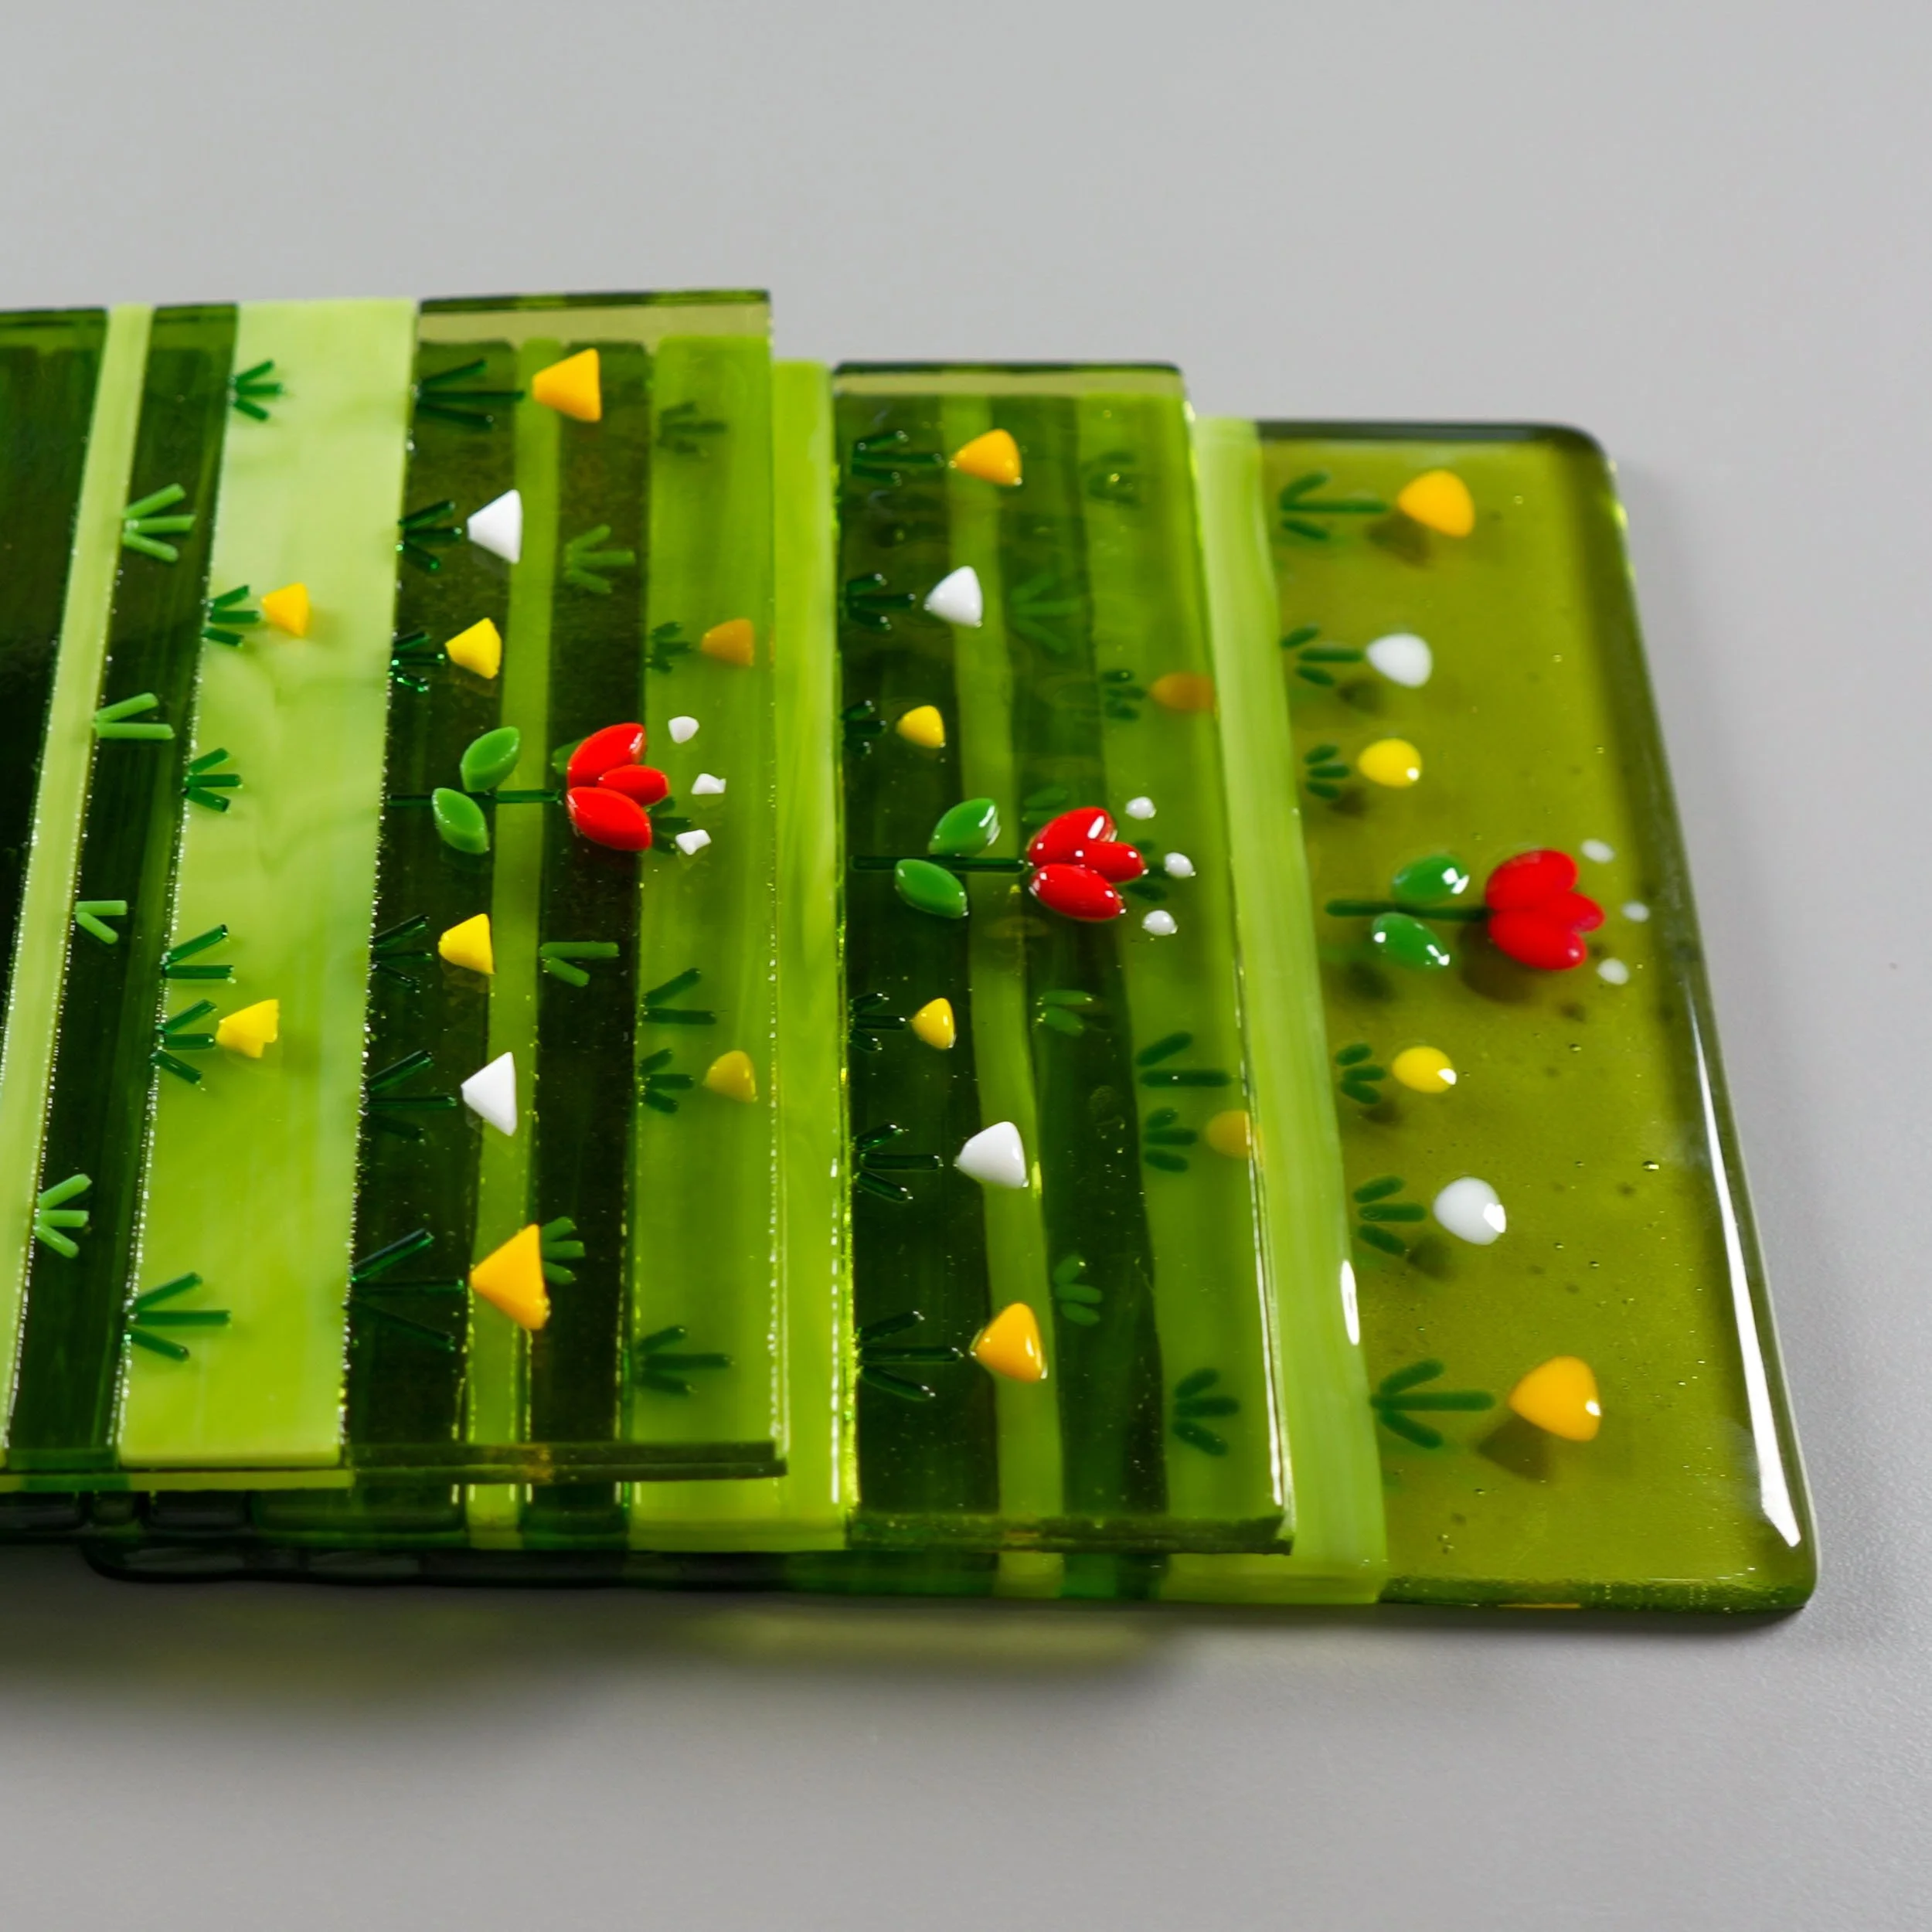
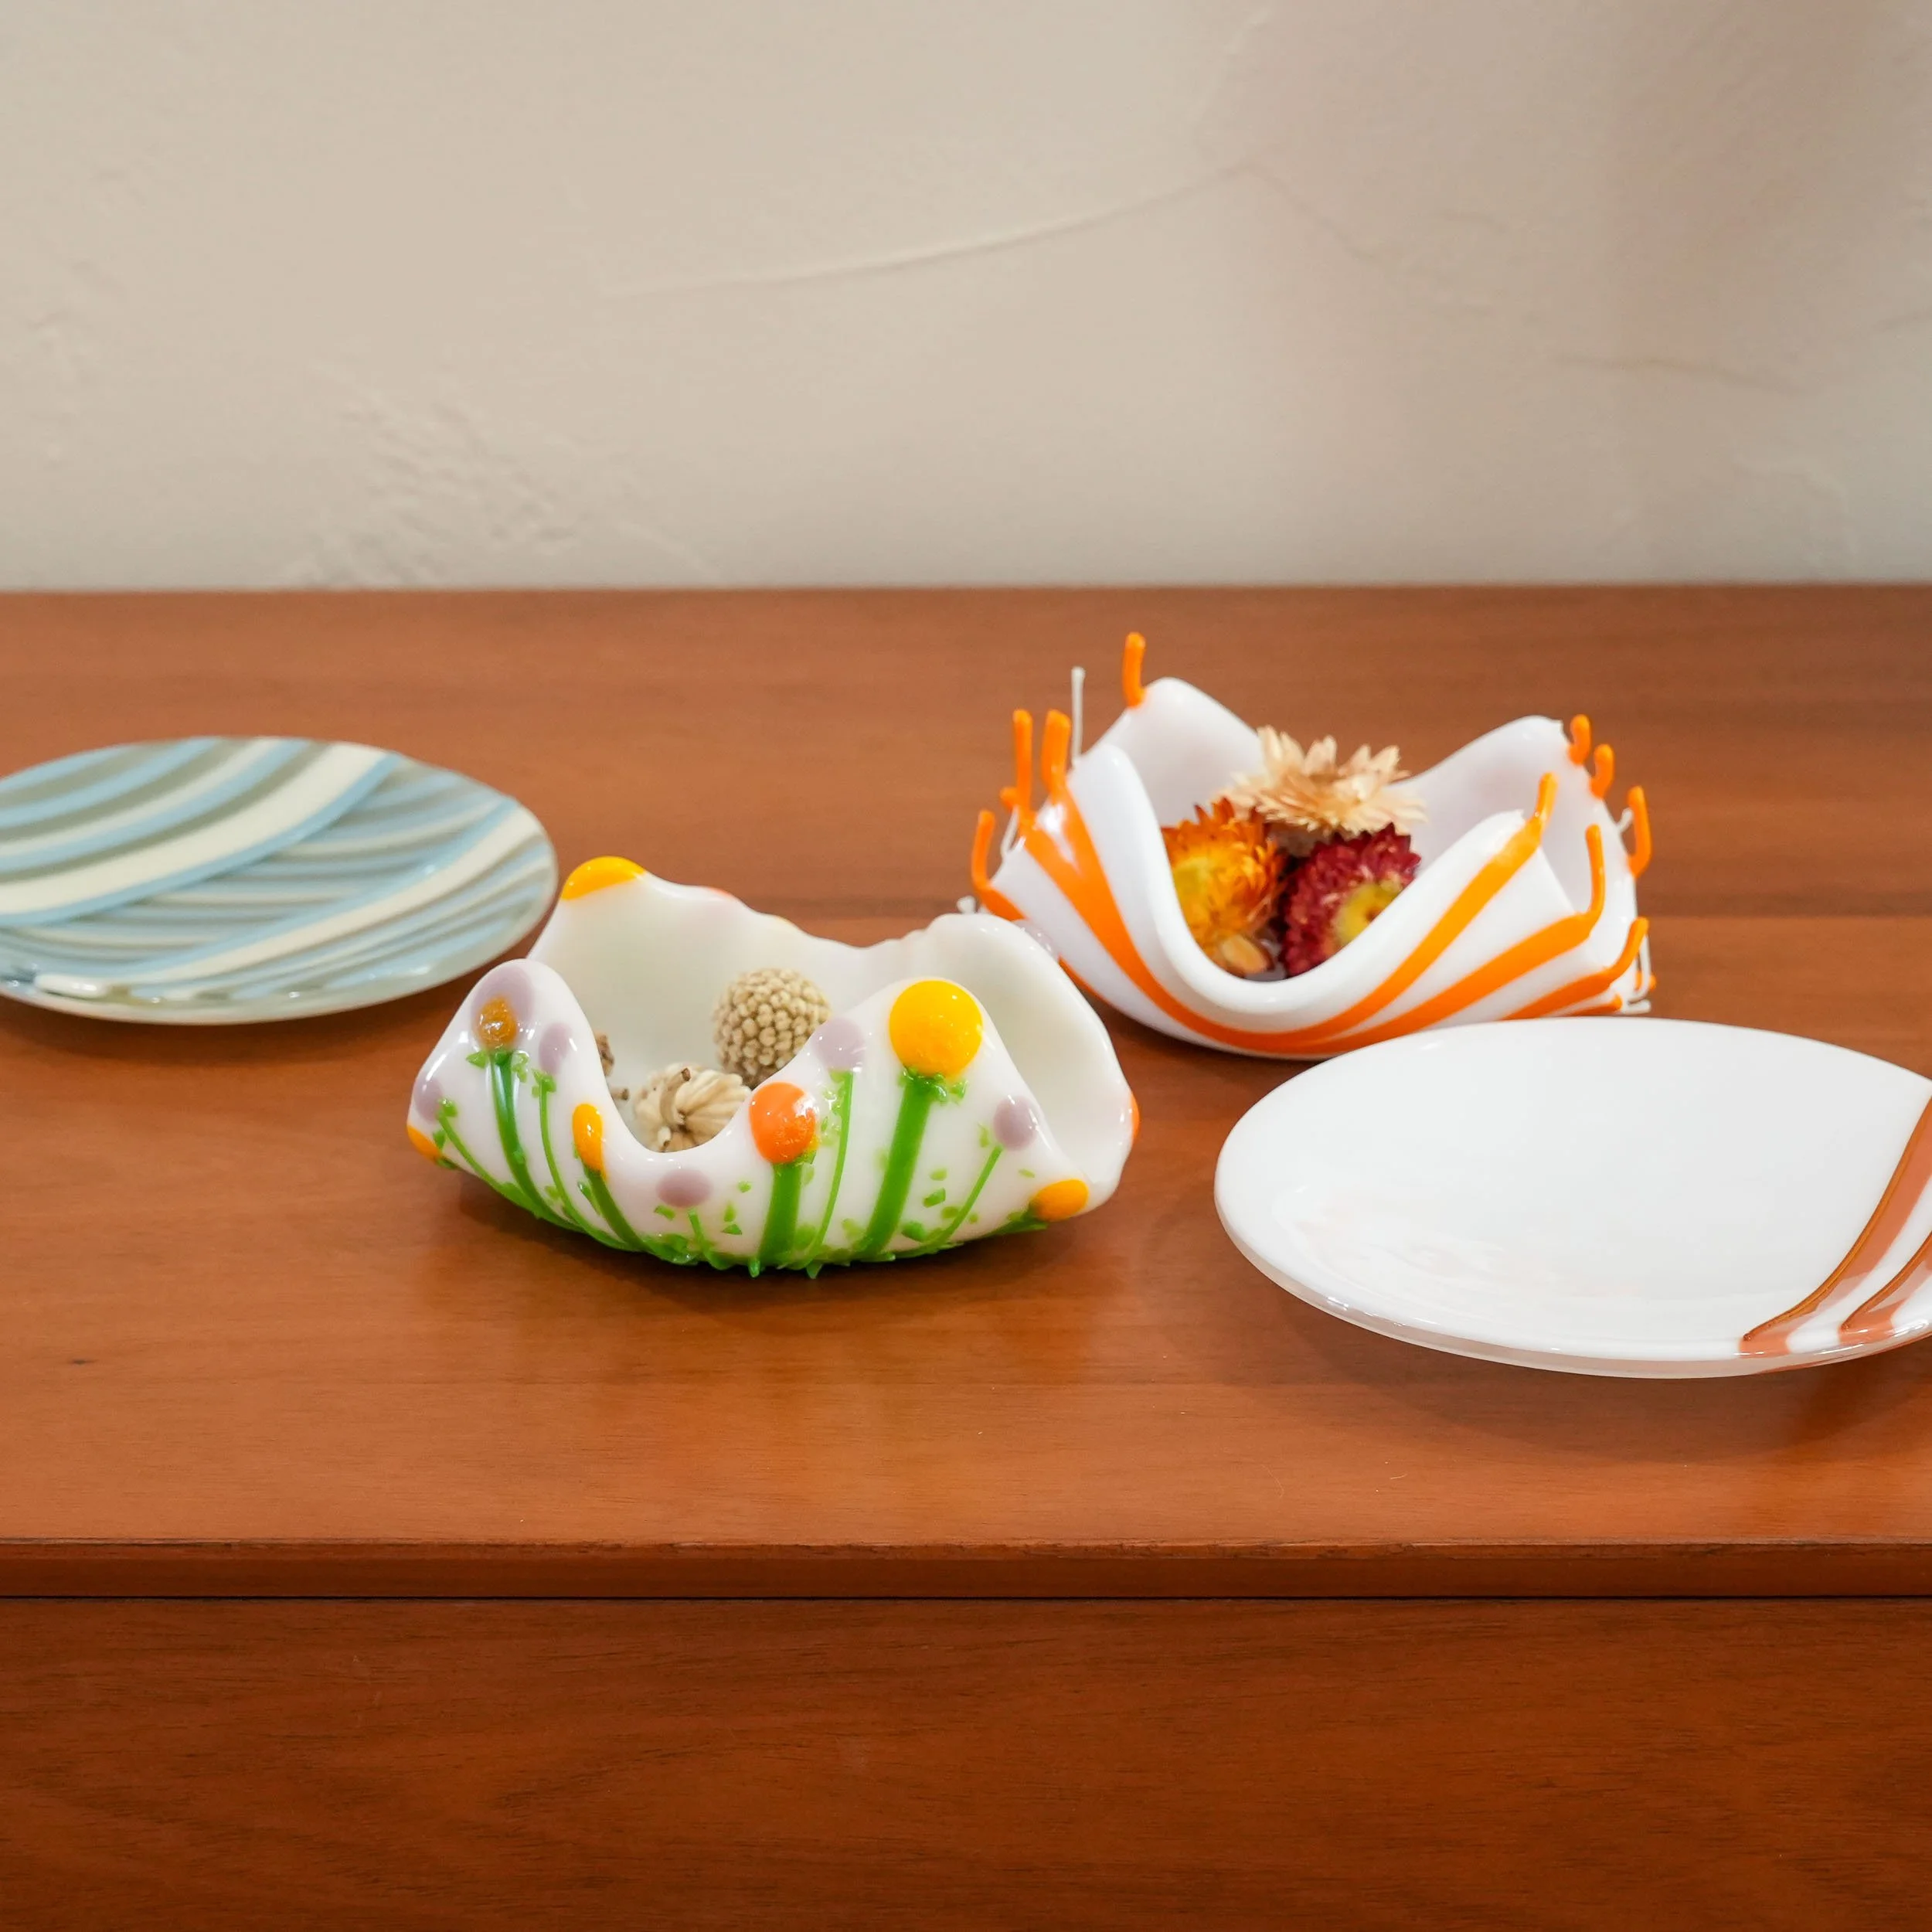
Develop the skills to shape glass into beautifully functional, three-dimensional forms through the tried-and-true techniques of slumping, draping, and casting.
Course FAQ
-
This course consists of 9 video lessons (each with a supporting .pdf documentation file), plus 3 supplementary lessons and 1 special bonus lesson for those who want a little extra. The lessons vary in length, but most videos are between 8-12 minutes long.
-
Watching them in order will give you the best, most comprehensive learning experience! However, each lesson can stand on its own, so if you're interested in a specific topic or are having trouble in one particular area, feel free to jump around.
-
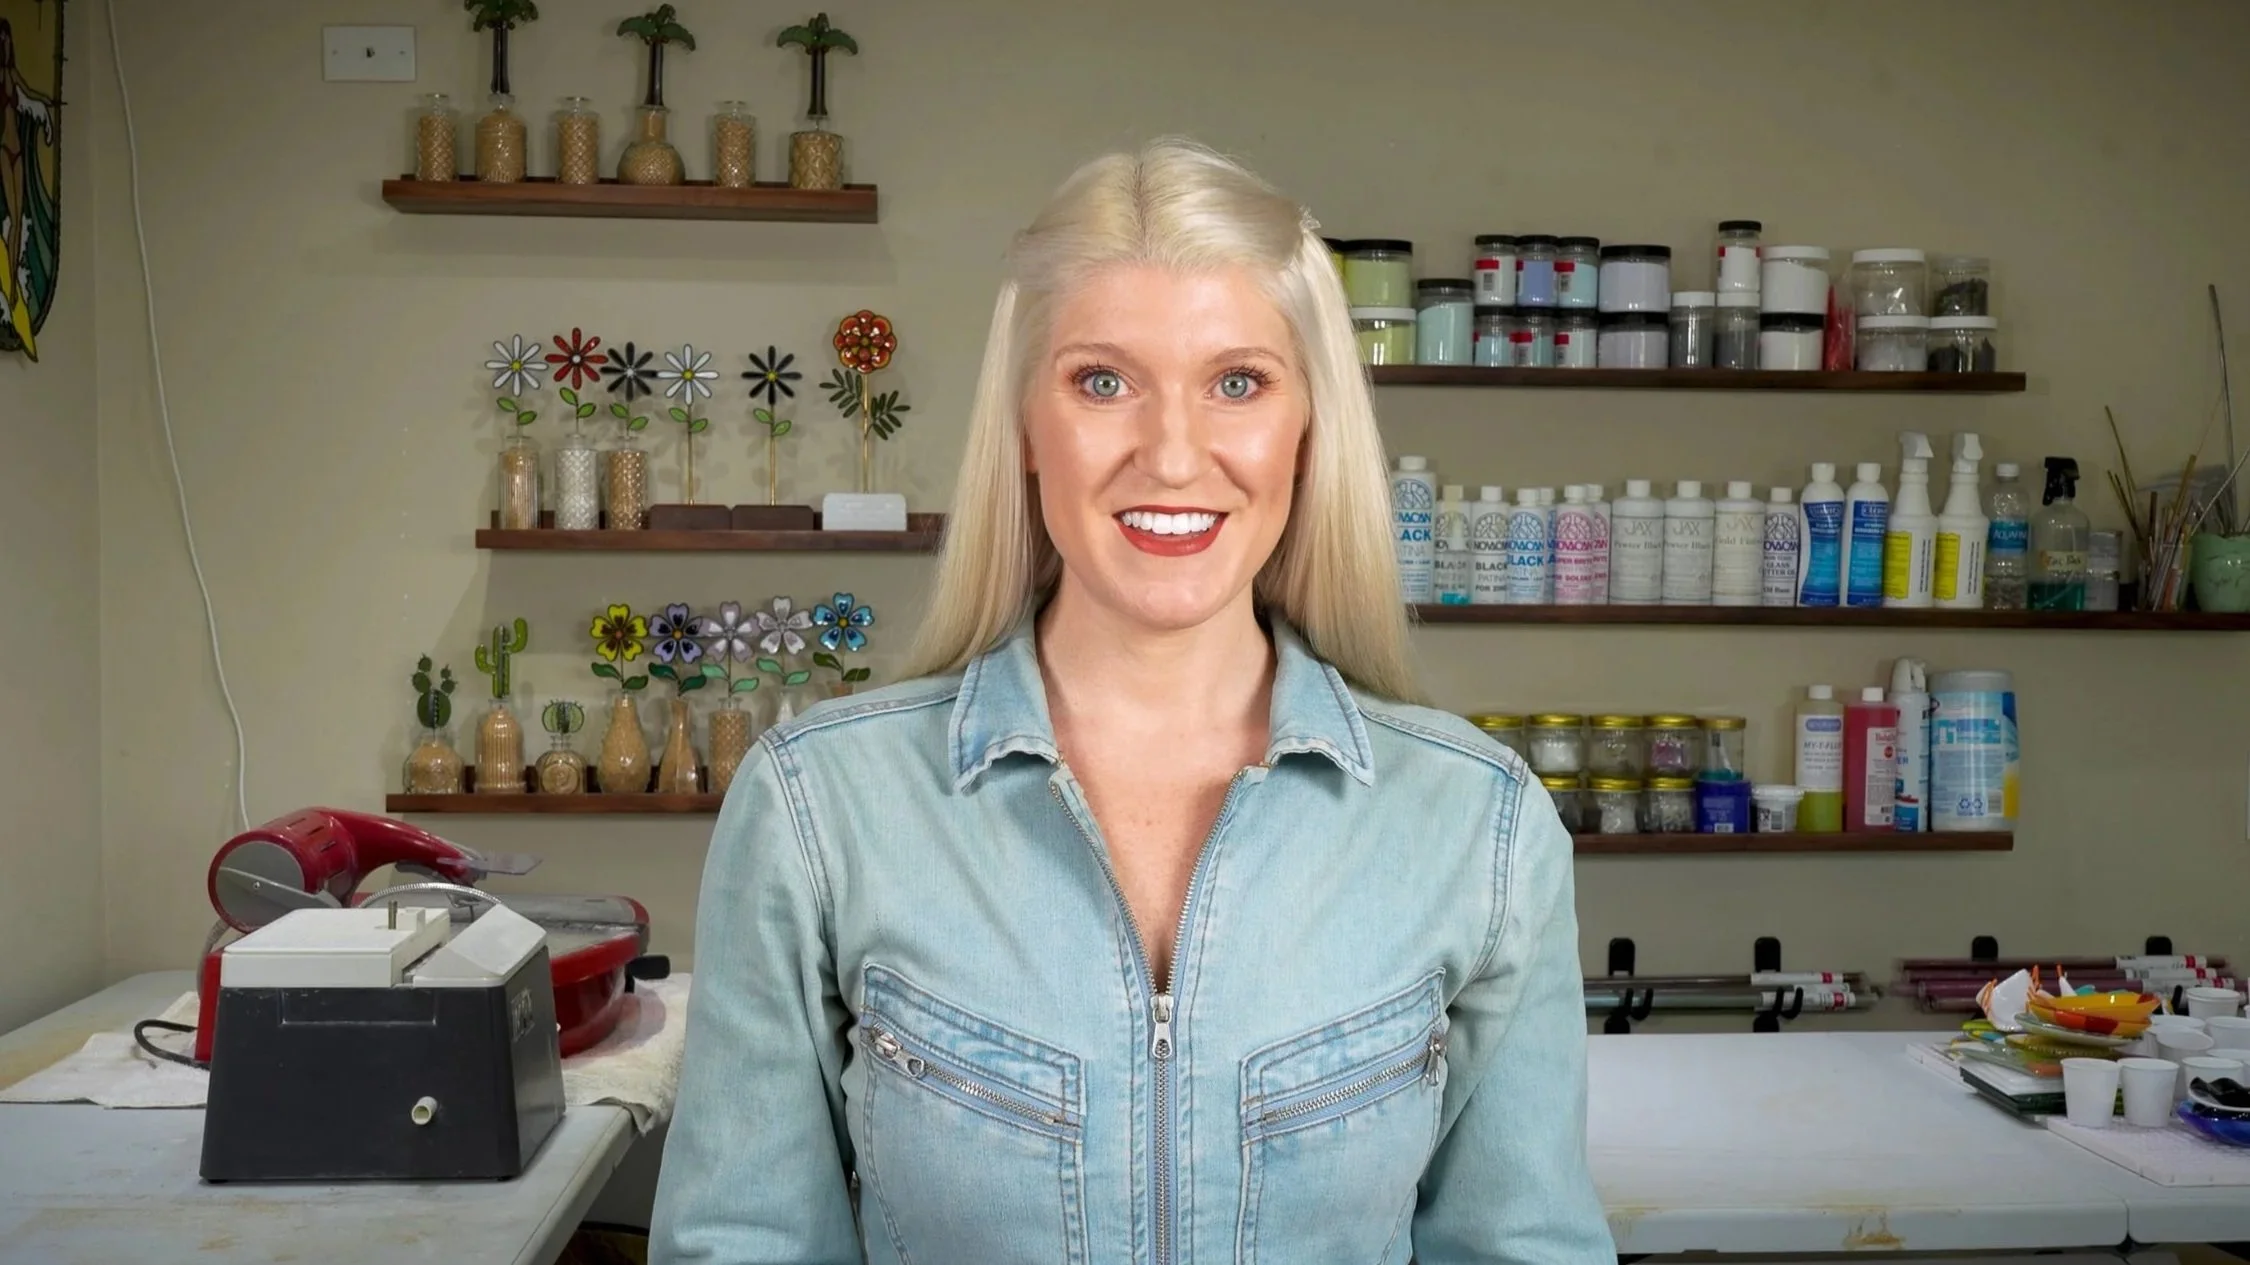
It's me, Jackie Knowles!
I've been glassworking professionally since 2017 (although I originally began this craft way back in the 90s, after being taught it by my father), and have meticulously documented my learning process the whole way through. After years of research, experimentation, and trial-and-error to develop my own skillset, I'm thrilled to begin formally sharing what I've learned with other creatives.
You can learn more about my story here, and you can keep up to date with my latest glass endeavors by reading my Studio Journal.
& thanks for your interest in this course!
-
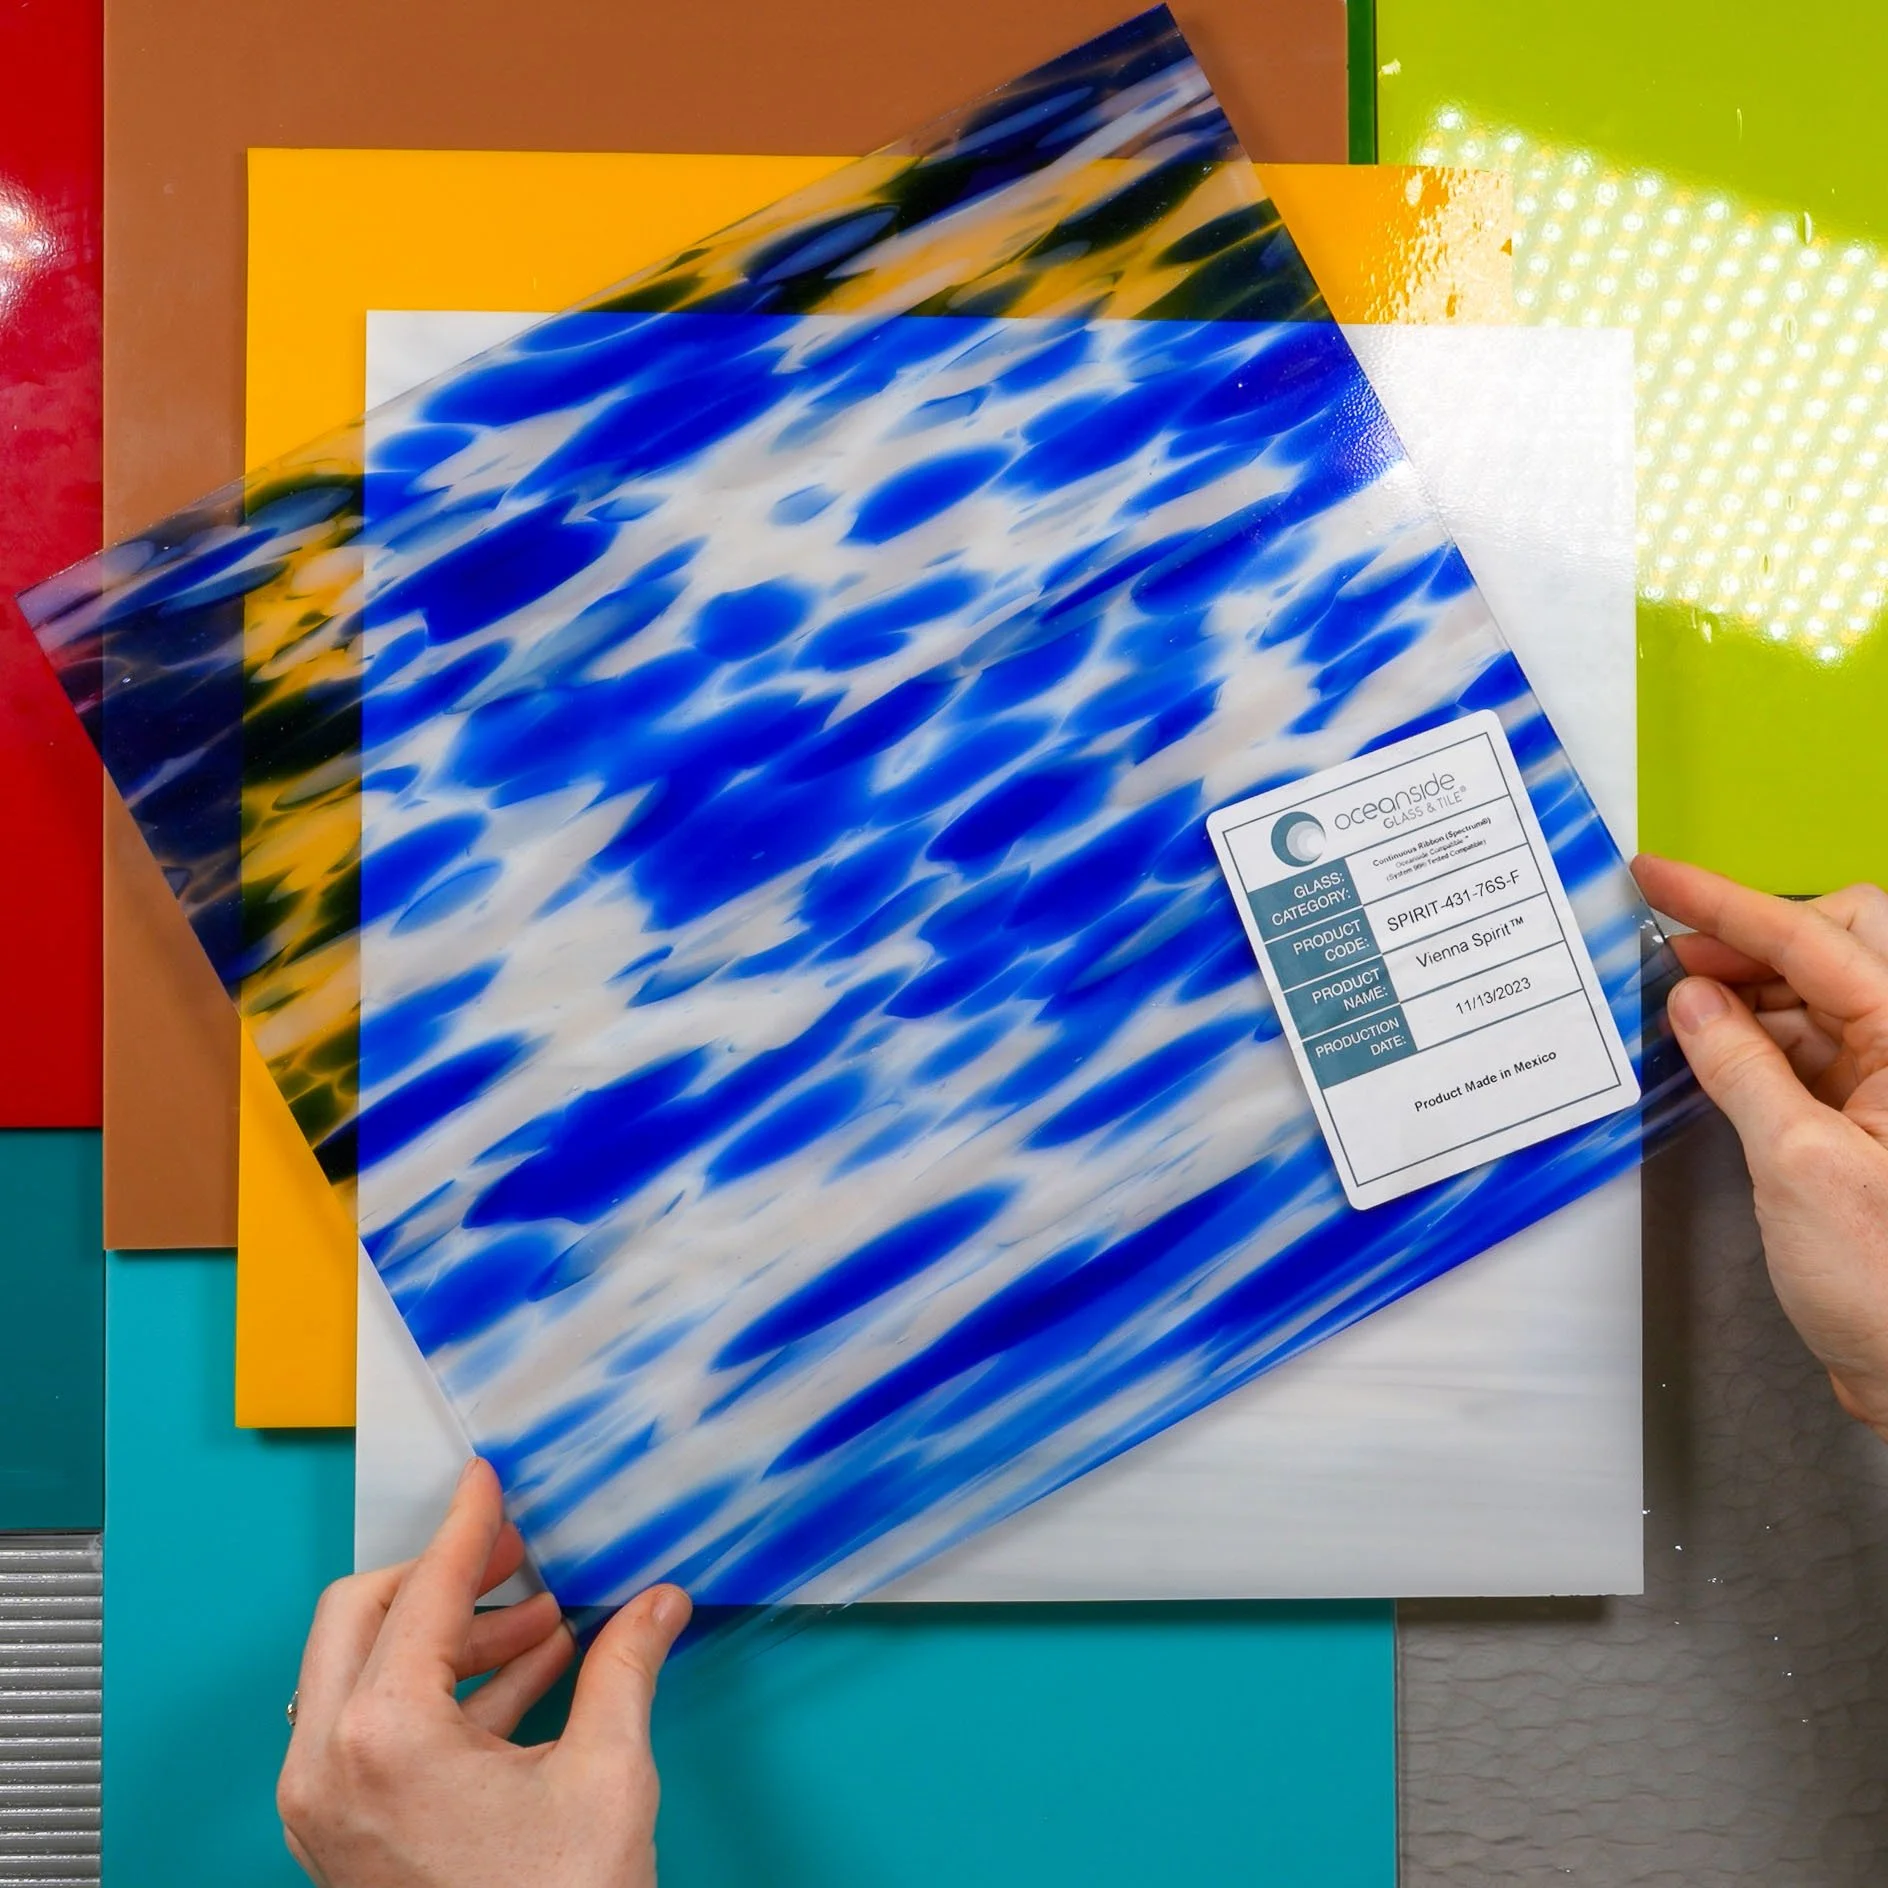
Oceanside Glass™ is the proud sponsor and collaborator of this course!
Every glass product used by Glasswork Pixie® during these lessons is from their catalogue and is 'Oceanside Compatible®' (meaning it's quality-tested to ensure fusing compatibility with other Oceanside Compatible® products), so if a certain glass catches your eye during a video, check Oceanside-Glass.com to find out more about it.
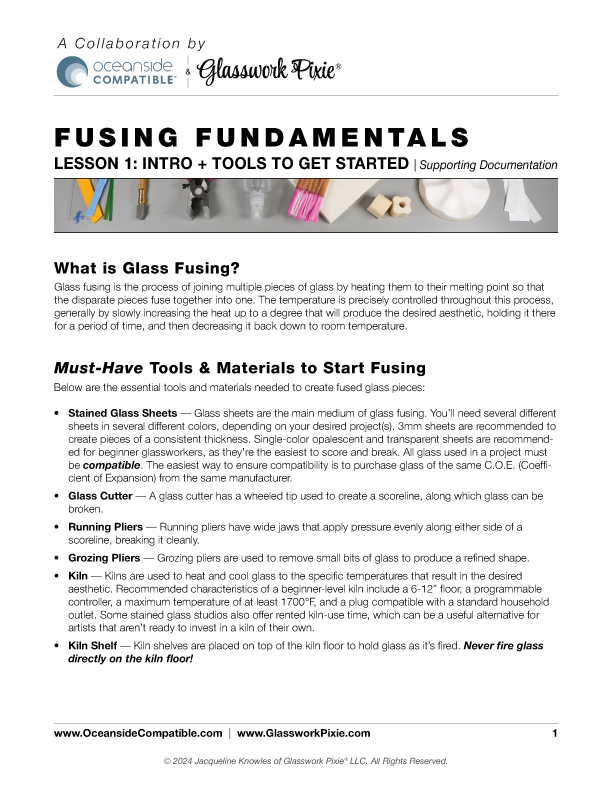
Recommended Tools & Materials
👋🏻 Hi! Your instructor, Jackie Knowles here!
These are the tools and materials used in the Glasswork Pixie® glass fusing studio.
I’ve tried countless different items over the years, and this is the list of those that I’ve found to be the most reliable, user-friendly, and conducive to creating quality art pieces; I highly recommend them to both beginners and experienced artists alike!
Watch Lesson 1 to learn more about these items, including exactly how each one is used in the fusing process.

STAINED GLASS
Oceanside Compatible® glass sheets make up about half of my fusible glass supply, and they’re very beginner-friendly. I also frequently use sheets made by Bullseye, Wissmach, and Youghiogheny.
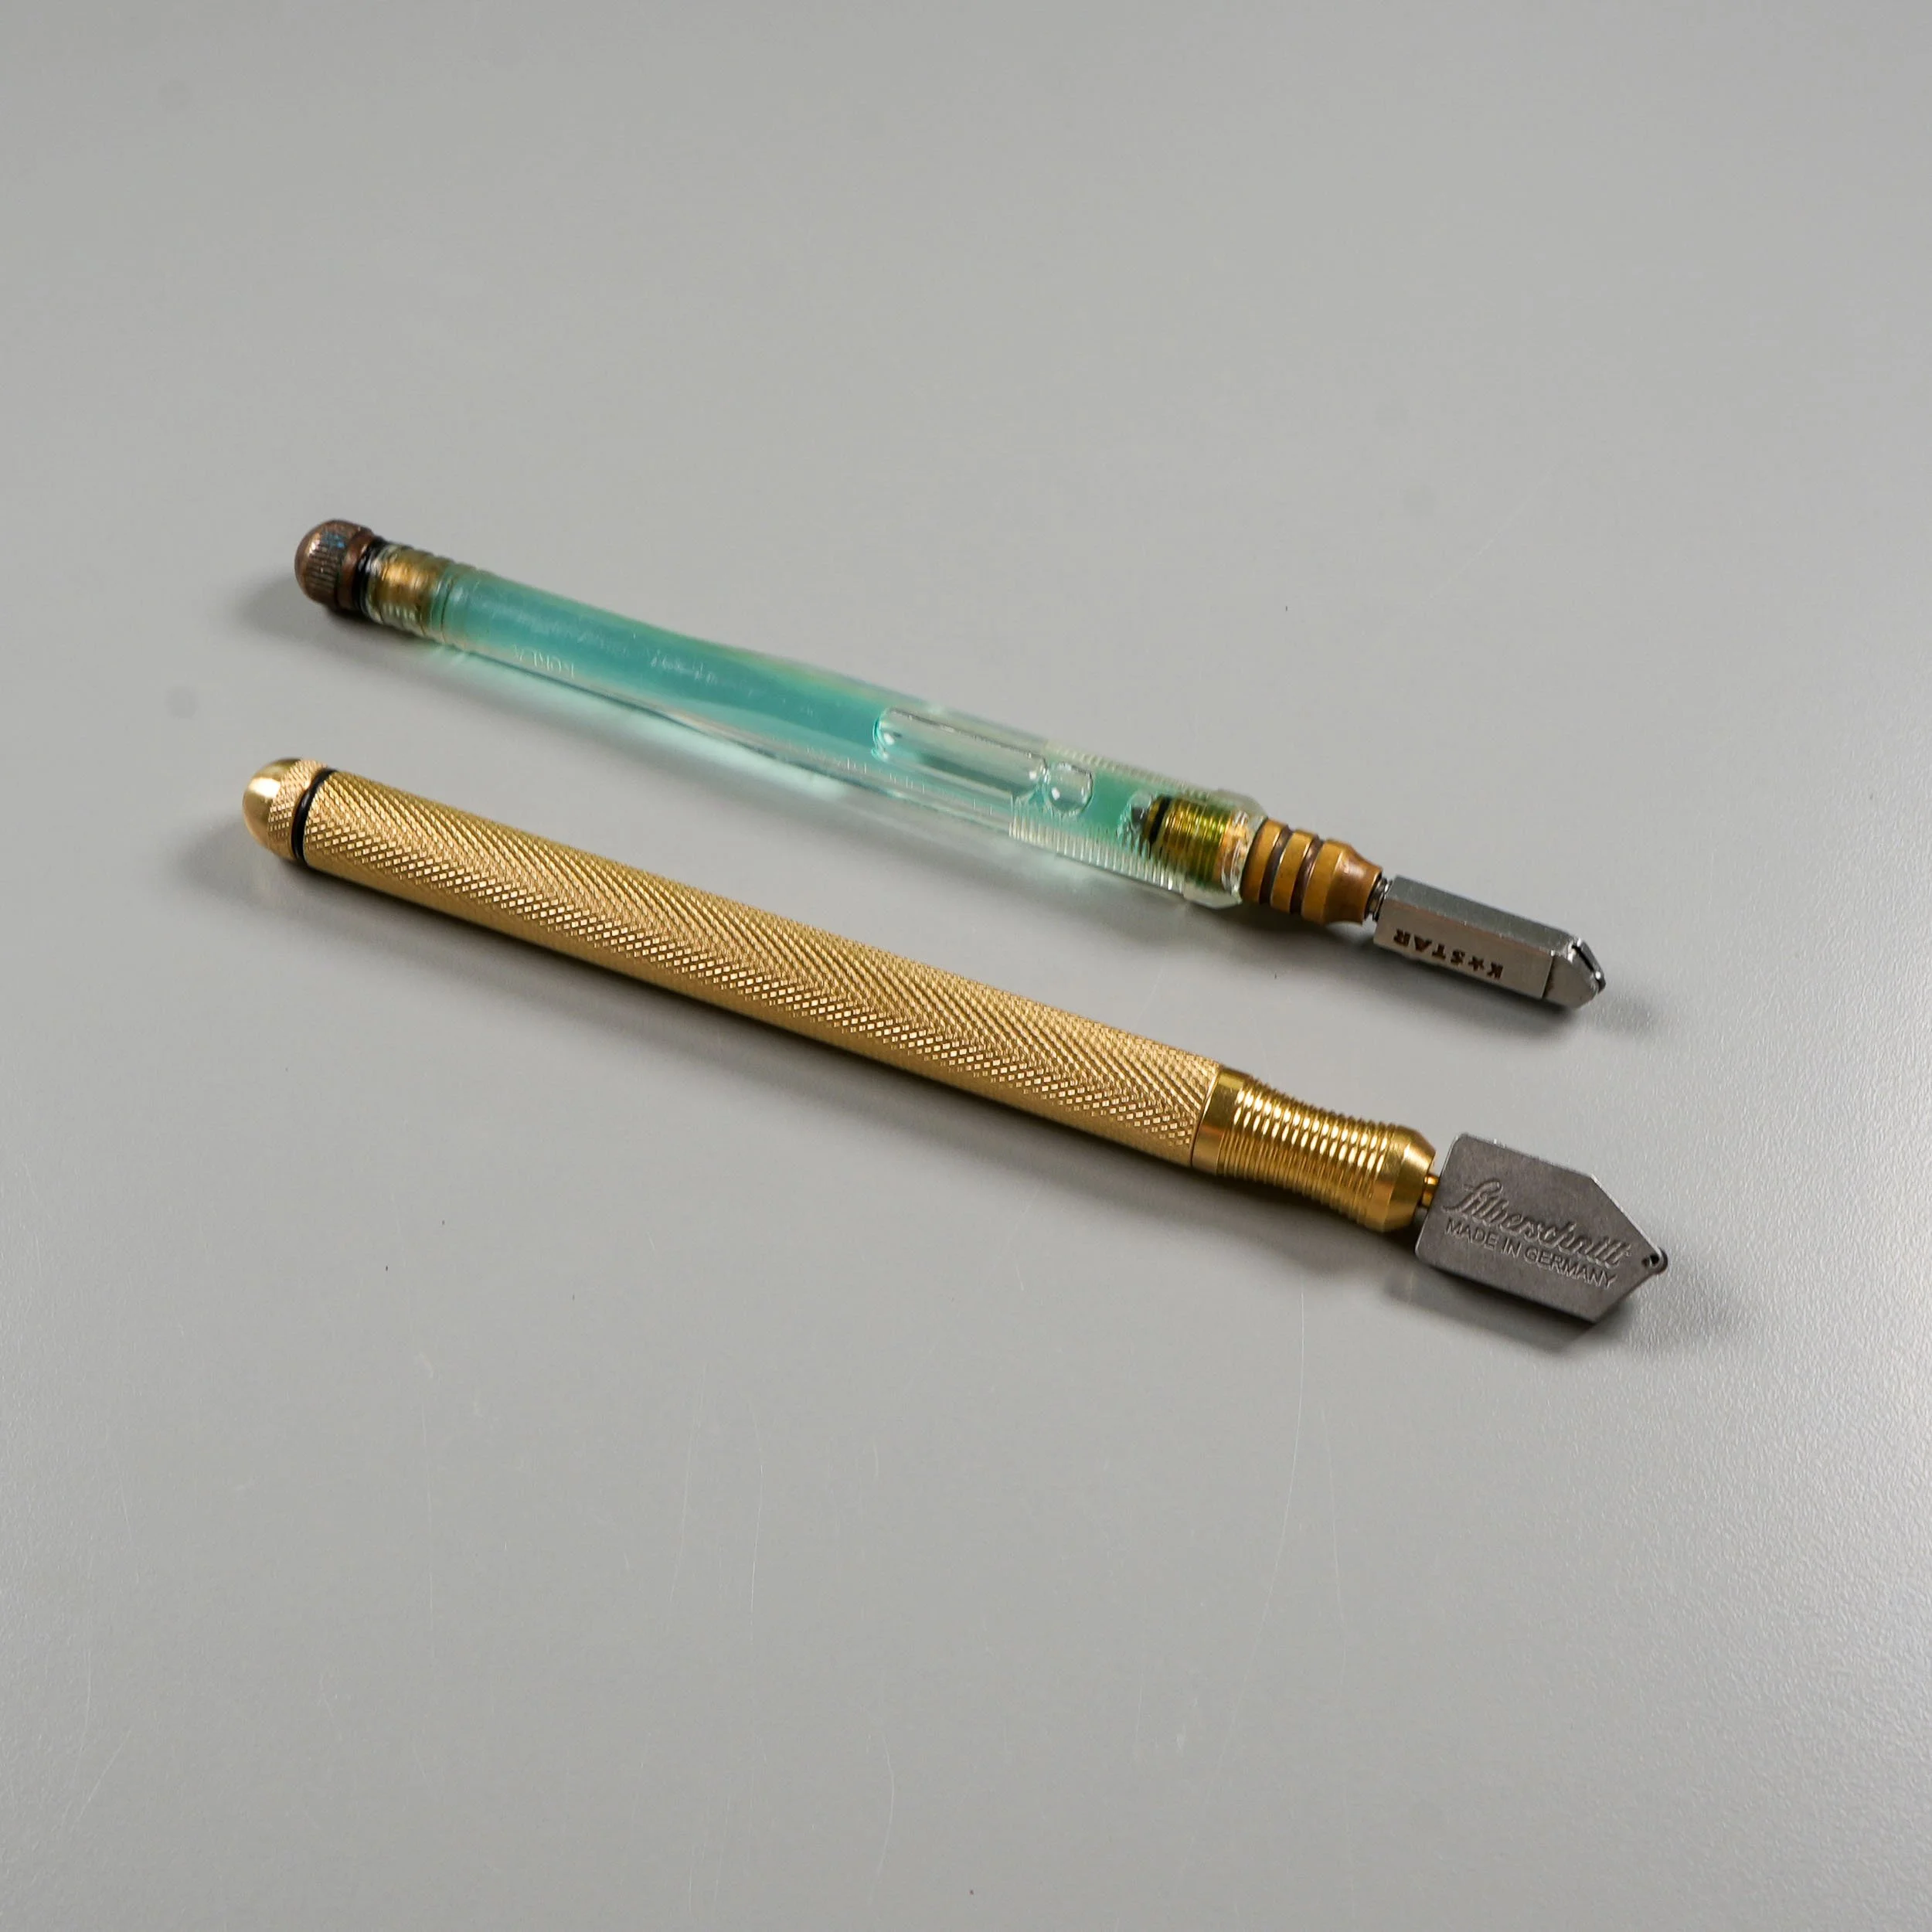
GLASS CUTTER
My favorite is an old K*Star cutter that I inherited from my dad, but it’s tough to find now! My second choice is the BOHLE-Silberschnitt® 5000.0 cutter because it glides so smoothly and its textured brass handle has a luxurious, weighty feel.
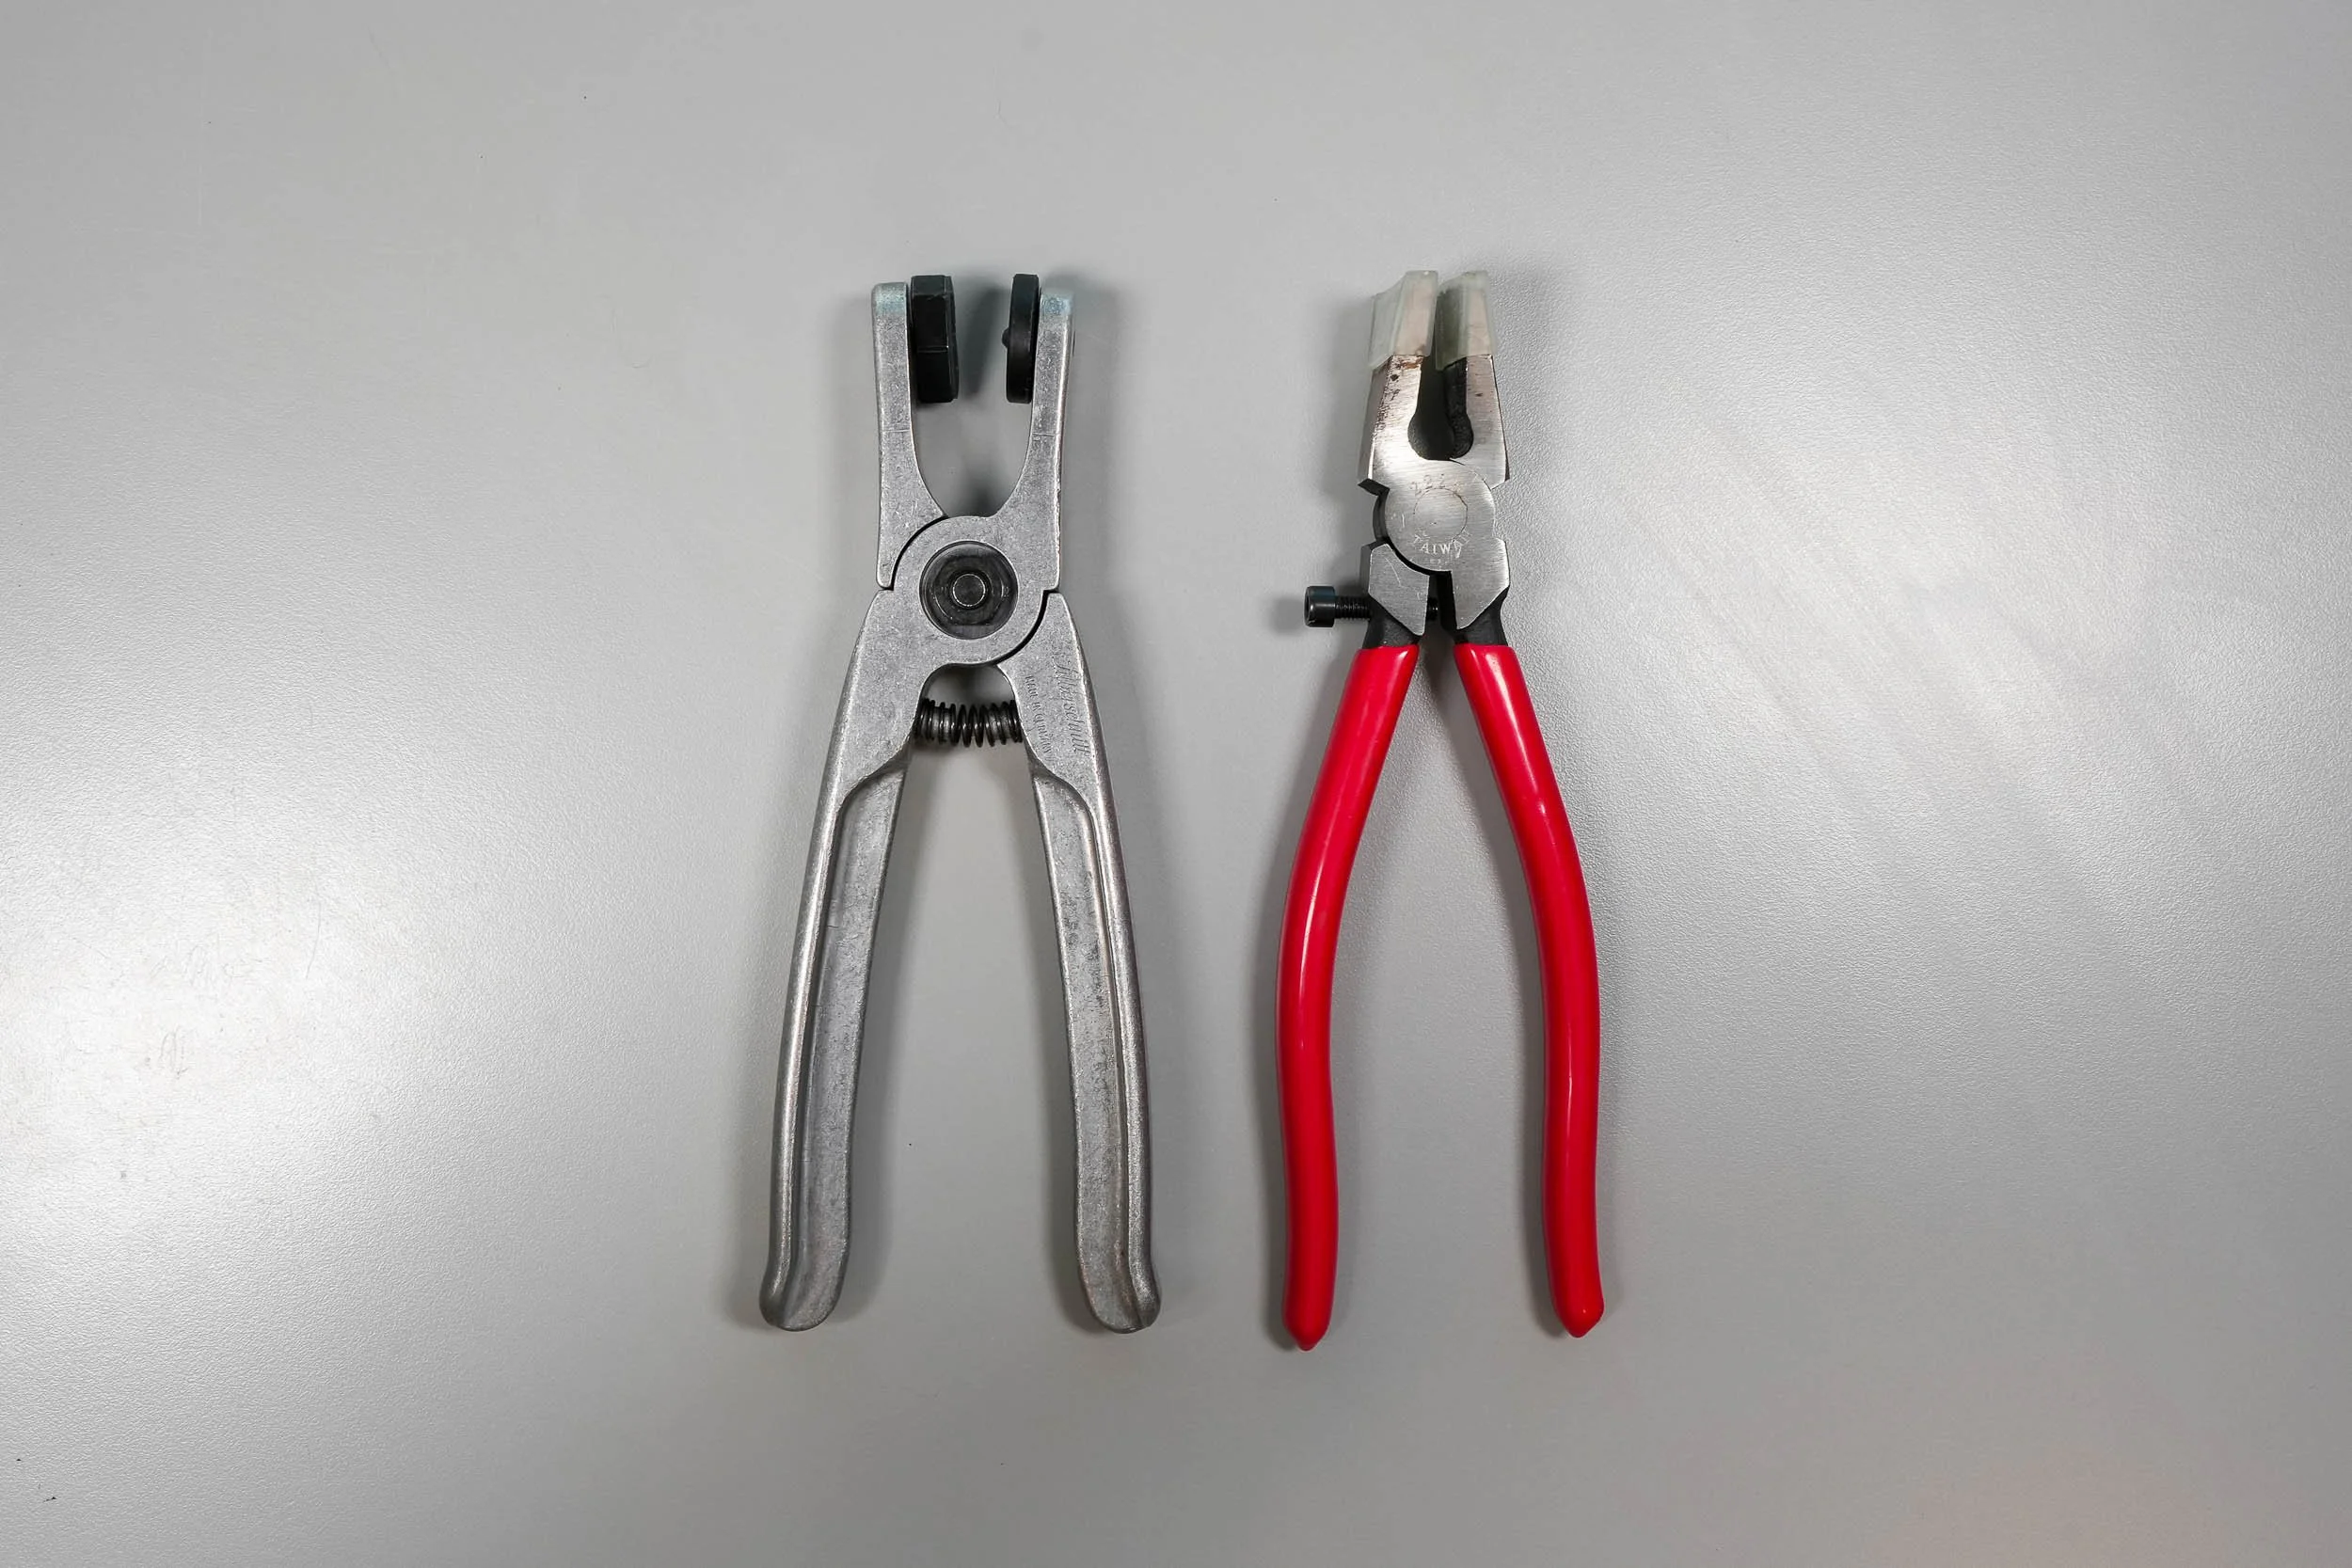
RUNNING PLIERS
I adore the BOHLE-Silberschnitt® 700.0 running pliers because their rotating head makes breaking tight curves a breeze.
For beginners, I’d instead recommend Studio-Pro running pliers, which are simpler and less expensive.

GROZING PLIERS
Studio-Pro grozing pliers are my go-to. I have 2 pairs because when working with small pieces, it’s easier to use 1 pair to hold the glass itself and another pair to break off excess glass.

TILE NIPPERS
I don’t use tile nippers too often, but when I do it’s a heavy-duty pair with carbide cutting wheels.
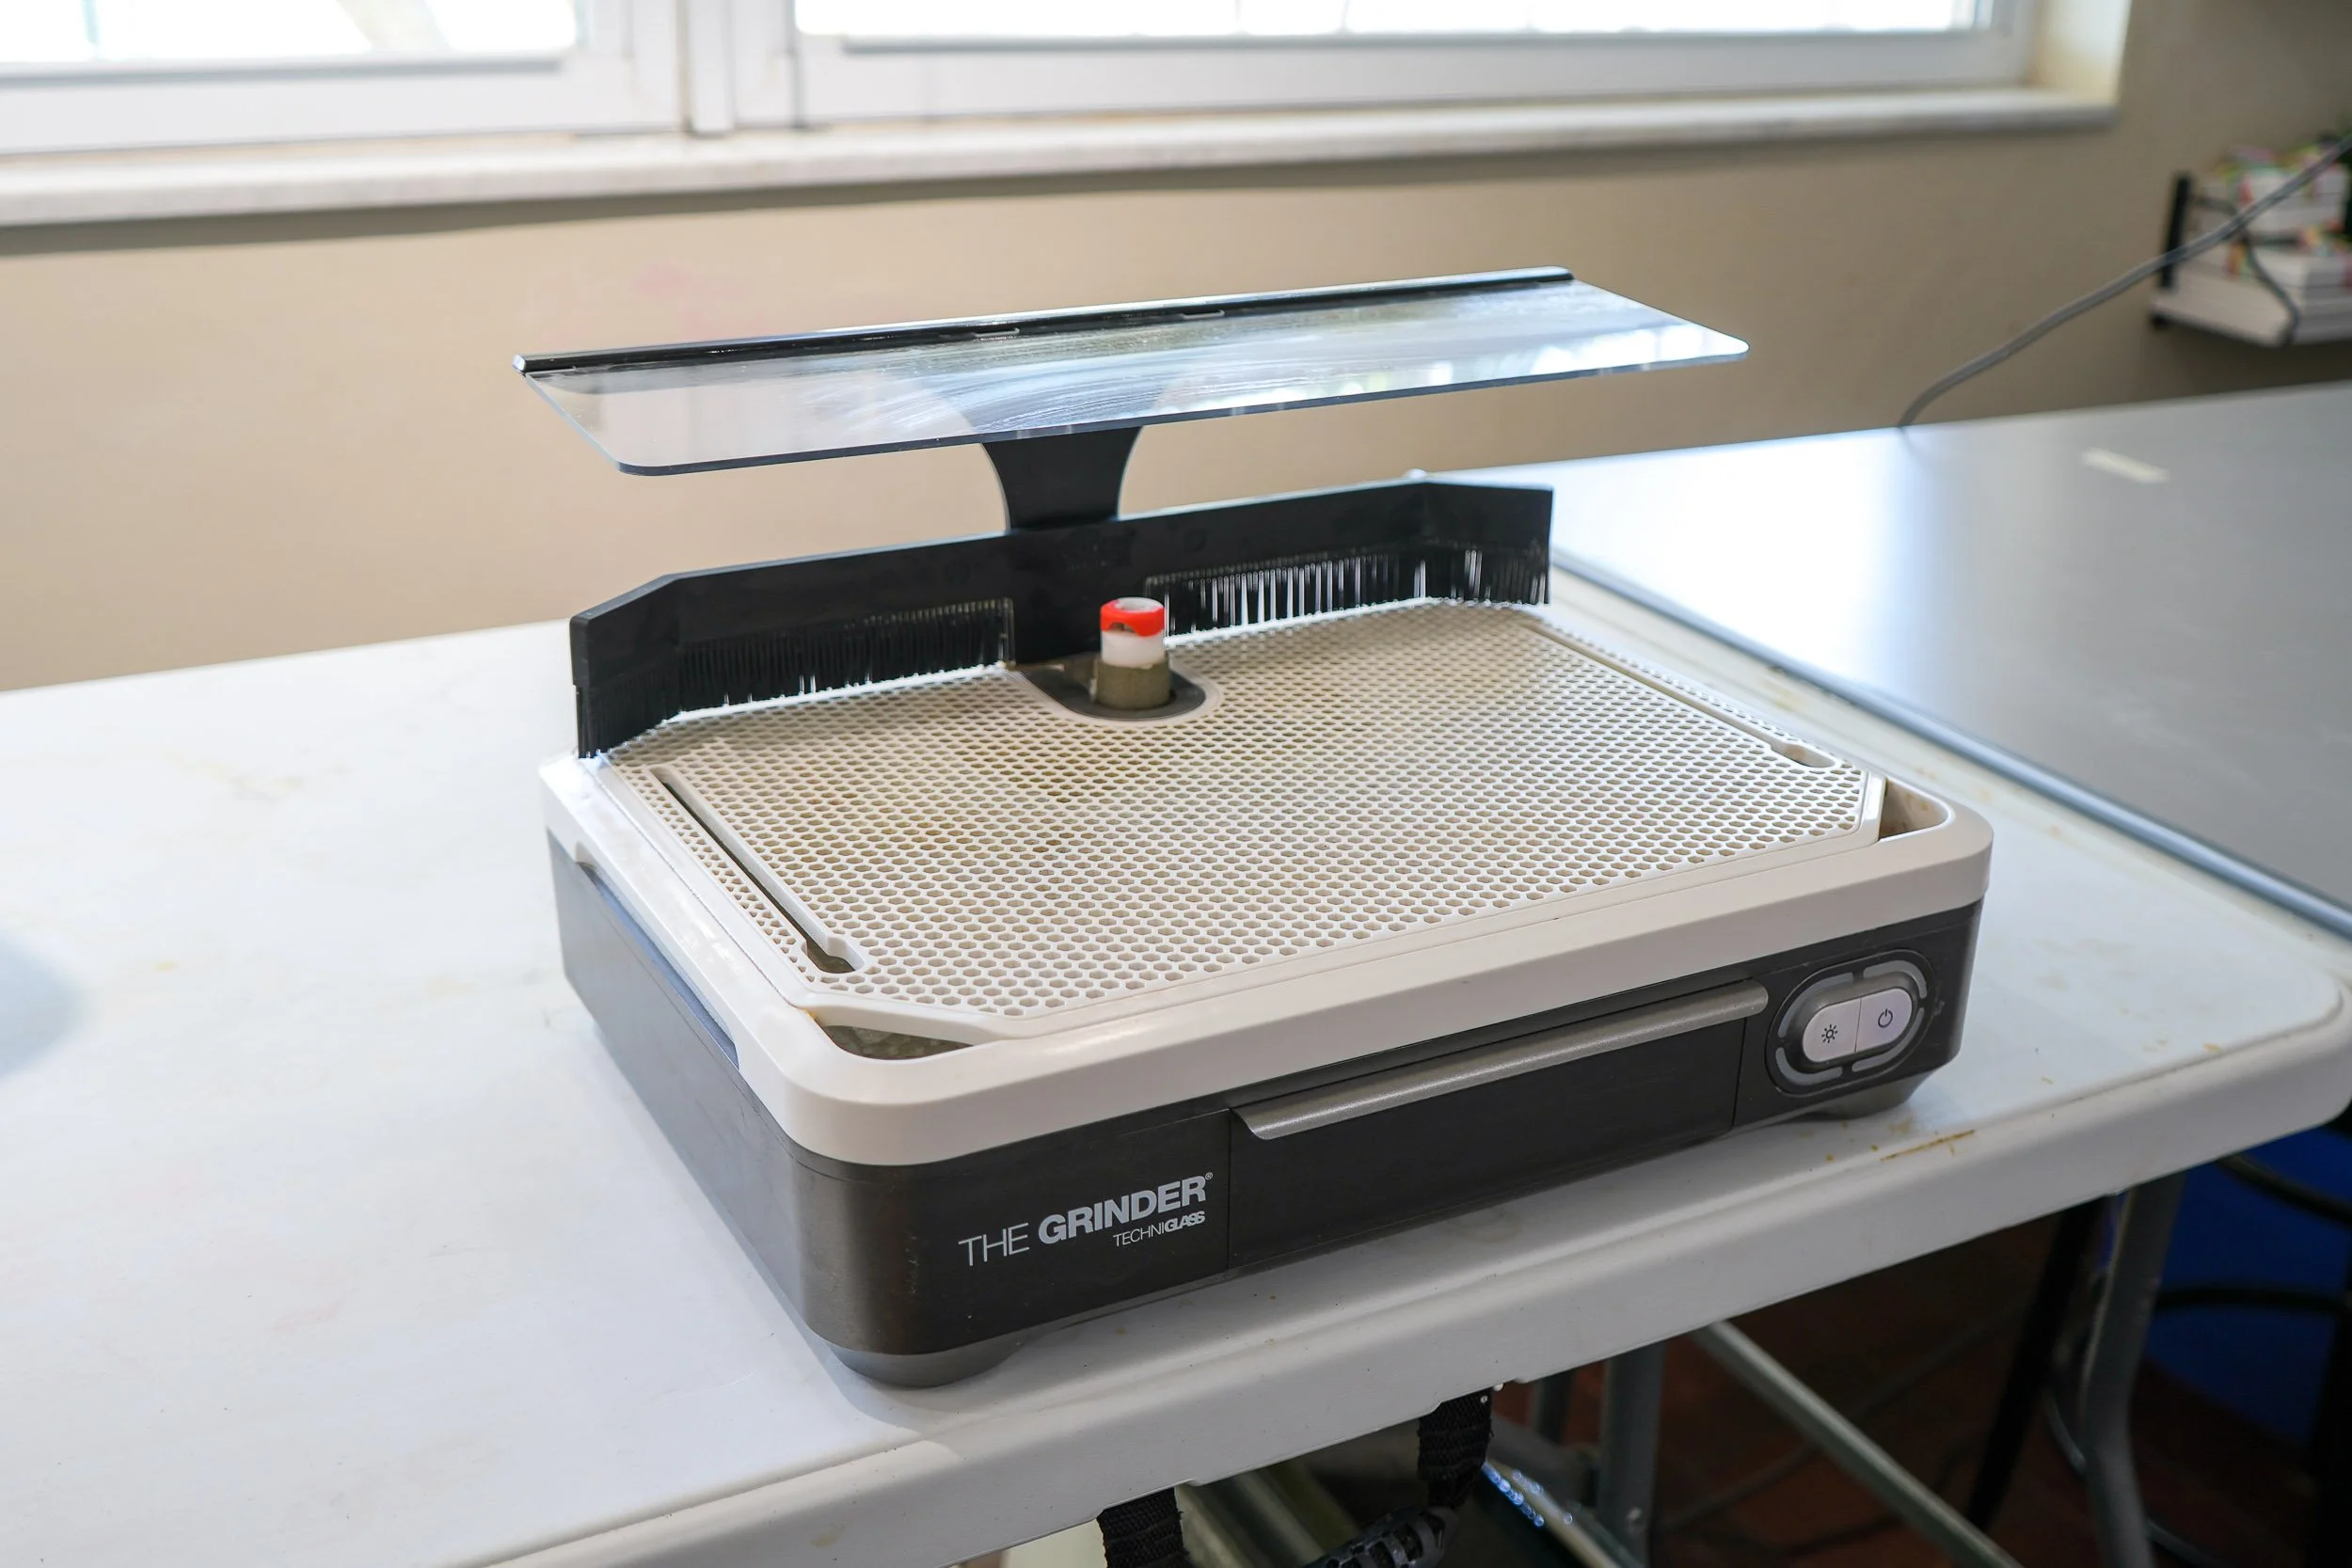
GLASS GRINDER
Words can’t describe my fondness for Techniglass’s ‘The Grinder’. It has the largest grinding surface I’ve ever seen, a wide LED light strip, and their customer service team is extremely kind and helpful.
Before upgrading to ‘The Grinder’, I used a small Gryphon Gryphette, which is perfect for beginners who aren’t ready to make a big investment.

GRINDER BITS
Techniglass makes innovative ‘Quick Fit’ bits that can be installed and removed in a snap. I also frequently use TWOFERS traditional bits because they’re affordable and long-lasting. Both are available in several different sizes and grits (I’d recommend 3/4” or 1” regular-grit bits for beginners).

KILN
The EvenHeat Studio Pro STP 120v glass kiln is the workhorse of my studio, and I love it! Its compact design makes it ideal for small home studios.
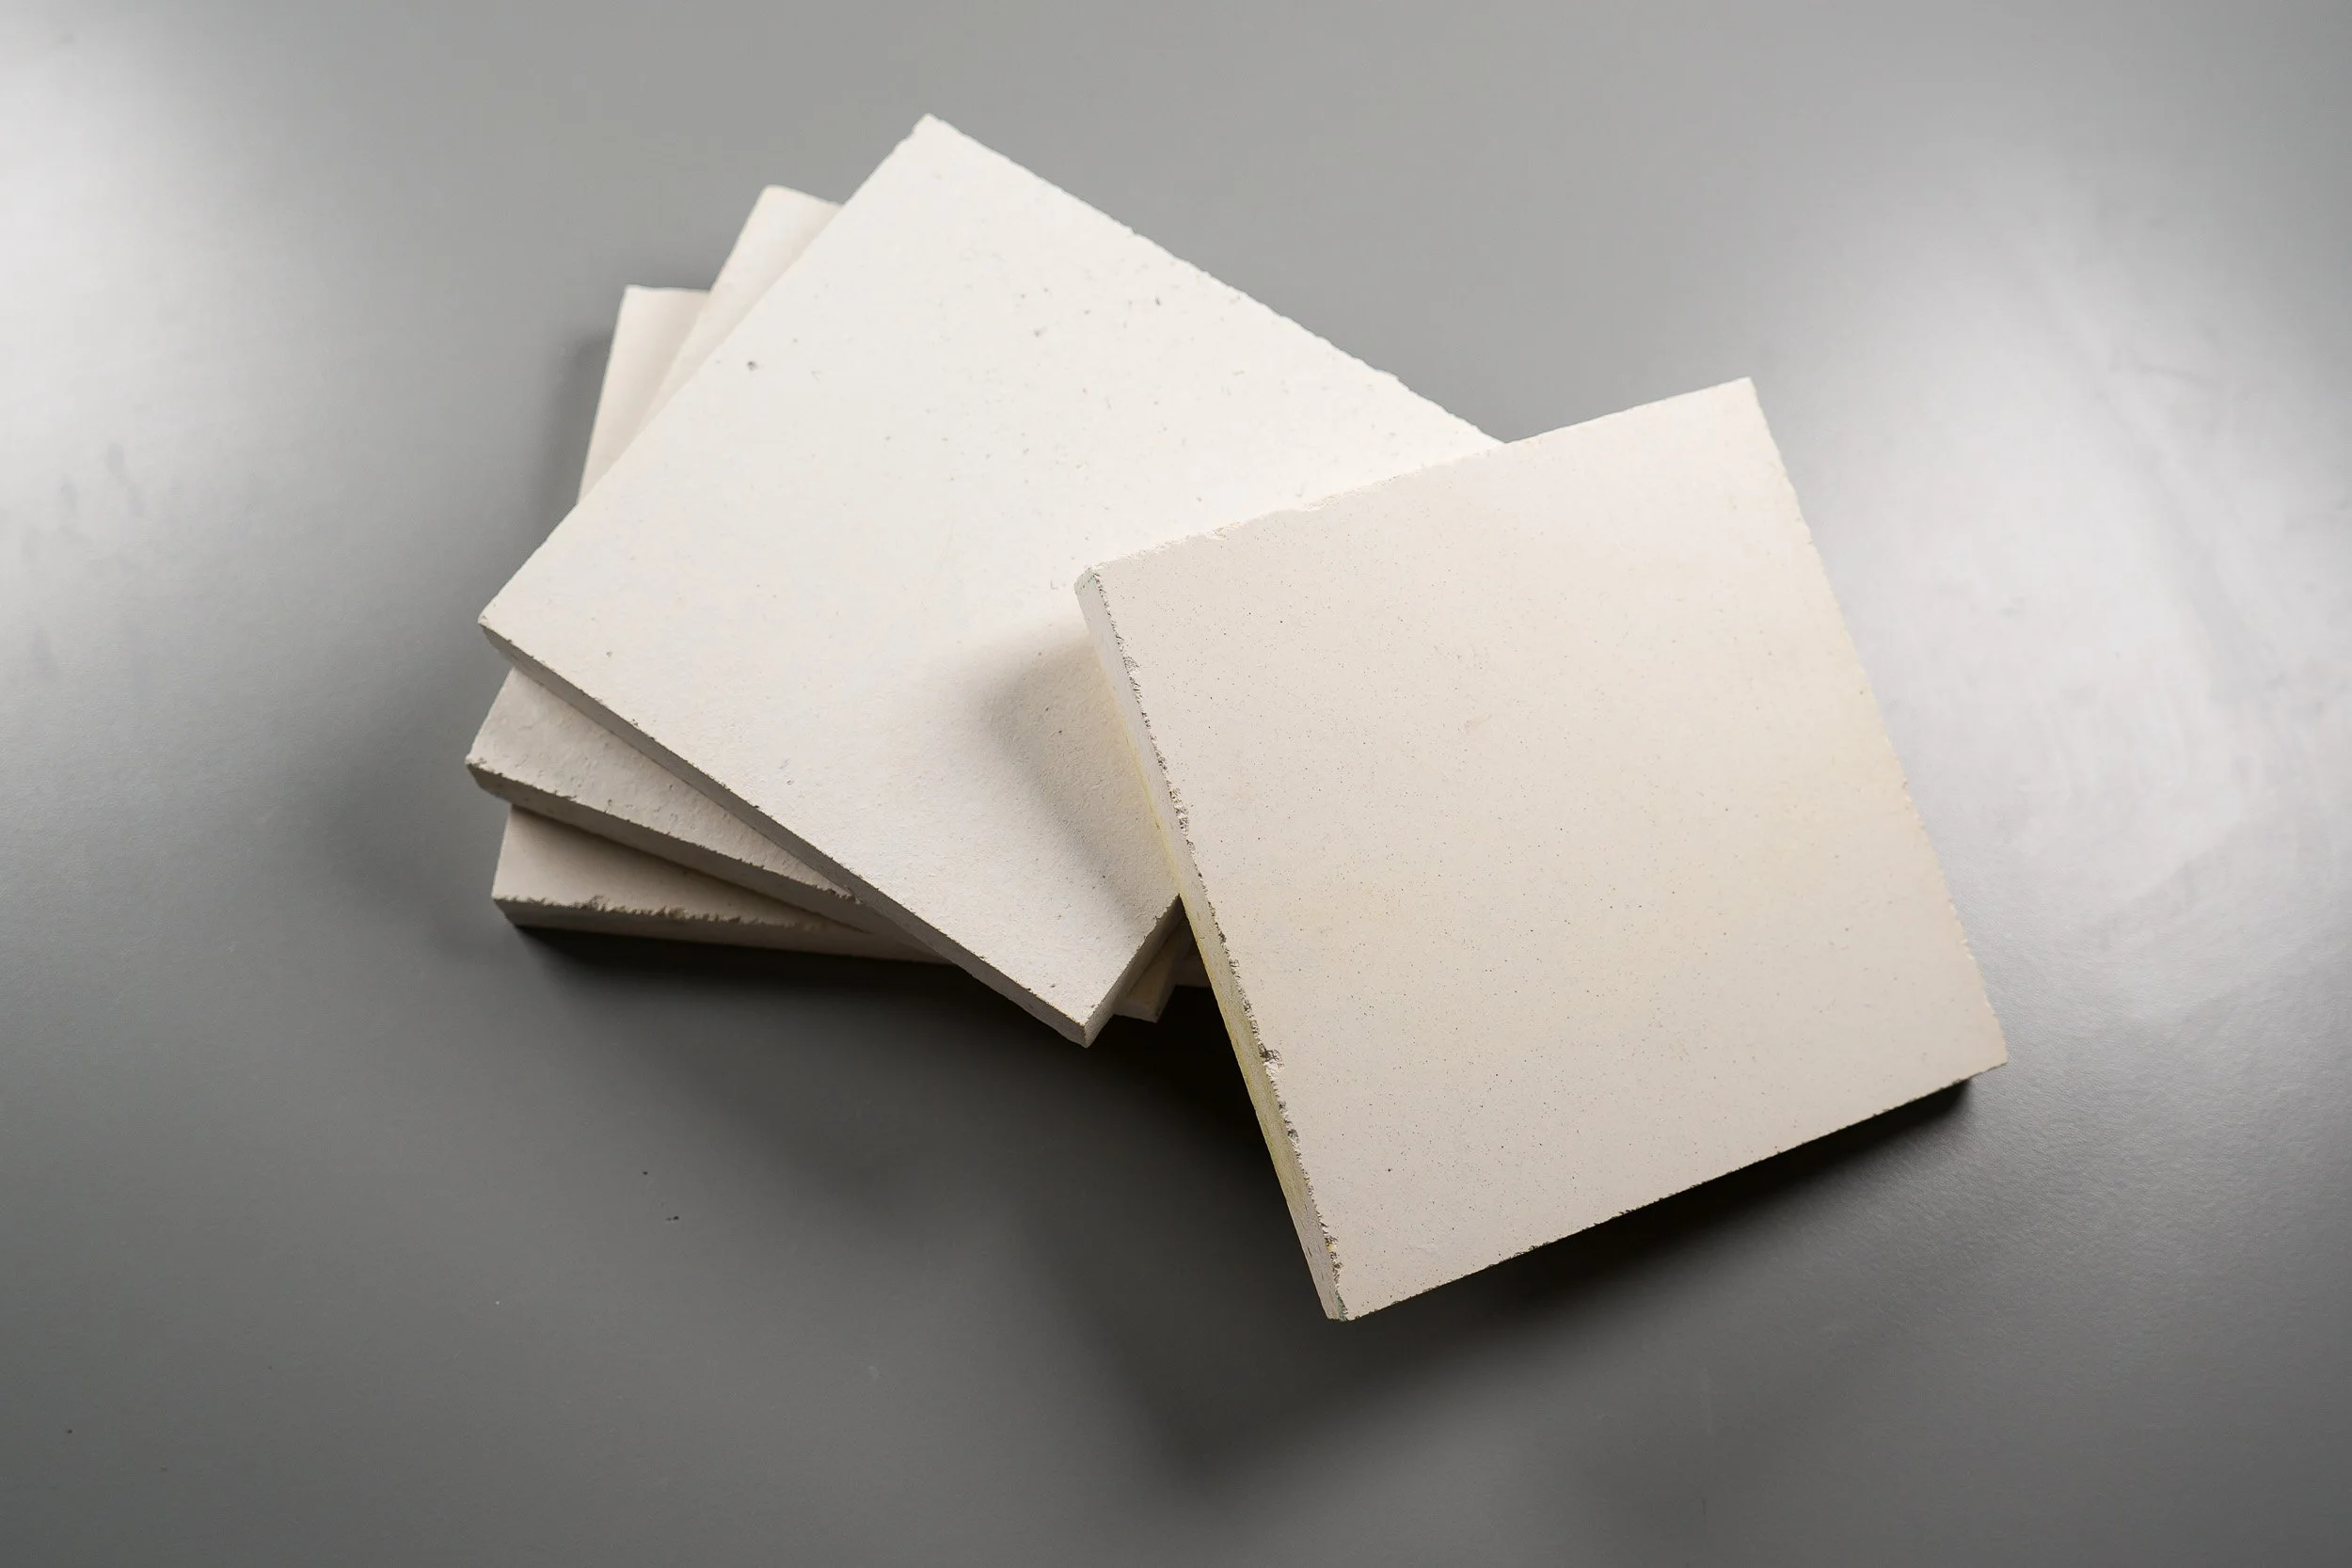
KILN SHELF
I typically use the 7” ceramic kiln shelf that came with my kiln. However, this one from Cool Tools appears to be very similar and of high quality.
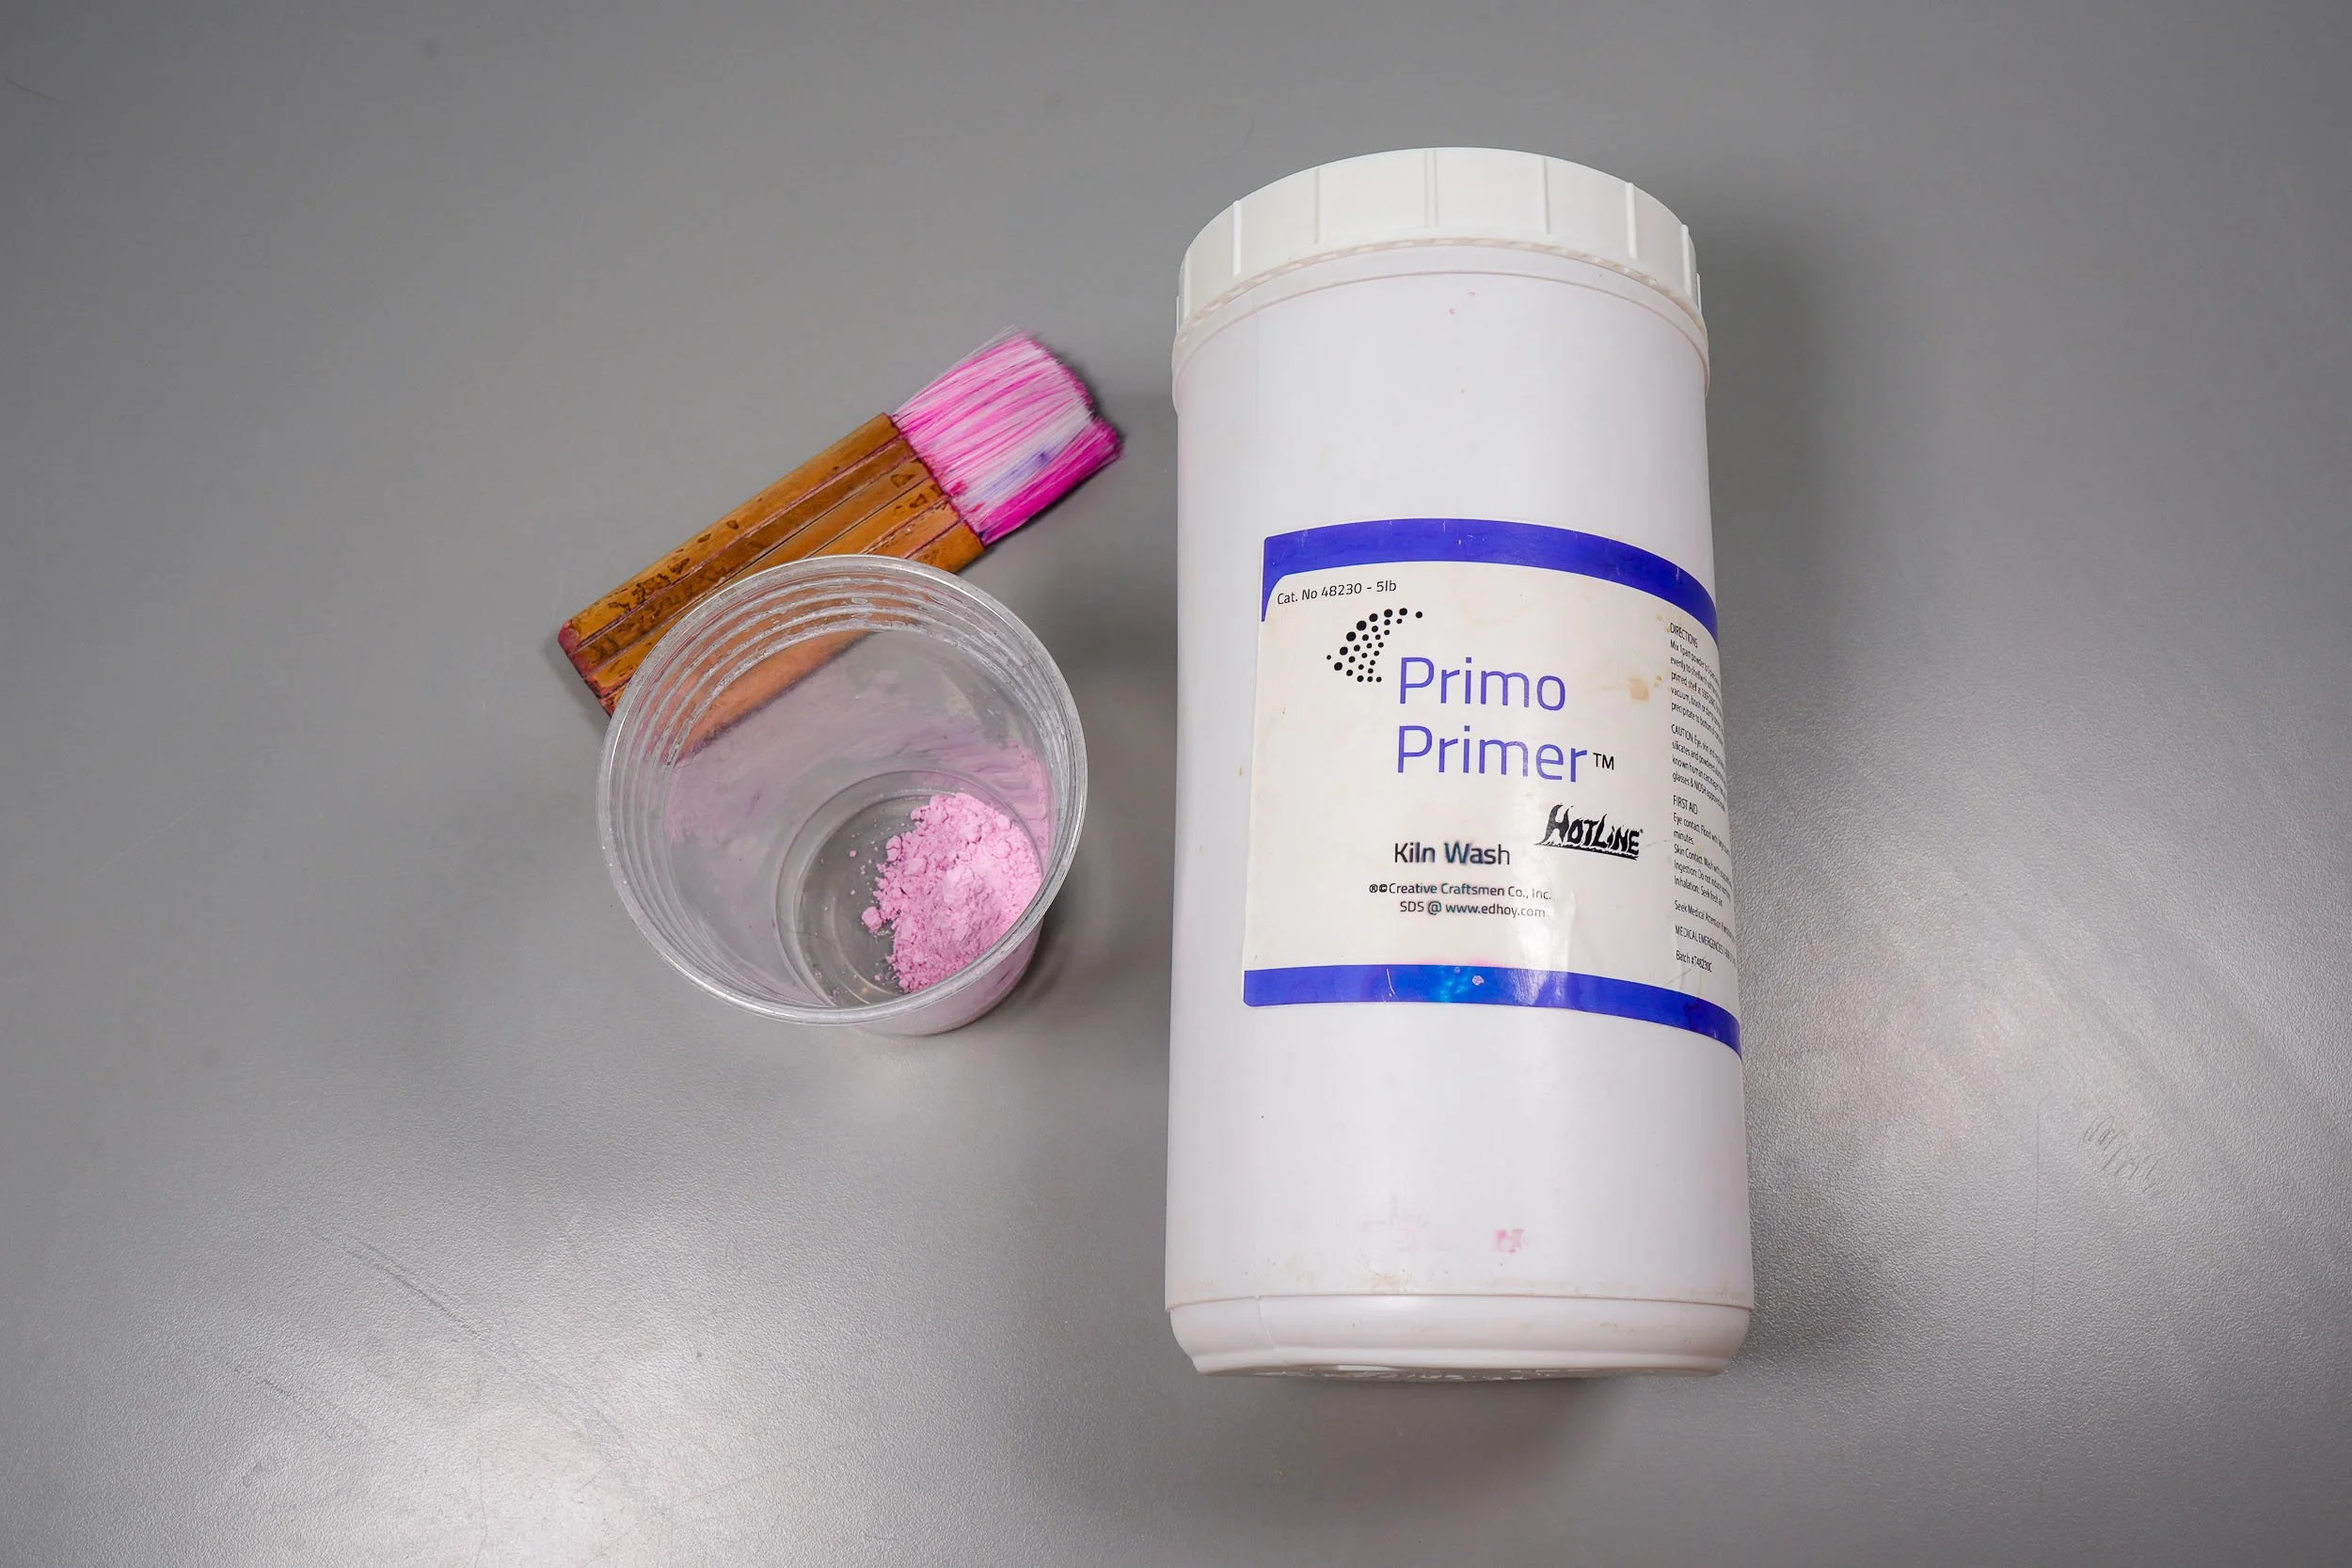
KILN WASH
HotLine Primo Primer mixes easily and always gives my shelf a reliably smooth firing surface.
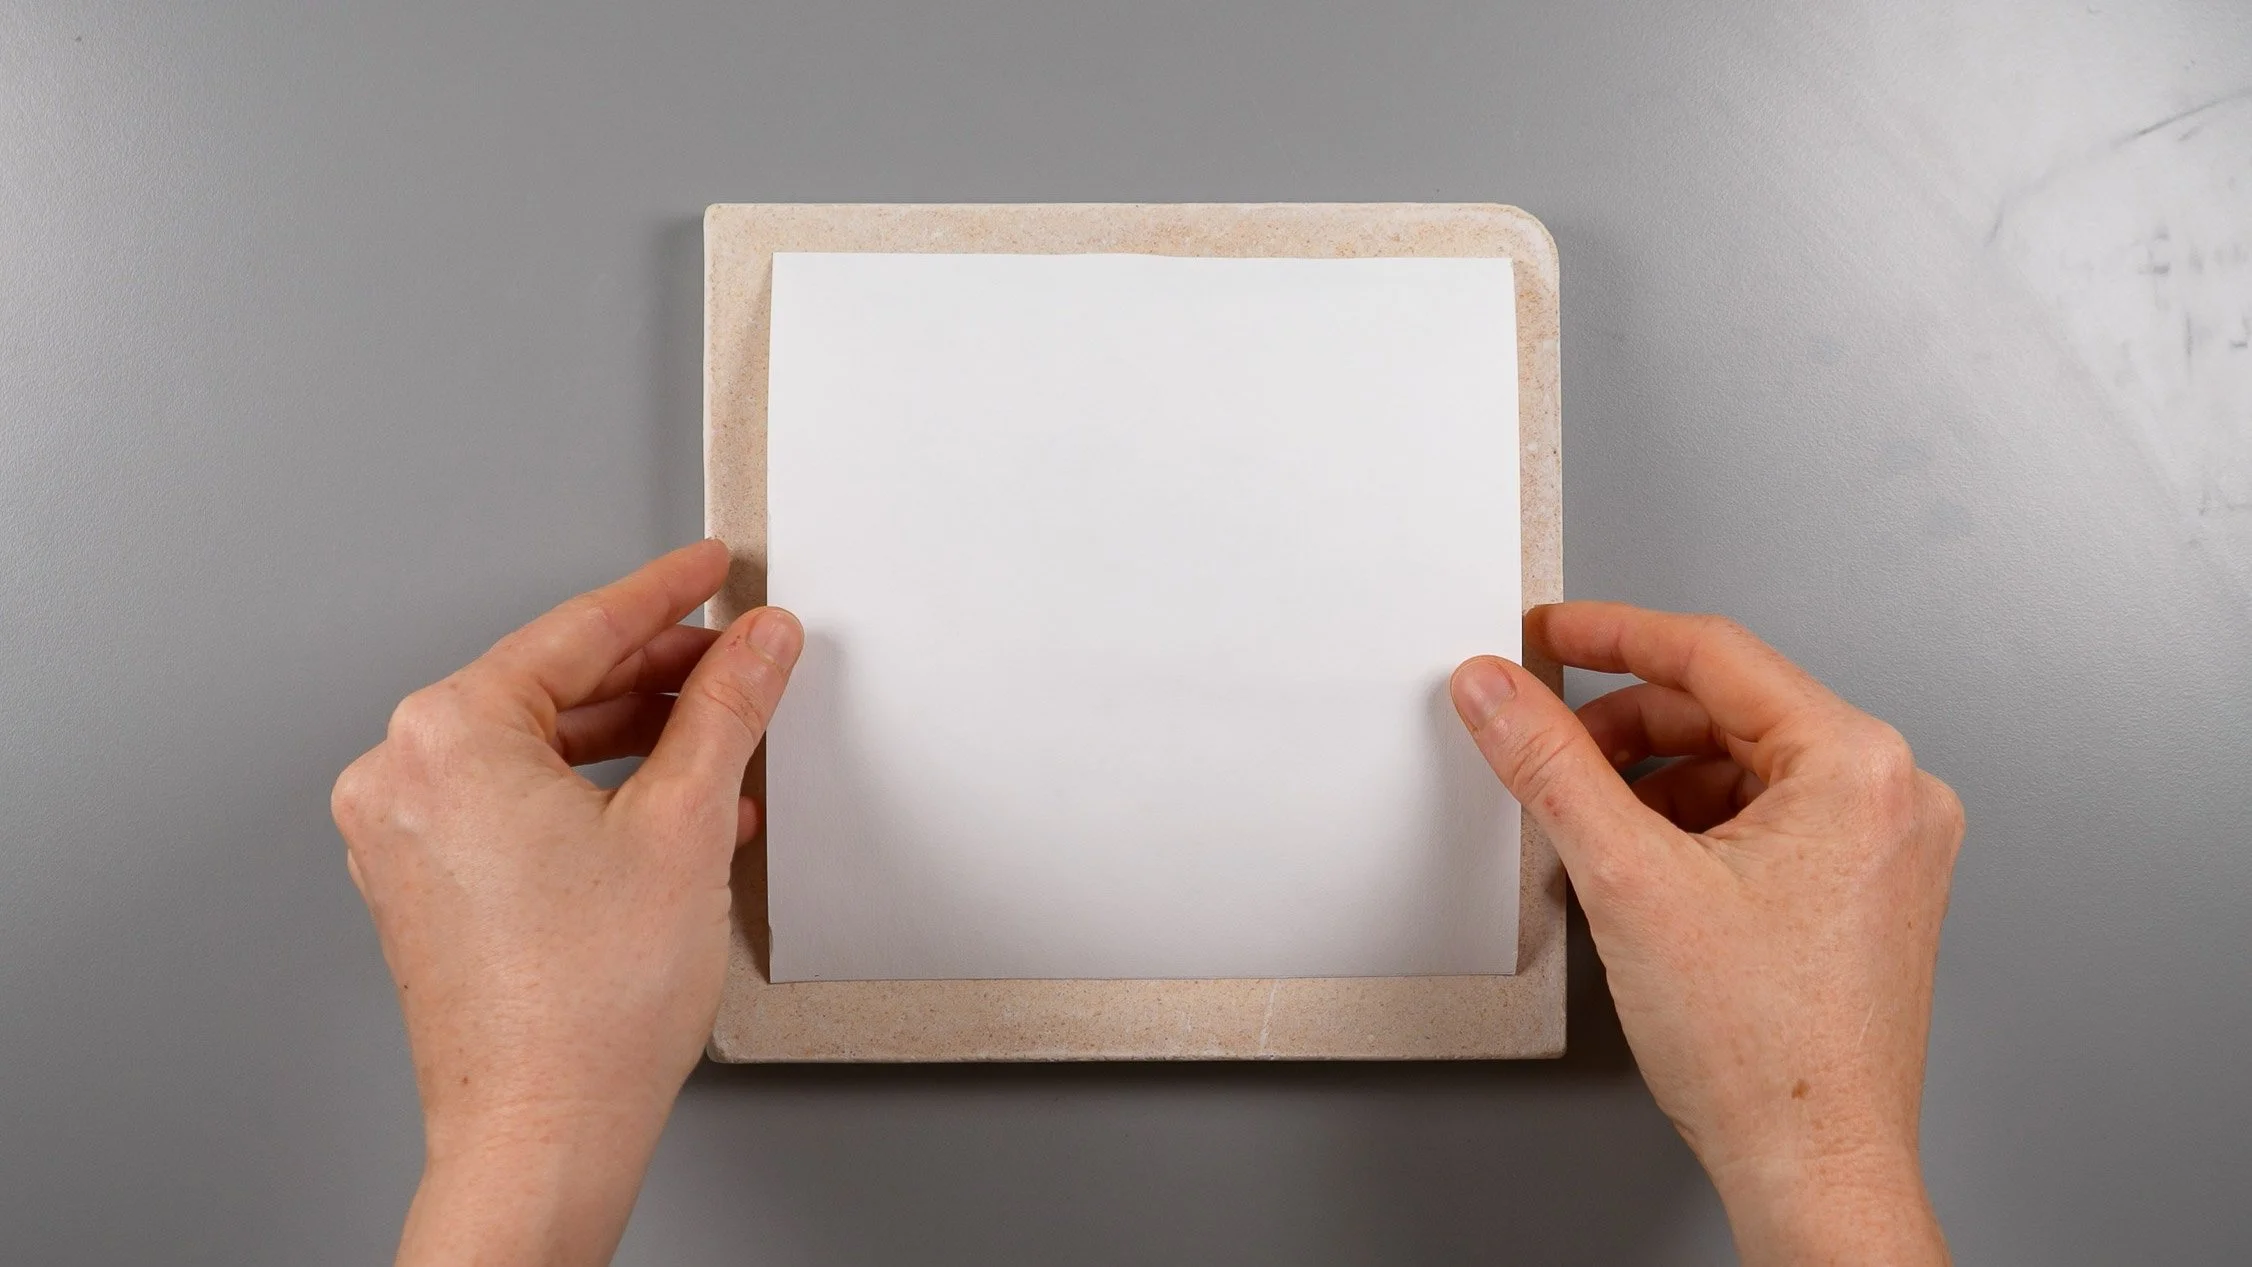
SHELF PAPER
Bullseye ThinFire shelf paper gives the smoothest firing surface of any paper I’ve tried. For beginners, I’d recommend buying several small, precut squares.
For experienced artists, I’d recommend investing in a roll of larger sheets to accommodate more complex projects.
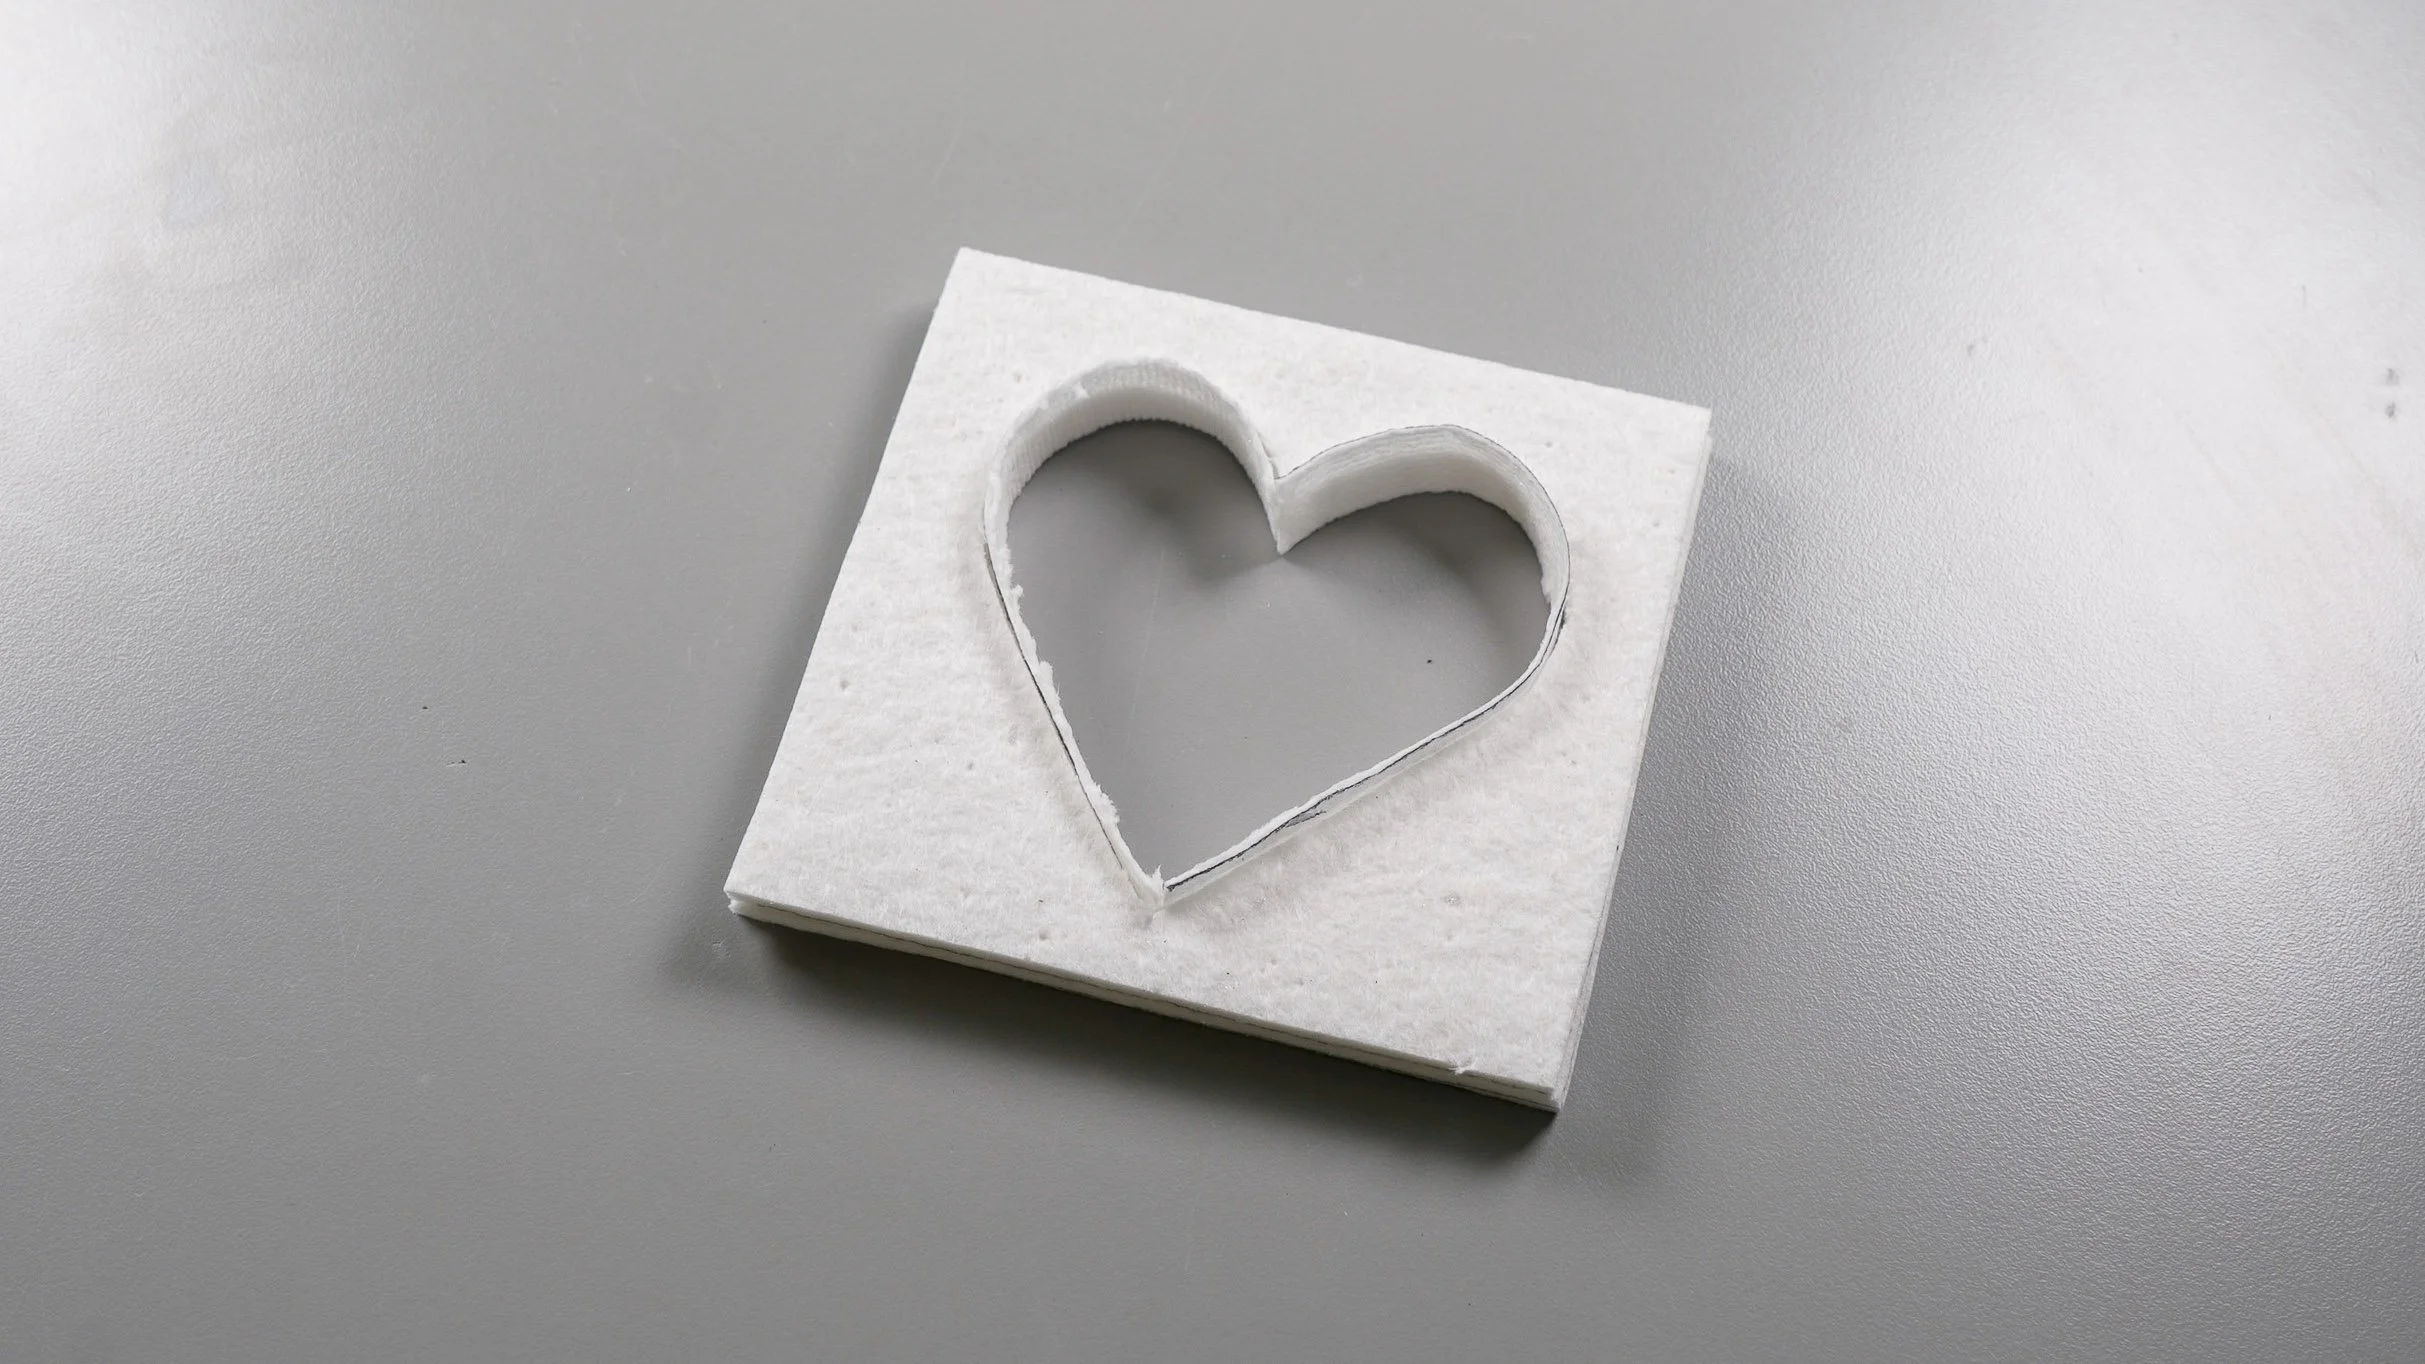
FIBER PAPER
Bullseye fiber paper is so durable that I’m often able to refire the thick papers many times over, and it usually doesn’t trigger devitrification.

MARKERS
Switching from normal Sharpies to oil-based paint markers was a game changer in my studio! As long as you give these babies a minute to dry, they’ll stay on glass through a car wash.

RULER
I prefer to use a Westcott 15” cork-backed metal ruler because it’s sturdy and doesn’t slip when I use it as a guide to cut against.

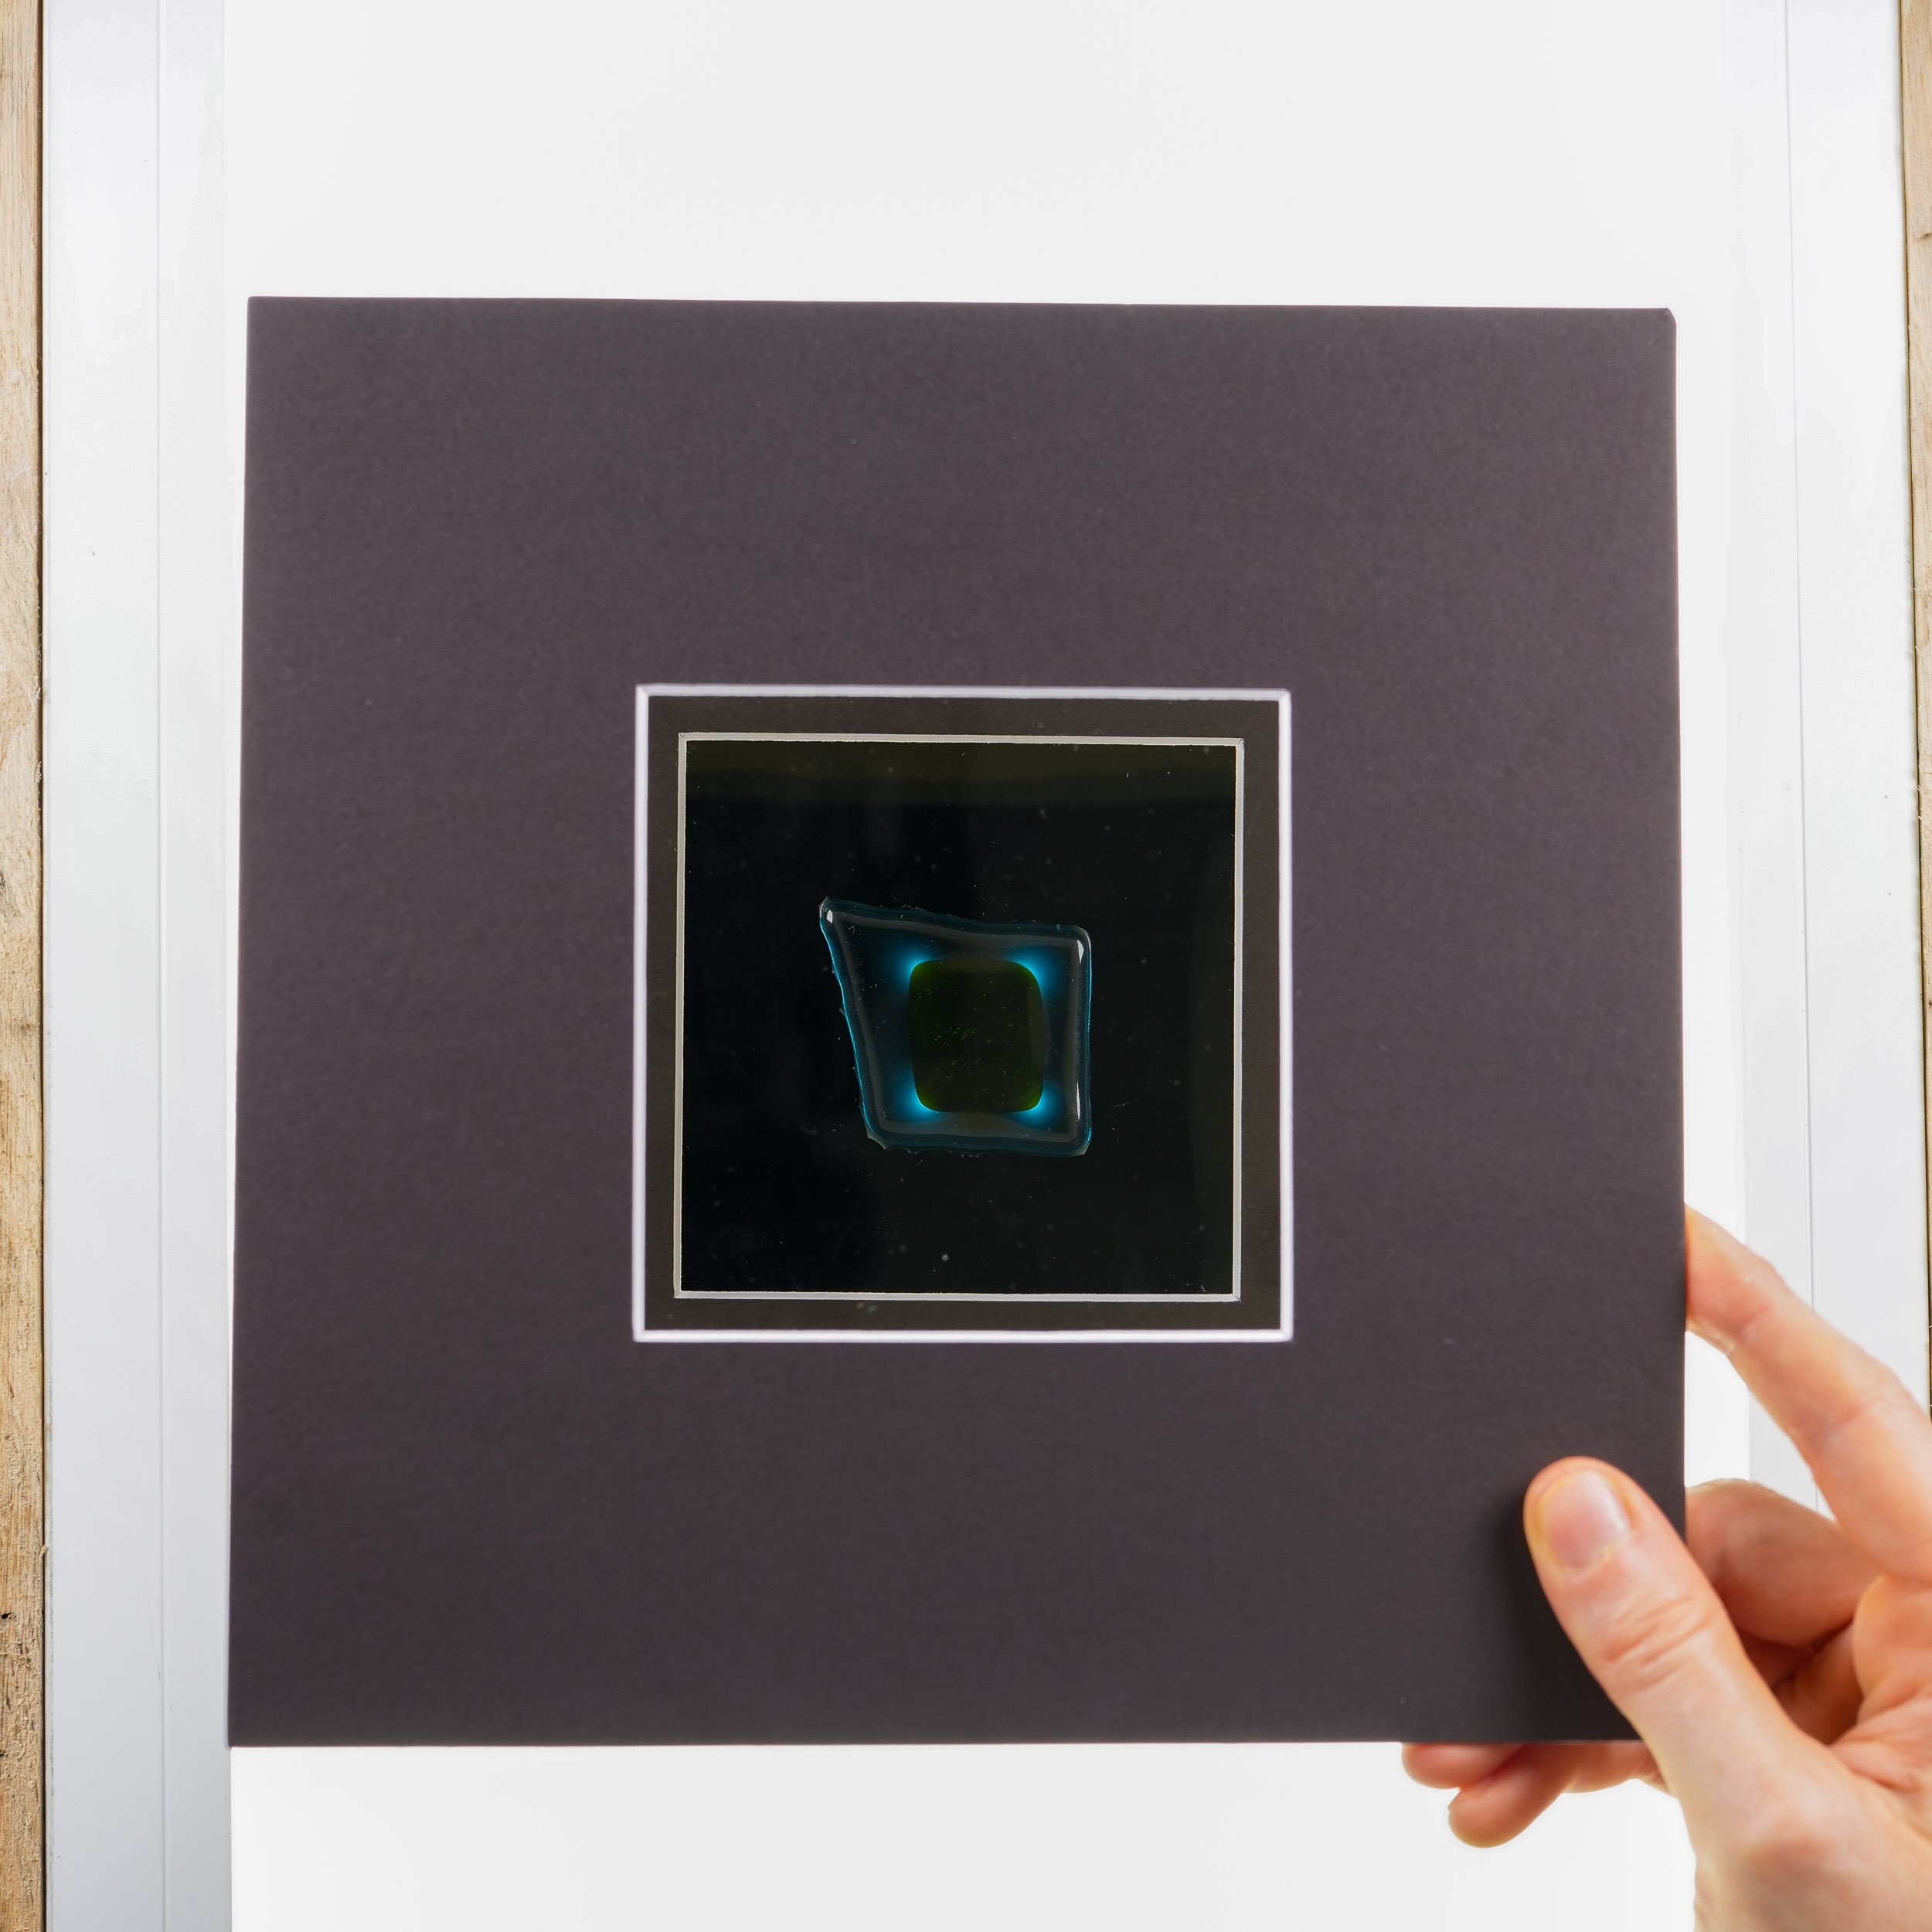
POLARIZATION FILTERS
I bought a single polarization filter from Amazon, cut it in half, and taped each half to a matboard to make the set easier to use and help protect their fragile surface coatings.

GLUE
I prefer to build projects directly in my kiln and avoid using glue entirely (as it burns off during firing it creates small air movements that can shift glass out of place), but in the rare case that I need it, I use Bullseye Glastac Gel since it’s specifically formulated for fusing and doesn’t trigger devitrification.

CLEANING AGENTS
I use a mix of 91% isopropyl alcohol and organic, distilled white vinegar to clean glass, as that’s the combination I’ve found least likely to trigger devitrification.
I’ve also had good experience using distilled water and Dr. Bronner’s dish soap, which you might already have around your home!
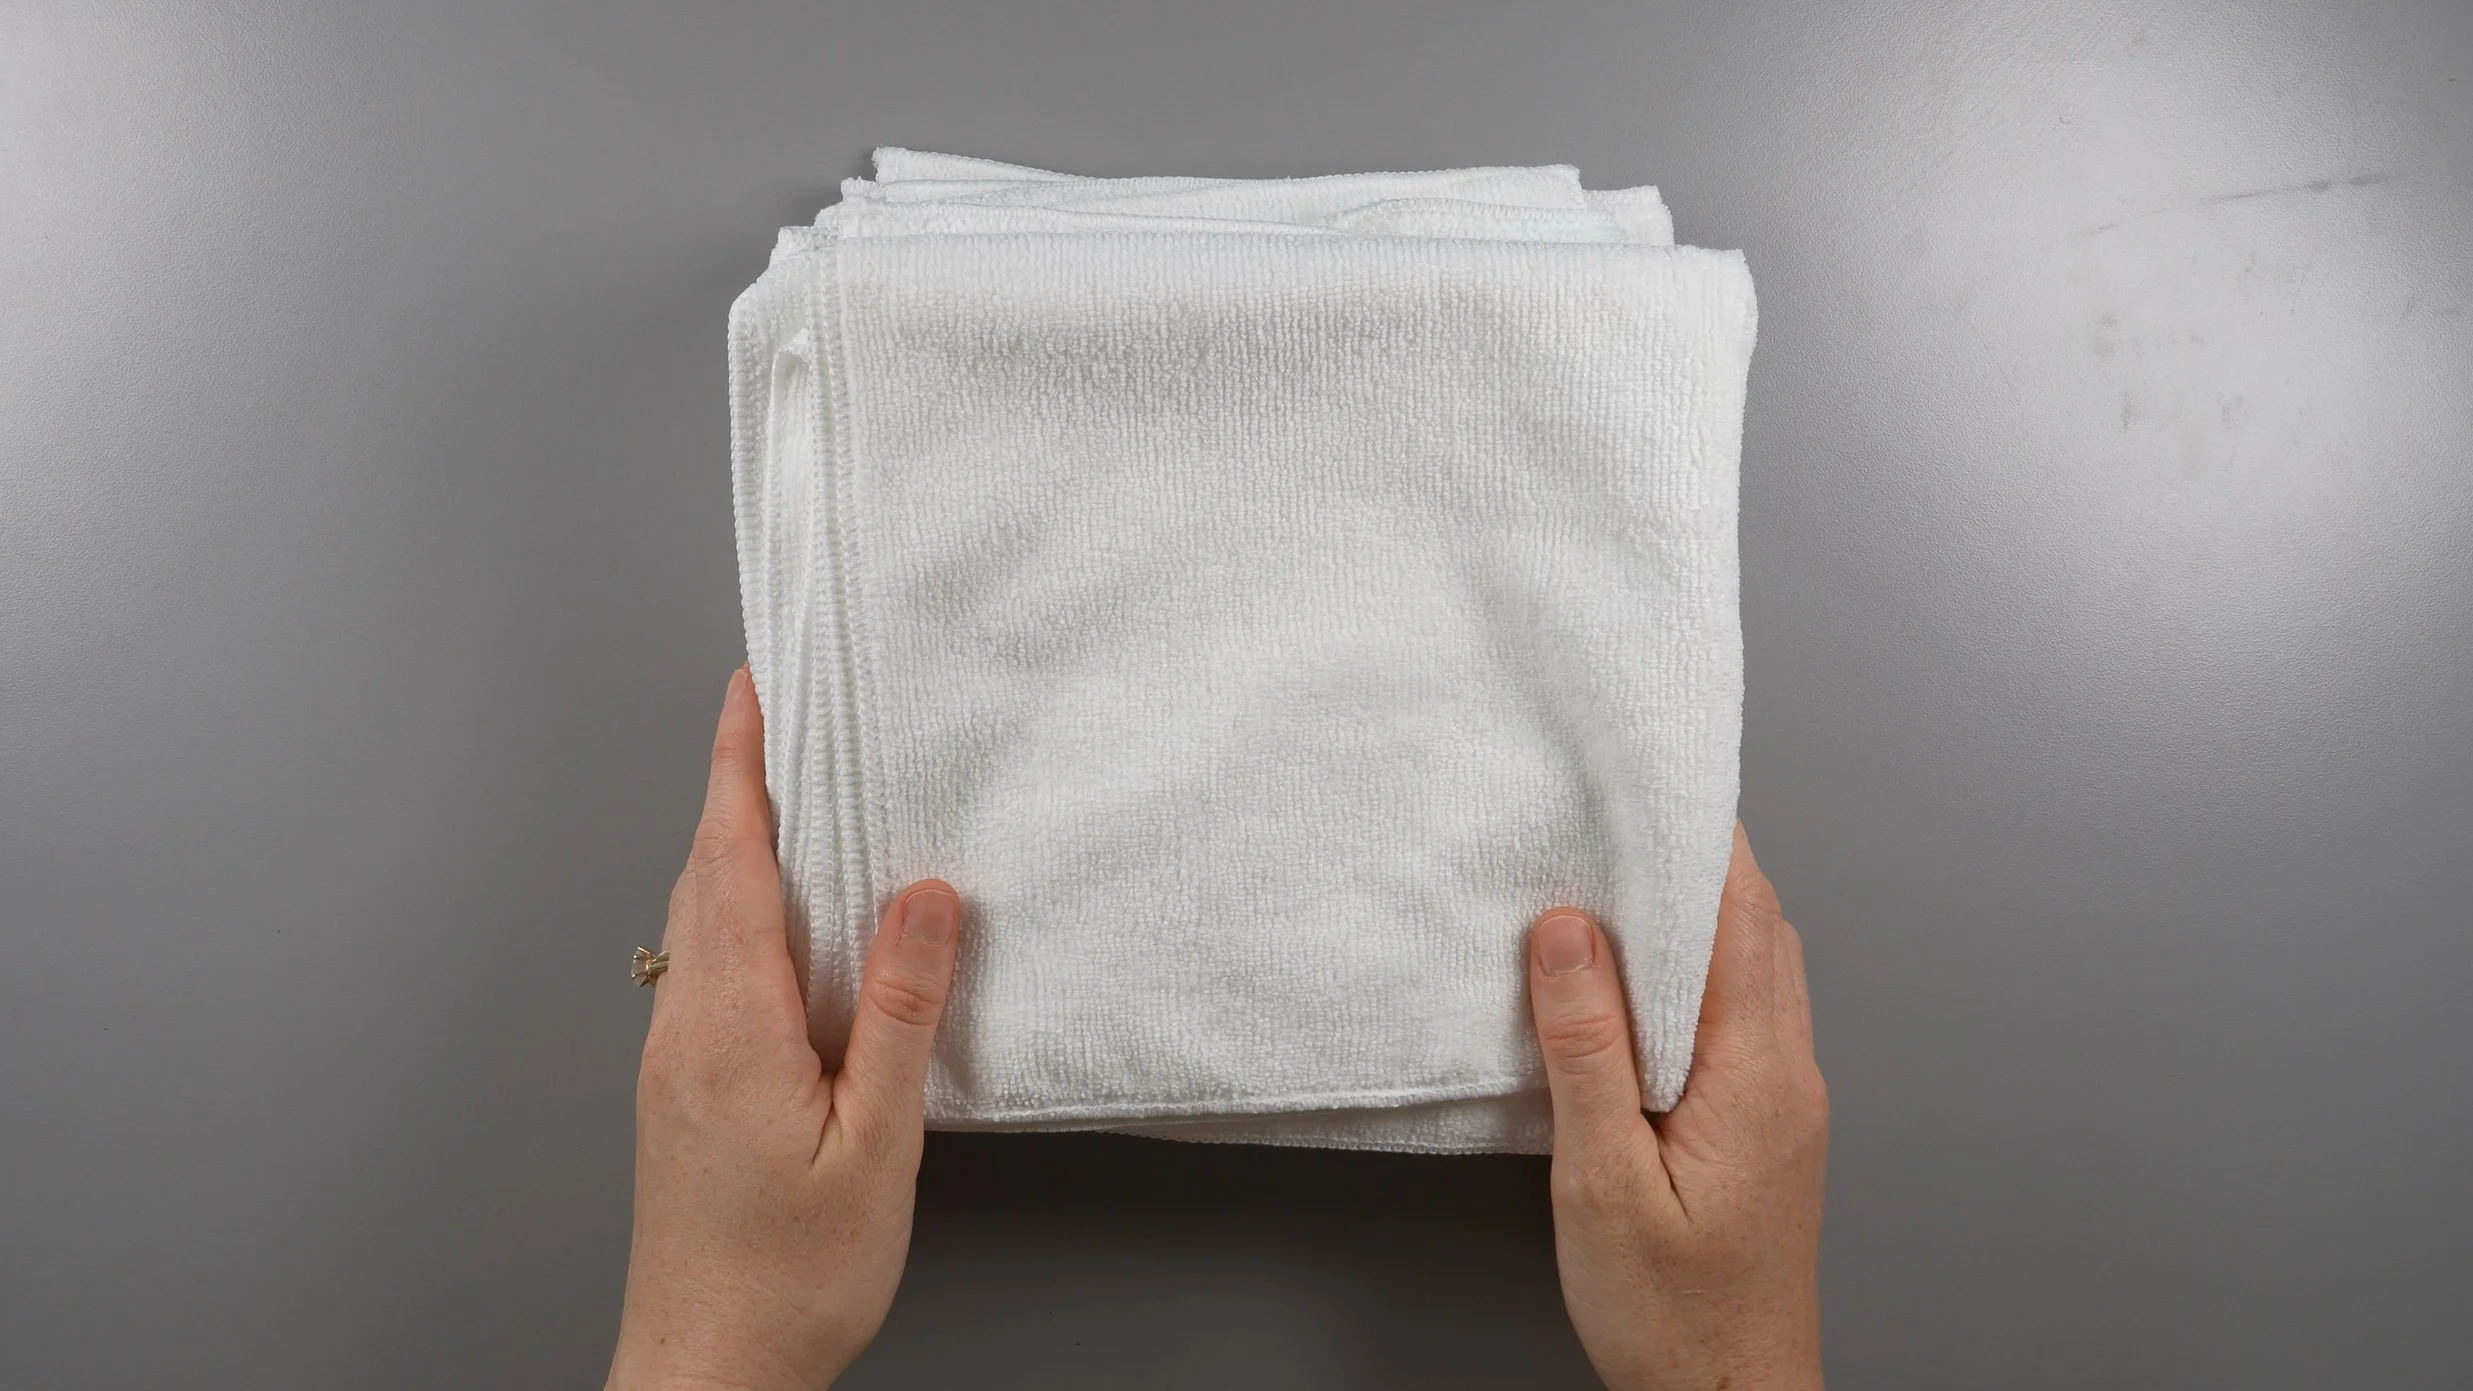
CLOTHS
I always have a stack of fresh cloths on hand to clean glass! I like those I found on Amazon because they’re highly absorbent, come in large quantities, and are available in lots of colors (so I can easily distinguish between the cloths I use to wipe patina/flux/steel wool off of stained glass pieces and the cloths I use to clean fused glass prior to firing—which never touch anything other than glass and cleaning agents!).
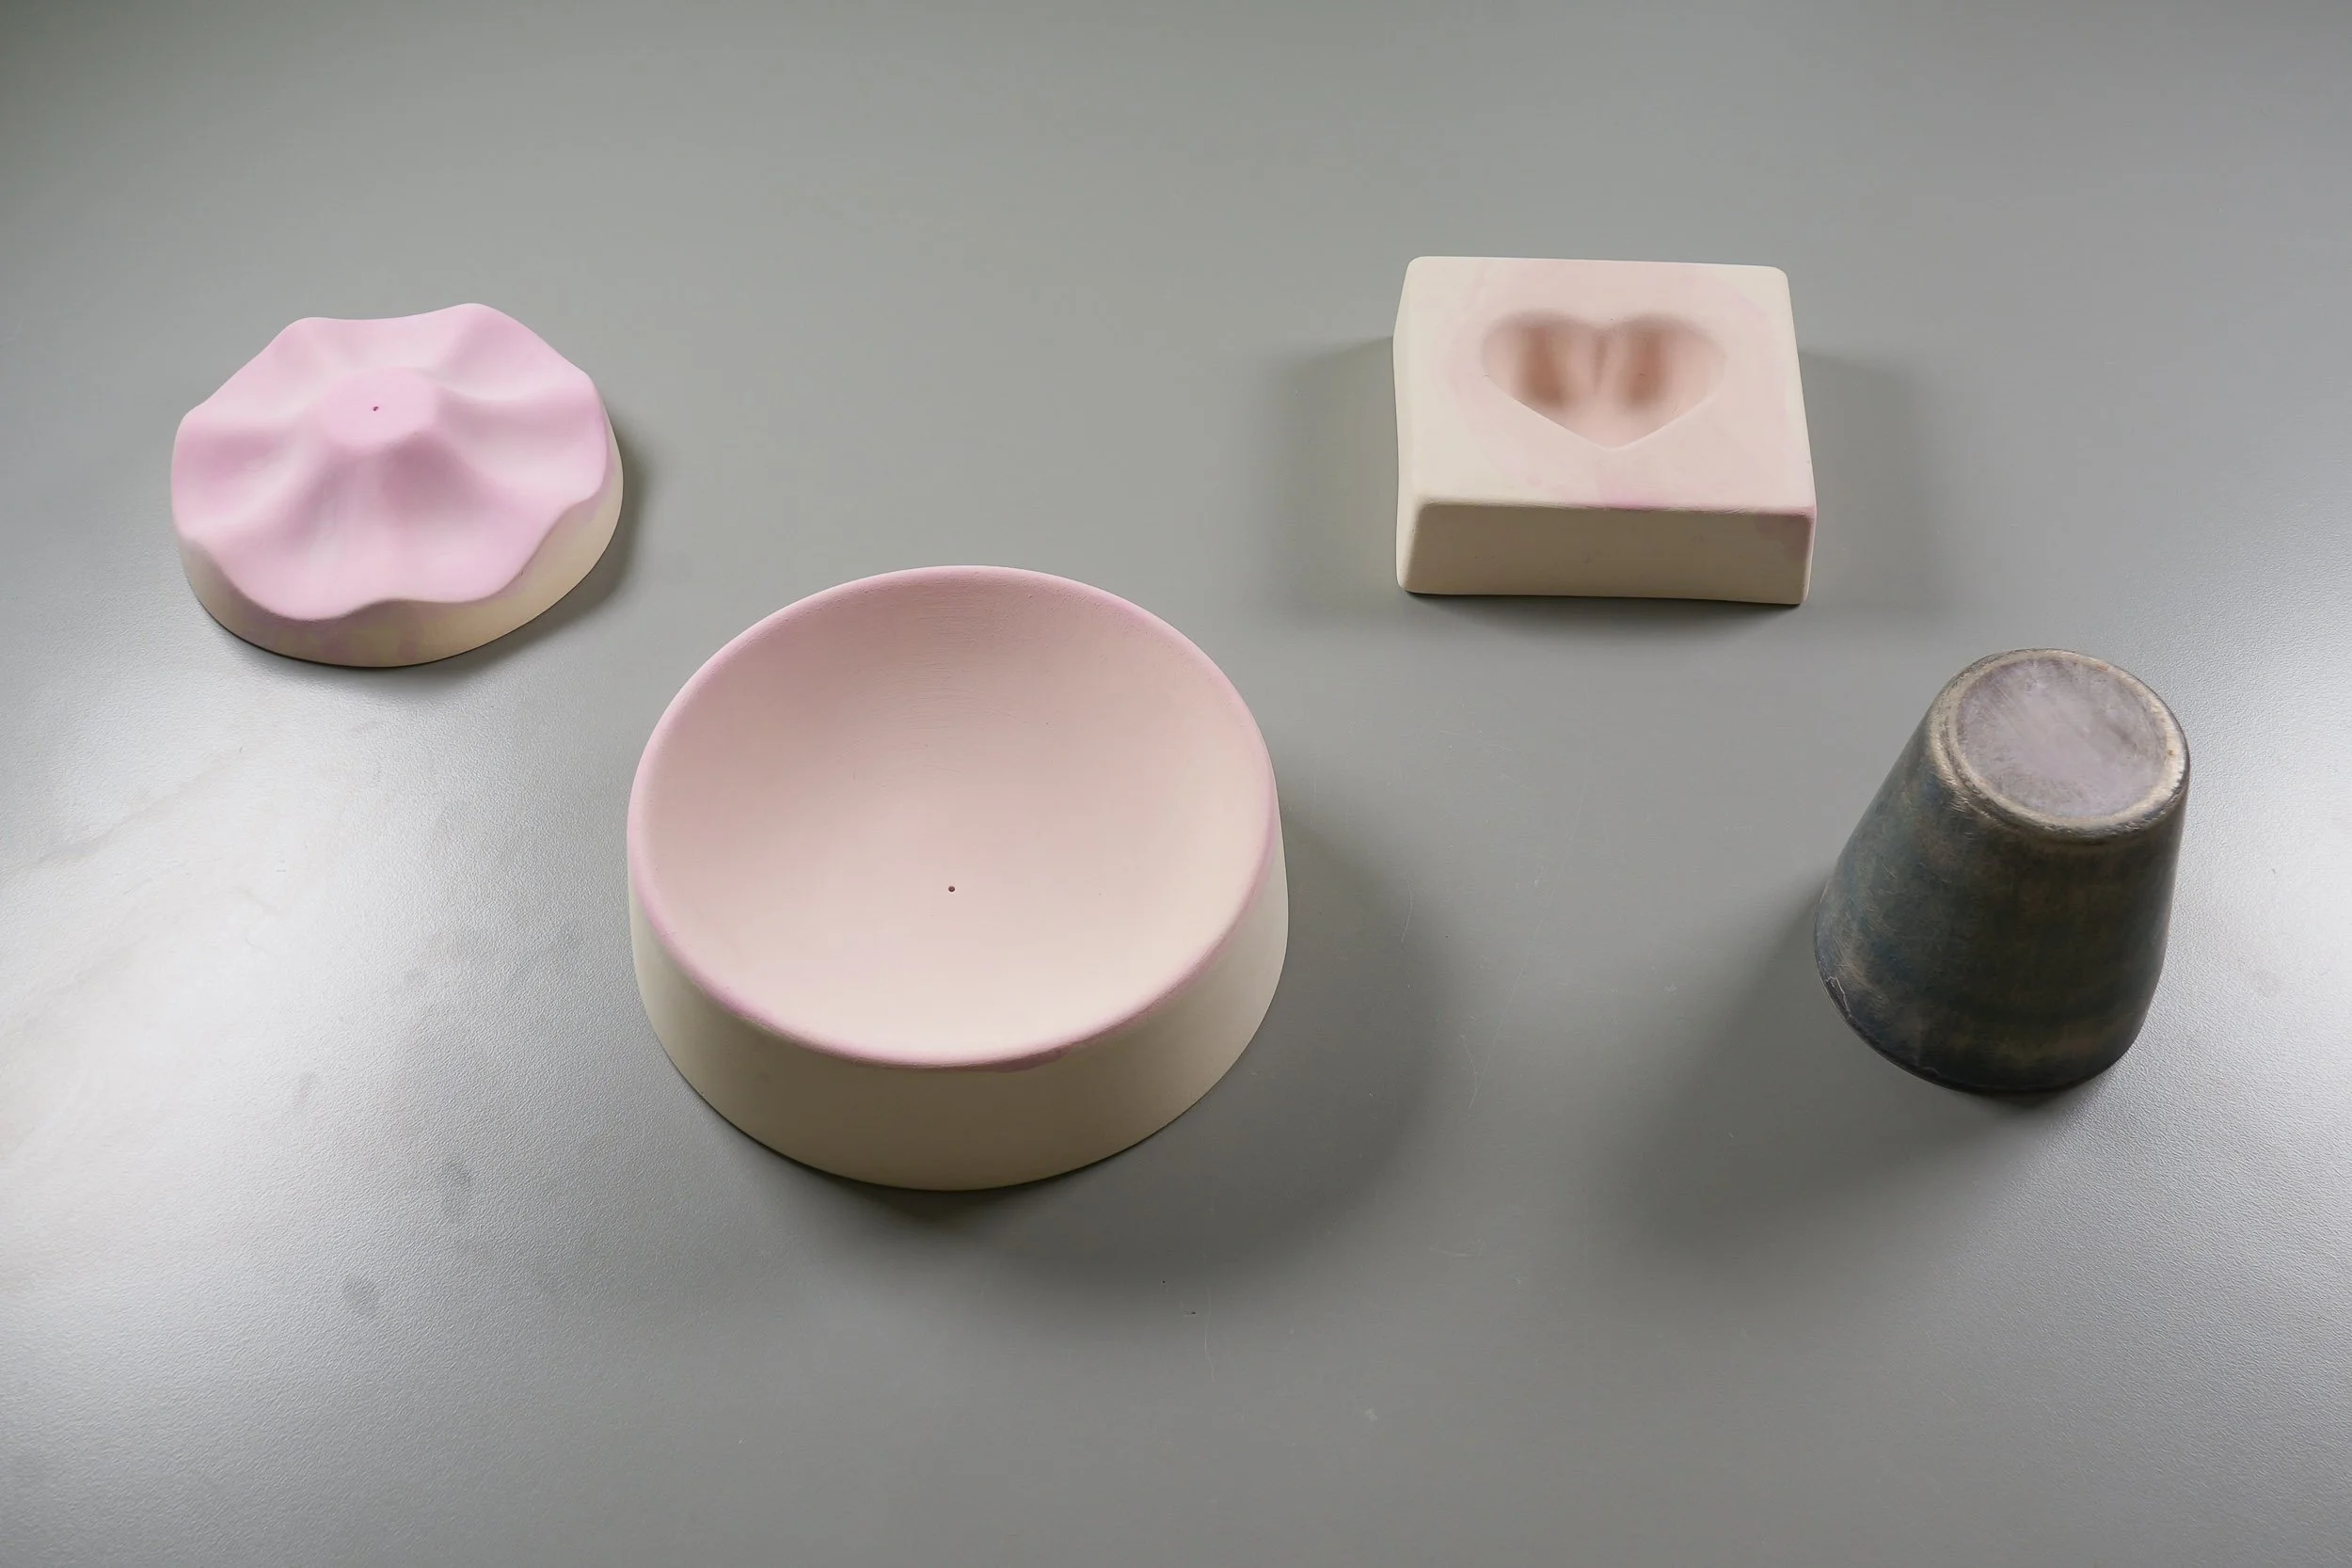
SLUMPING/DRAPING/CASTING MOLDS
Creative Ceramics (distributed by Bullseye in the U.S.) slumping and casting molds come in a multitude of different sizes and forms, and always result in flawless fused forms.
For draping, I use small generic stainless steel molds from Amazon (make sure to watch Lesson 7 to properly prep these for firing, since it can be tricky)!

ACCESSORY GLASSES
Both Oceanside Glass™ and Bullseye produce a huge range of accessory glasses including frit, stringers, noodles/ribbons, and rods which are all staples of my studio.
Small bundles/jars of Oceanside Compatible® accessory glasses (perfectly sized for hobbyists!) can be found on Amazon in a rainbow of colors.
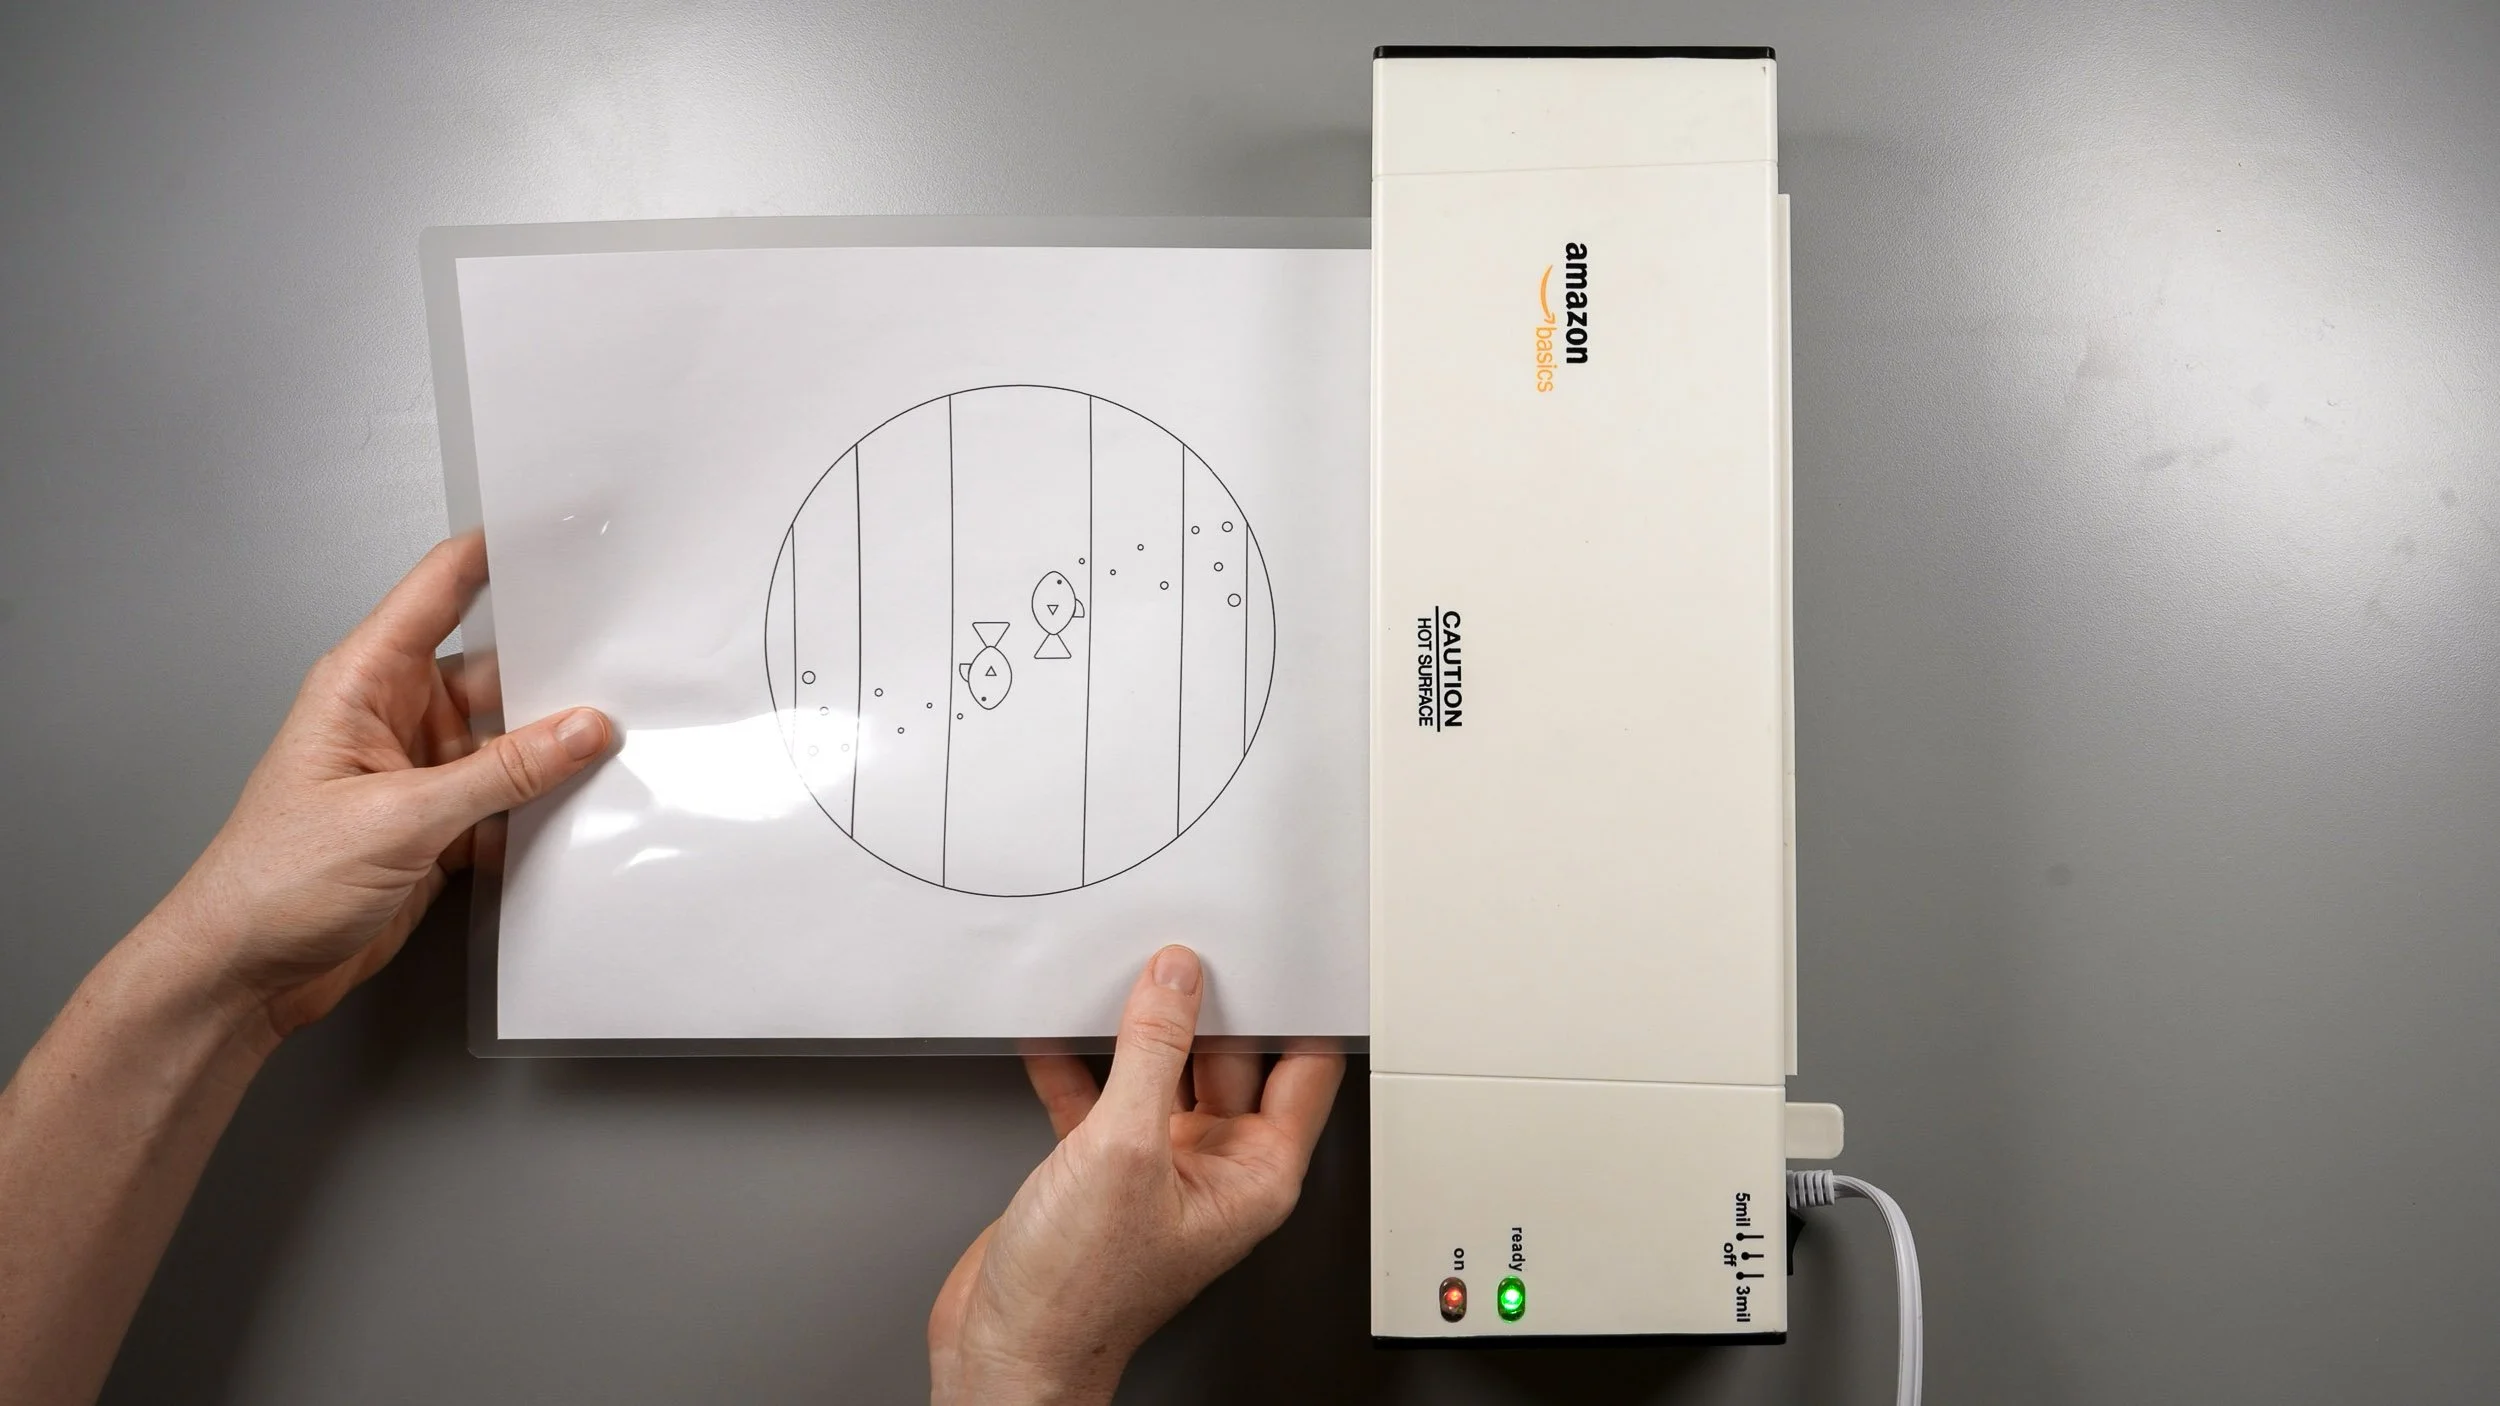
LAMINATOR
I use an Amazon Basics laminator to seal my patterns with a waterproof coating that prevents them from warping or tearing as I build projects on top of them.
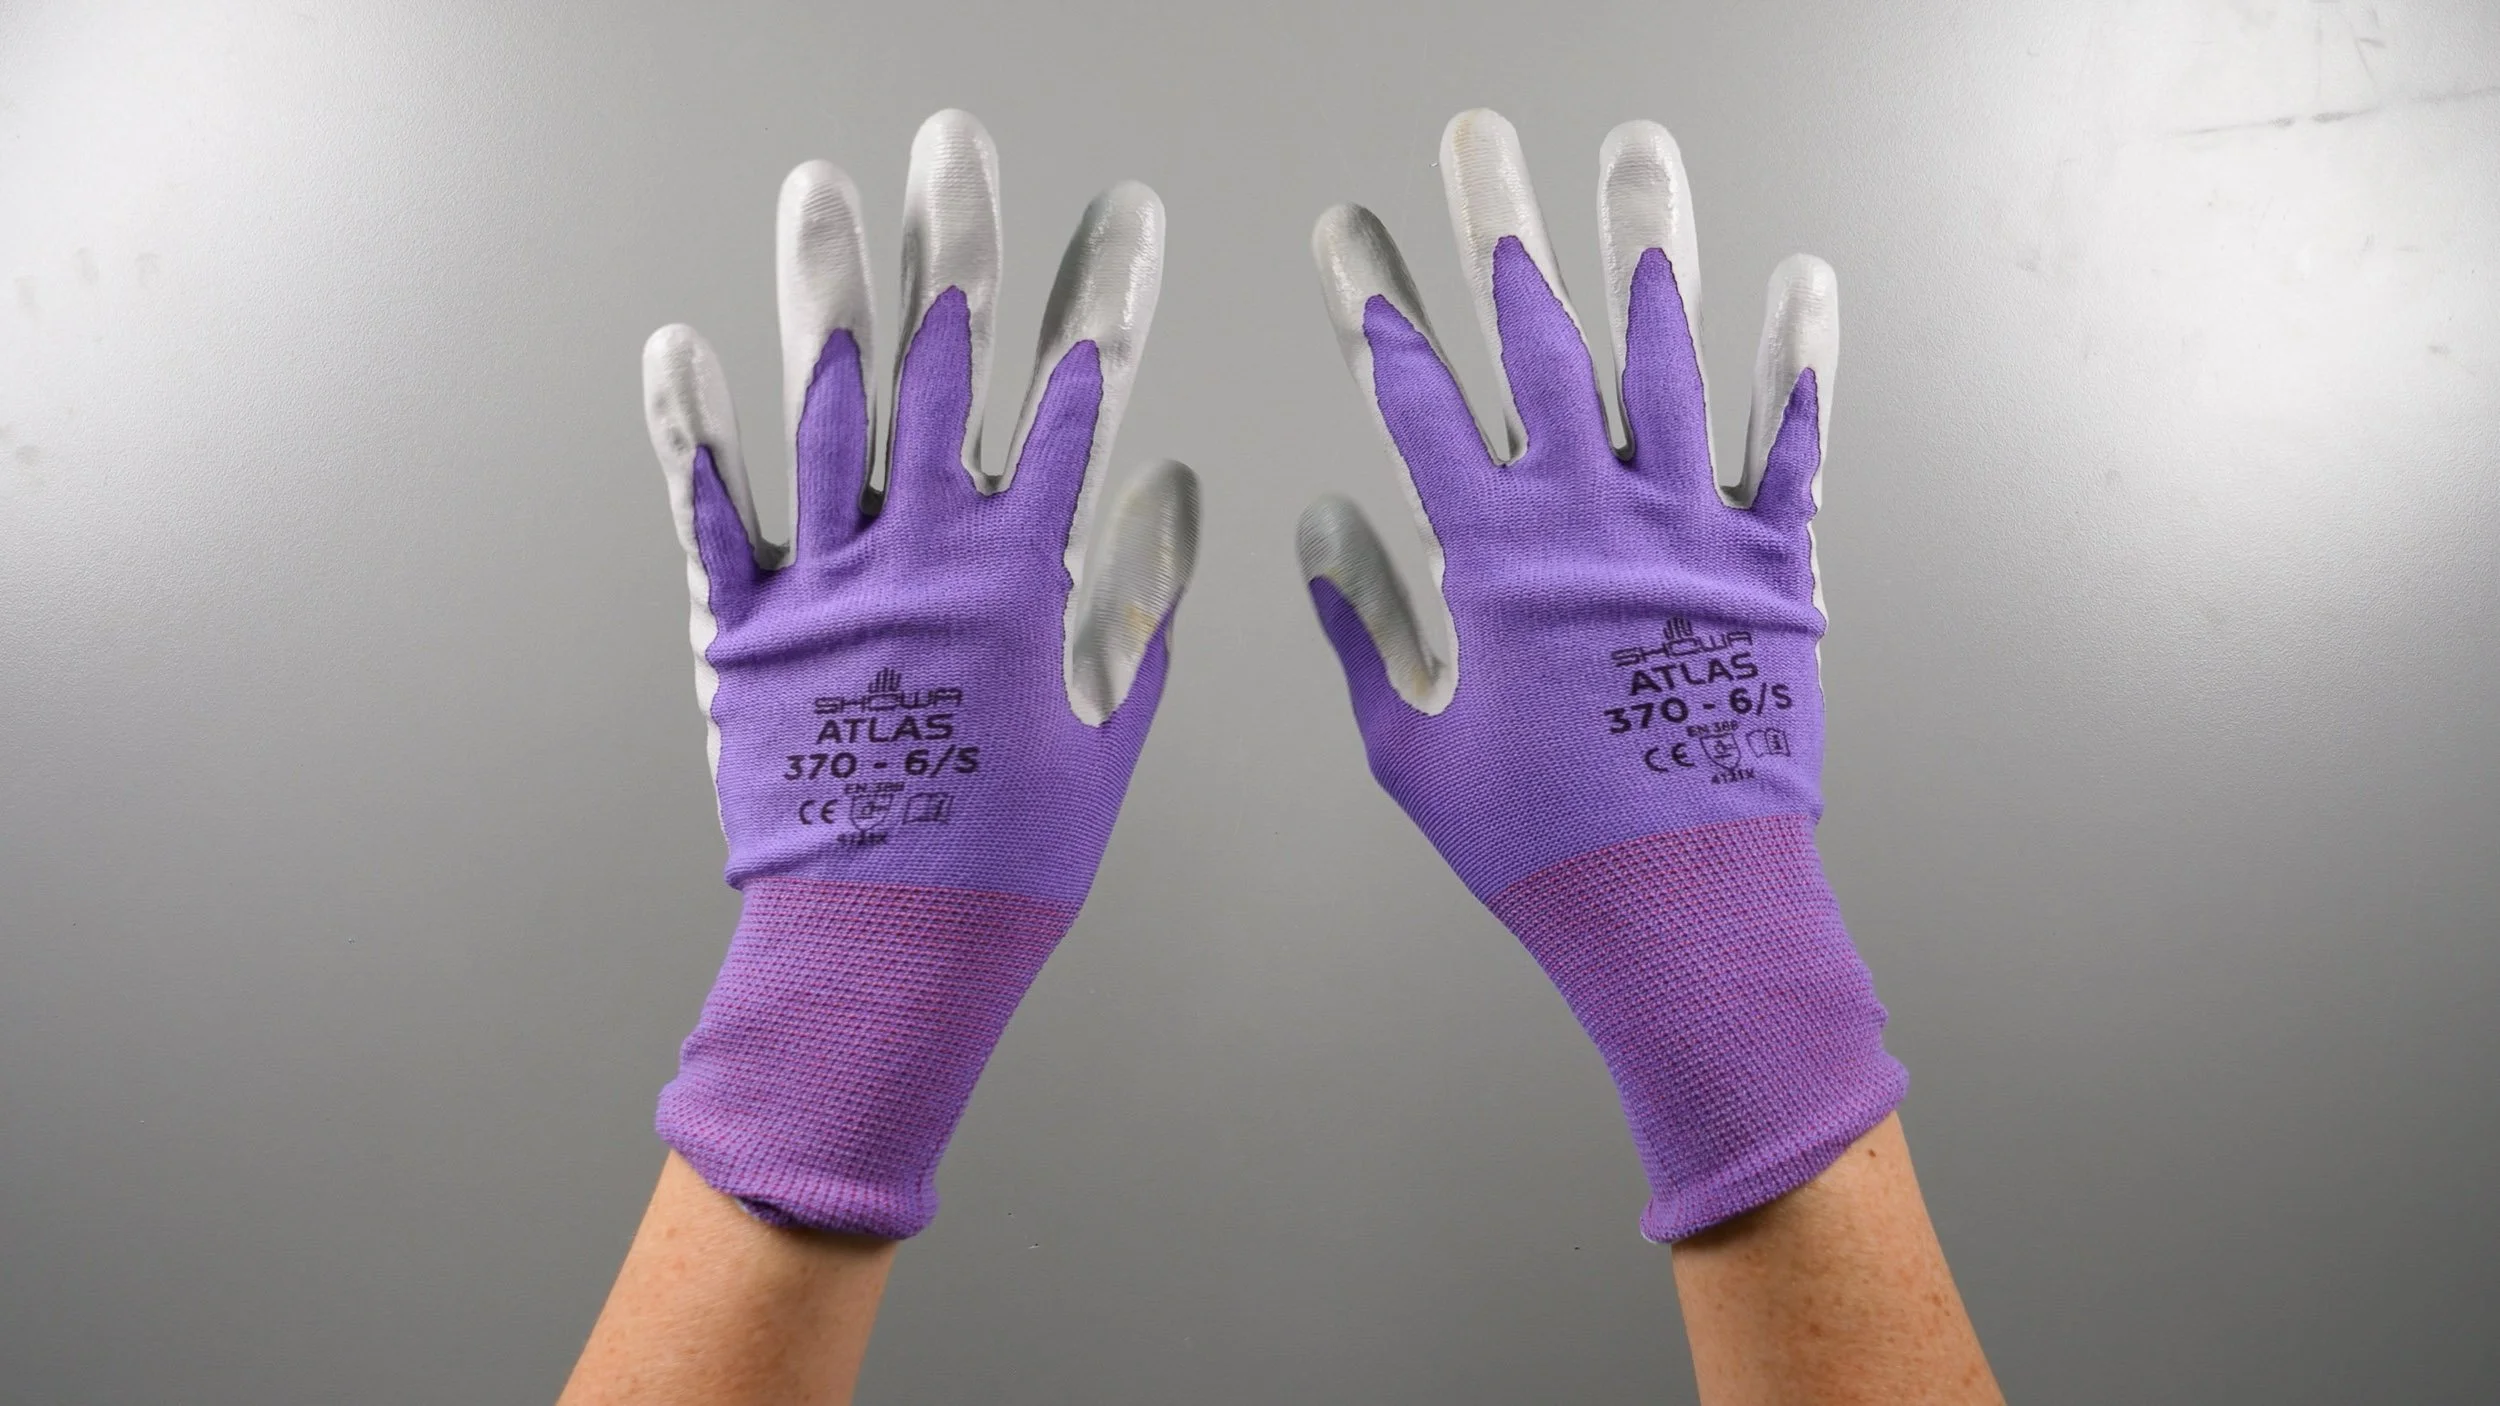
GLOVES
I’m a fan of Atlas gardening gloves because they have a nitrile coating that’s lightly heat-resistant and they come in a small size that actually fits my hands (ladies, why is that such an impossible quality to find??).
When cleaning glass, I wear ~6mil nitrile gloves because they never tear and they don’t have powder coatings that can trigger devitrification.

SAFETY GOGGLES
I wear a simple pair of safety goggles I found on Amazon. I like that they’re strong, lightweight, and have side shields for full protection.

RESPIRATOR
I use a 3M respirator because it’s NIOSH-approved and adjustable so I can get it to fit my face exactly.
I use P100 fume and particulate cartridges with it because they’re also NIOSH-approved and used by pros in commercial industries like construction/painting/woodwork/etc.
Note that many of the above are links from my Amazon Affiliate Storefront, so if you purchase through them you’re supporting me (thank you!). However, if the exact product I use in my studio isn’t on Amazon, I’ve linked to where it is available instead of finding an Amazon alternative because I will never recommend a product or brand that I don’t truly believe in and use myself.
Don’t Be Late for Class!
Learned Something Valuable?
Say Thanks!
👋🏻 Hi! Your instructor, Jackie Knowles here!
Even though I put my heart, soul, and tons of time into creating this course,
I offer it completely free because I want everyone to have an easily accessible introduction
to this art form that I love so much…
…and I believe that creating makes people happy,
and happy people make the world a more fun place to live. 🌍
But if you find this course valuable, you can show me some love with a donation by clicking ‘Buy me a coffee’ ! I reinvest every cent I earn right back into my little biz so I can continue making better and better things for you!
Sharing this course with a friend or on socials is another great way to support my efforts!
If you use your newly-learned skills to make something awesome,
tag @GlassworkPixie to spread the word. 📢
