
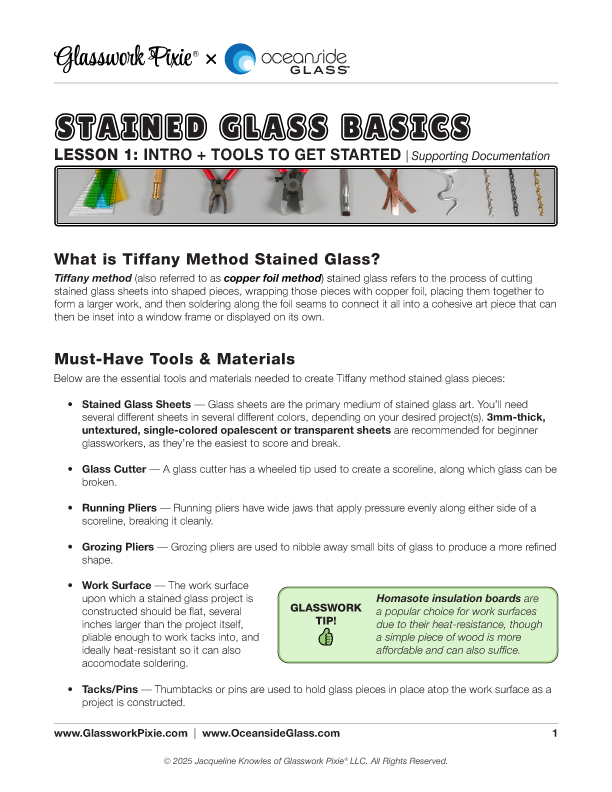
STAINED GLASS BASICS
Glasswork Pixie® partners with Oceanside Glass™ in this instructional series to teach the foundational skills needed to create stained glass pieces.
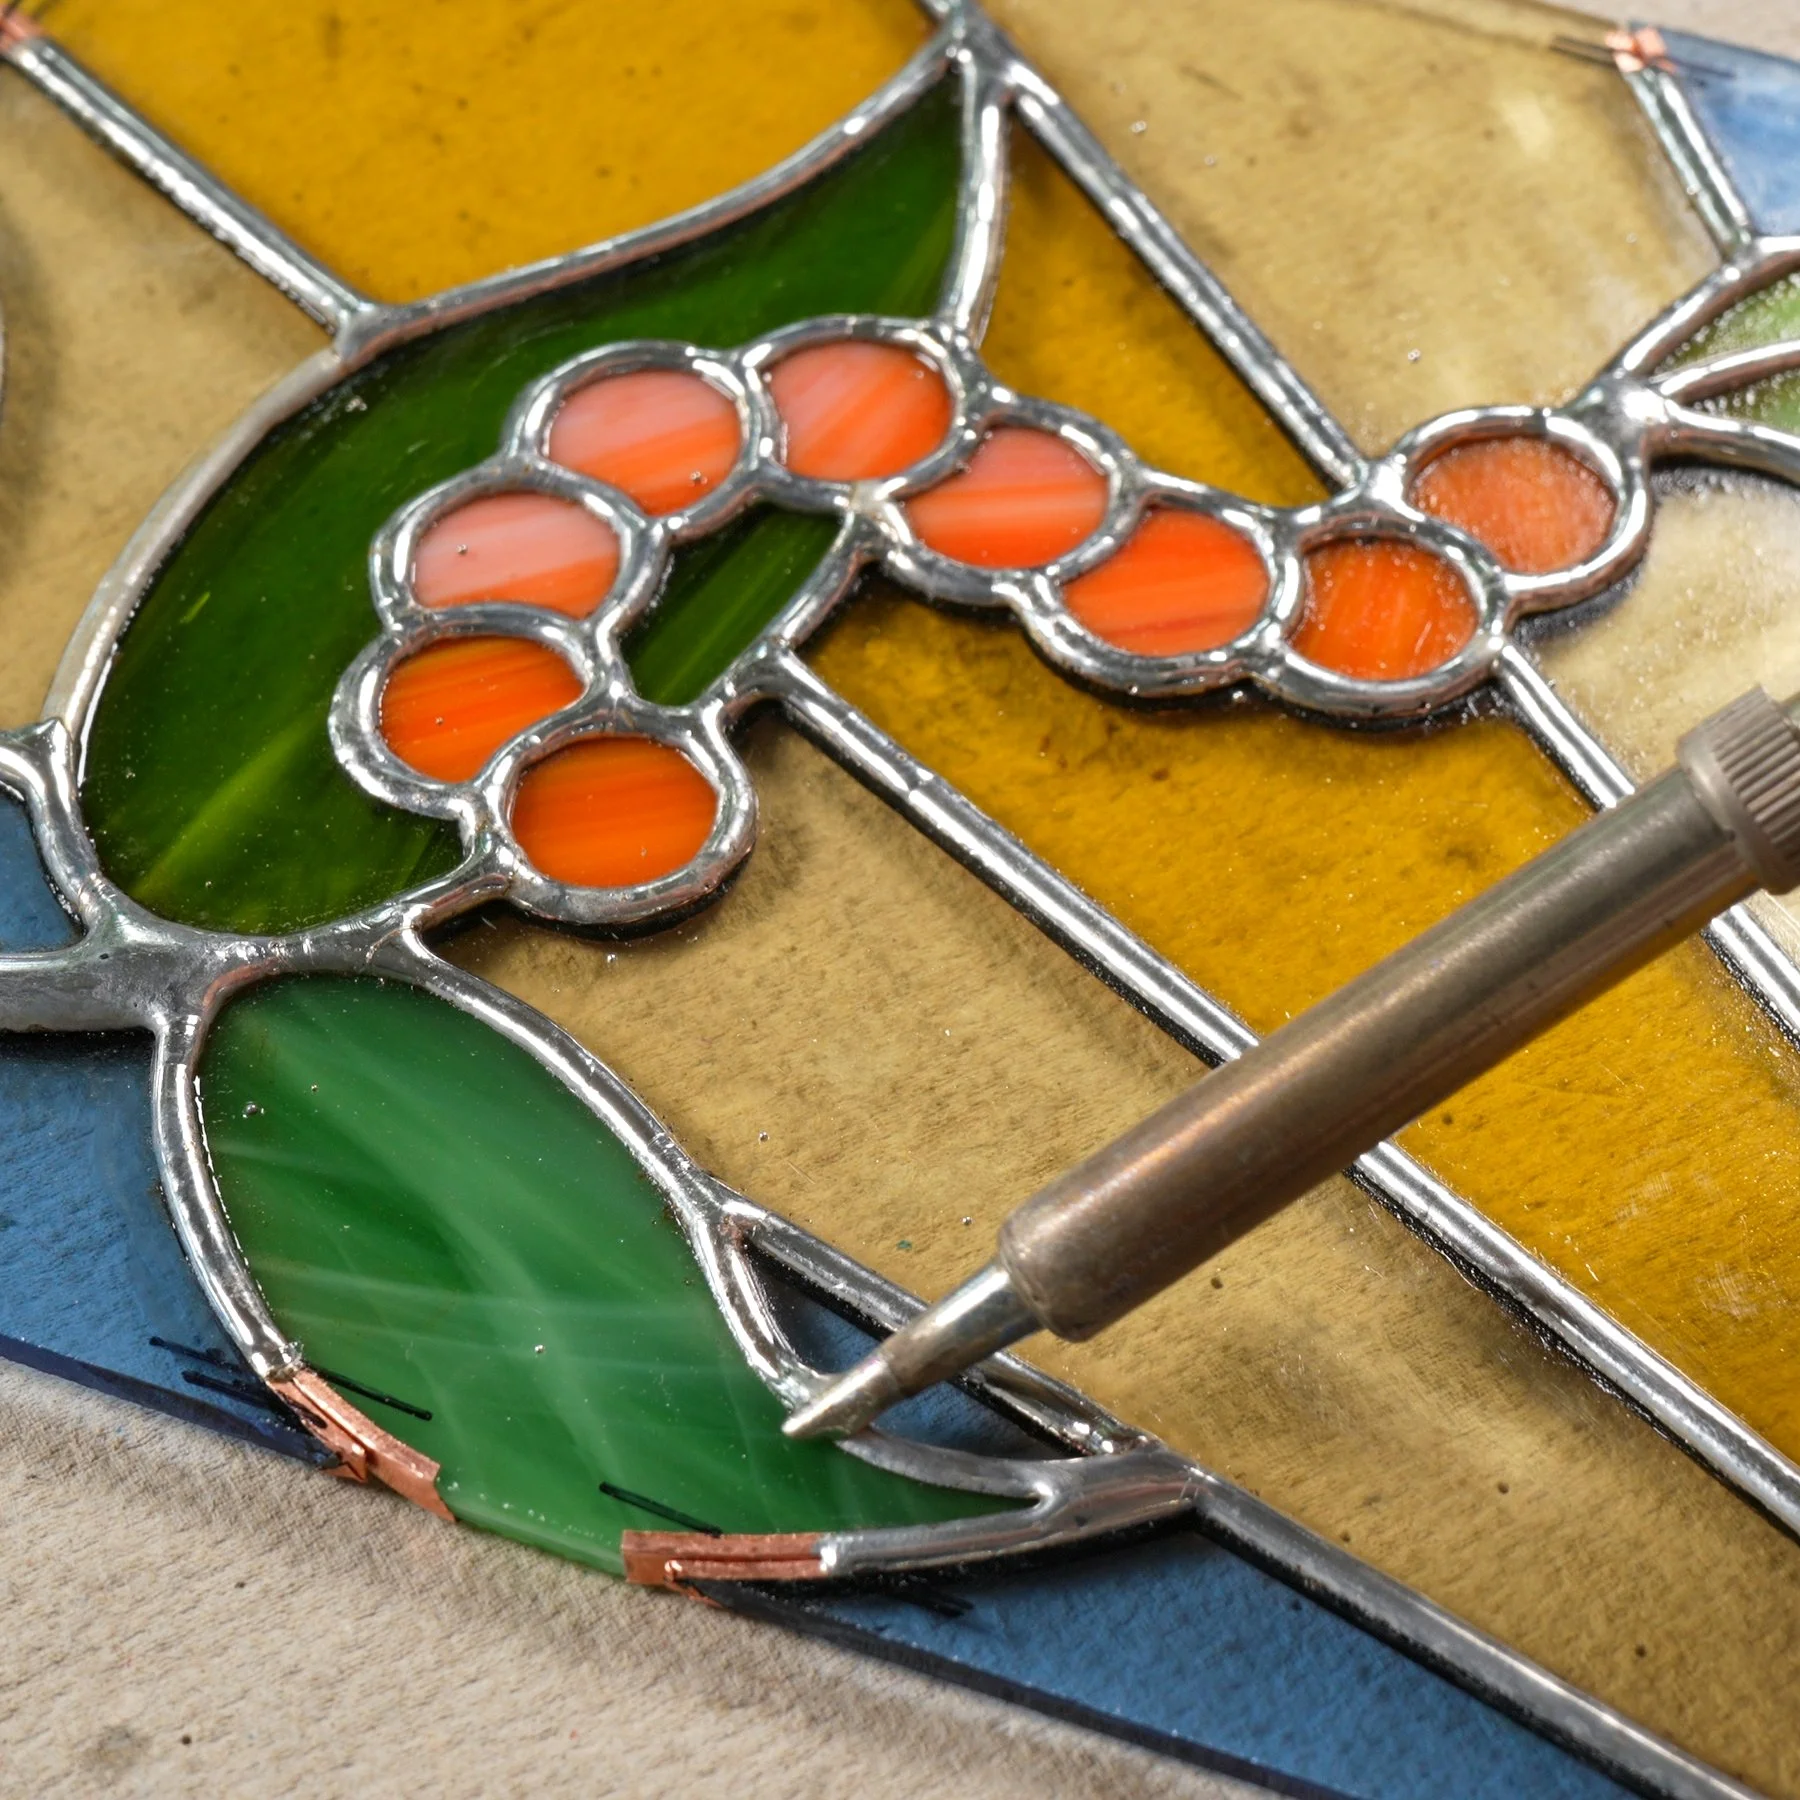
This course covers all the key techniques of crafting Tiffany-method stained glass, from cutting and shaping glass, to copper foiling, soldering, framing, and every step up to hanging a finished piece!
-
Lesson 1
-
Lesson 2
-
Lesson 3
-
Lesson 4
-
Lesson 5
-
Lesson 6
-
Lesson 7
-
Lesson 8
-
Lesson 9
-
Supplementary Lesson A
-
Supplementary Lesson B
-
Supplementary Lesson C
Each Lesson Includes
Supporting Documentation
Jam-Packed with Valuable Info!
Meet the Course Creators
|
Meet the Course Creators |
JACKIE KNOWLES
Glass Artist | Course Creator & Producer
“I collaborated with Oceanside Glass™ to create this series as a comprehensive introductory course to stained glass.
As an experienced artisan of the craft, I've structured it to include everything I wish I knew when I first started, as well as knowledge it took me years to learn, with the goal of providing a free, easy-to-follow method of becoming skilled in this unique art form.
I’ve used Oceanside Glass™ products in my studio for years because their consistent quality and wide spectrum of stunning colors enable me to create beautifully vibrant pieces that I know will withstand the test of time.”
— Jackie Knowles
Creator of Glasswork Pixie®
Glass Manufacturer | Course Collaborator & Sponsor
You’ll Learn to…
-
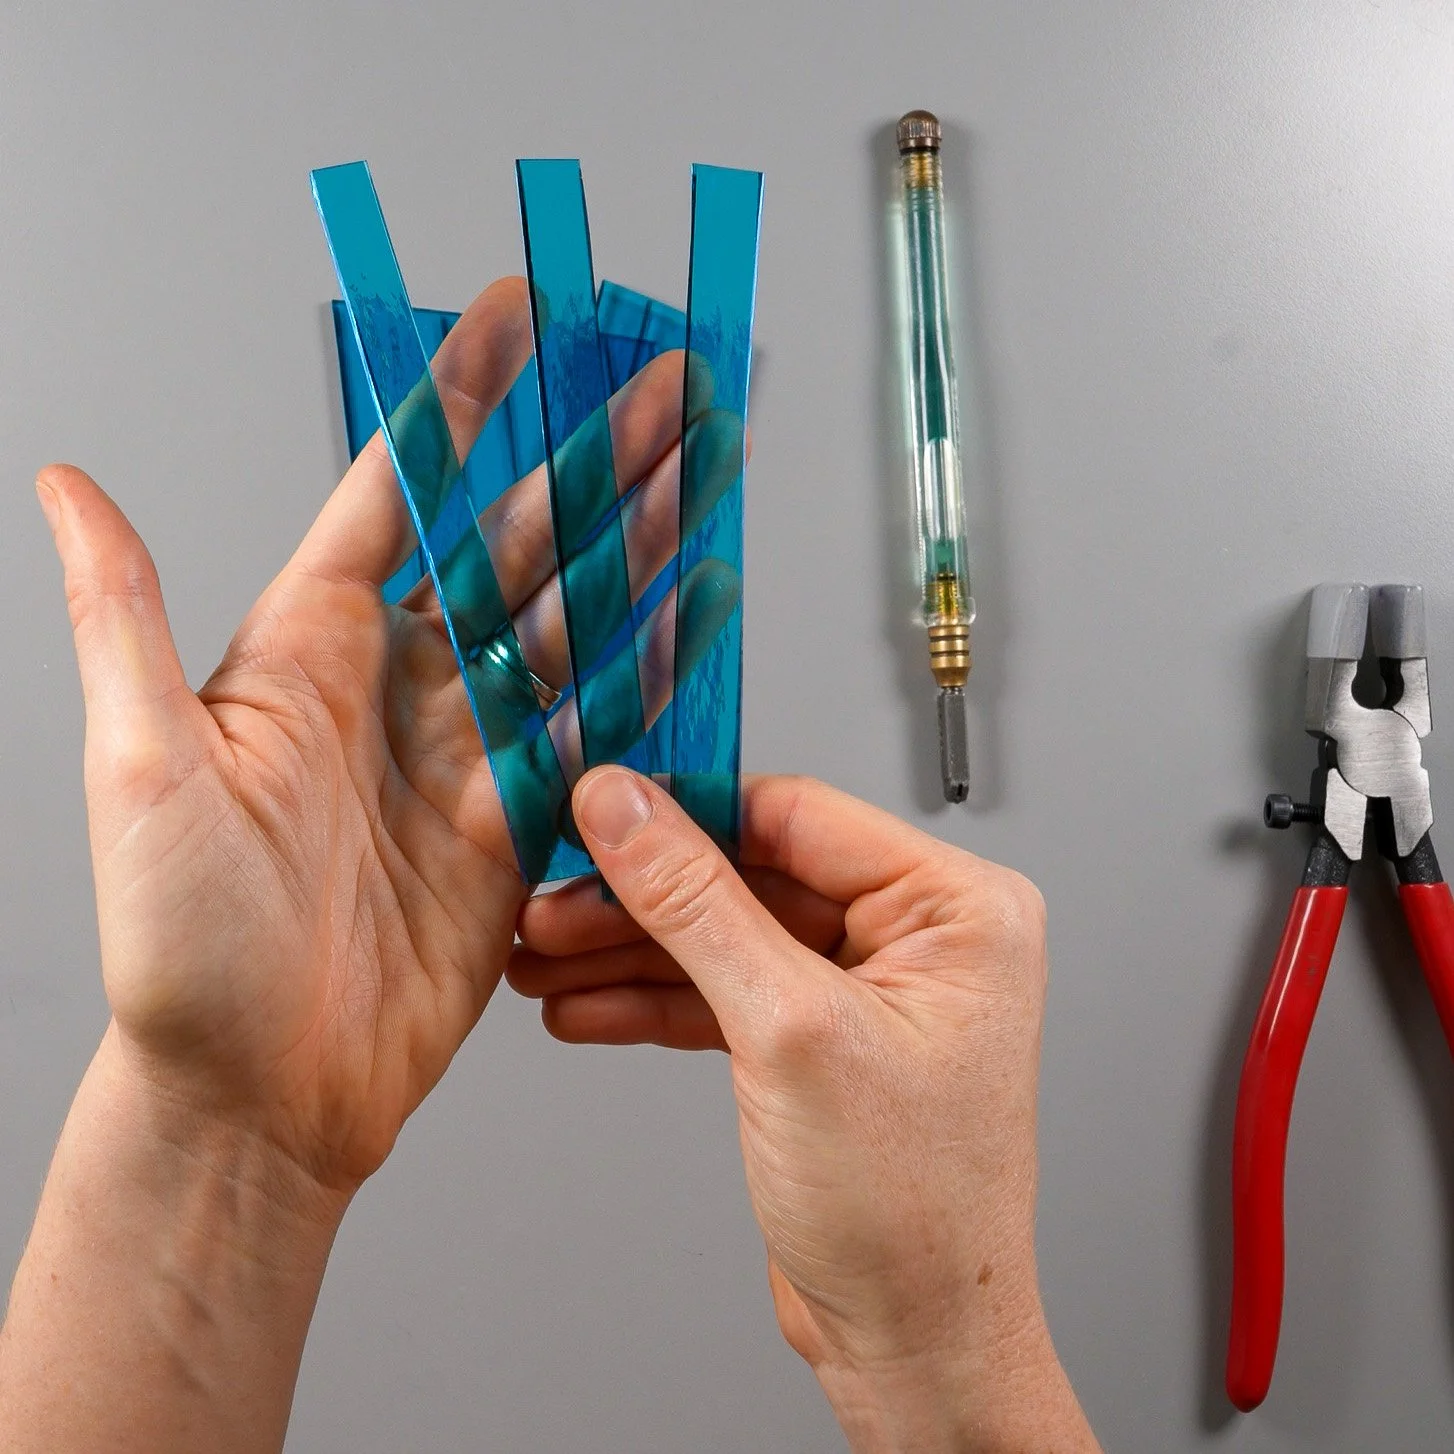
Become adept at handling glass like a pro, utilizing a glass cutter and various pliers to break sheets into straight strips, organic shapes, tight curves, and more, all while avoiding sharp edges.
-
Connect glass shapes into a cohesive project by learning how to wrap pieces evenly with copper foil and use a soldering iron to build consistently smooth, strong solder beads along each foil seam.
-
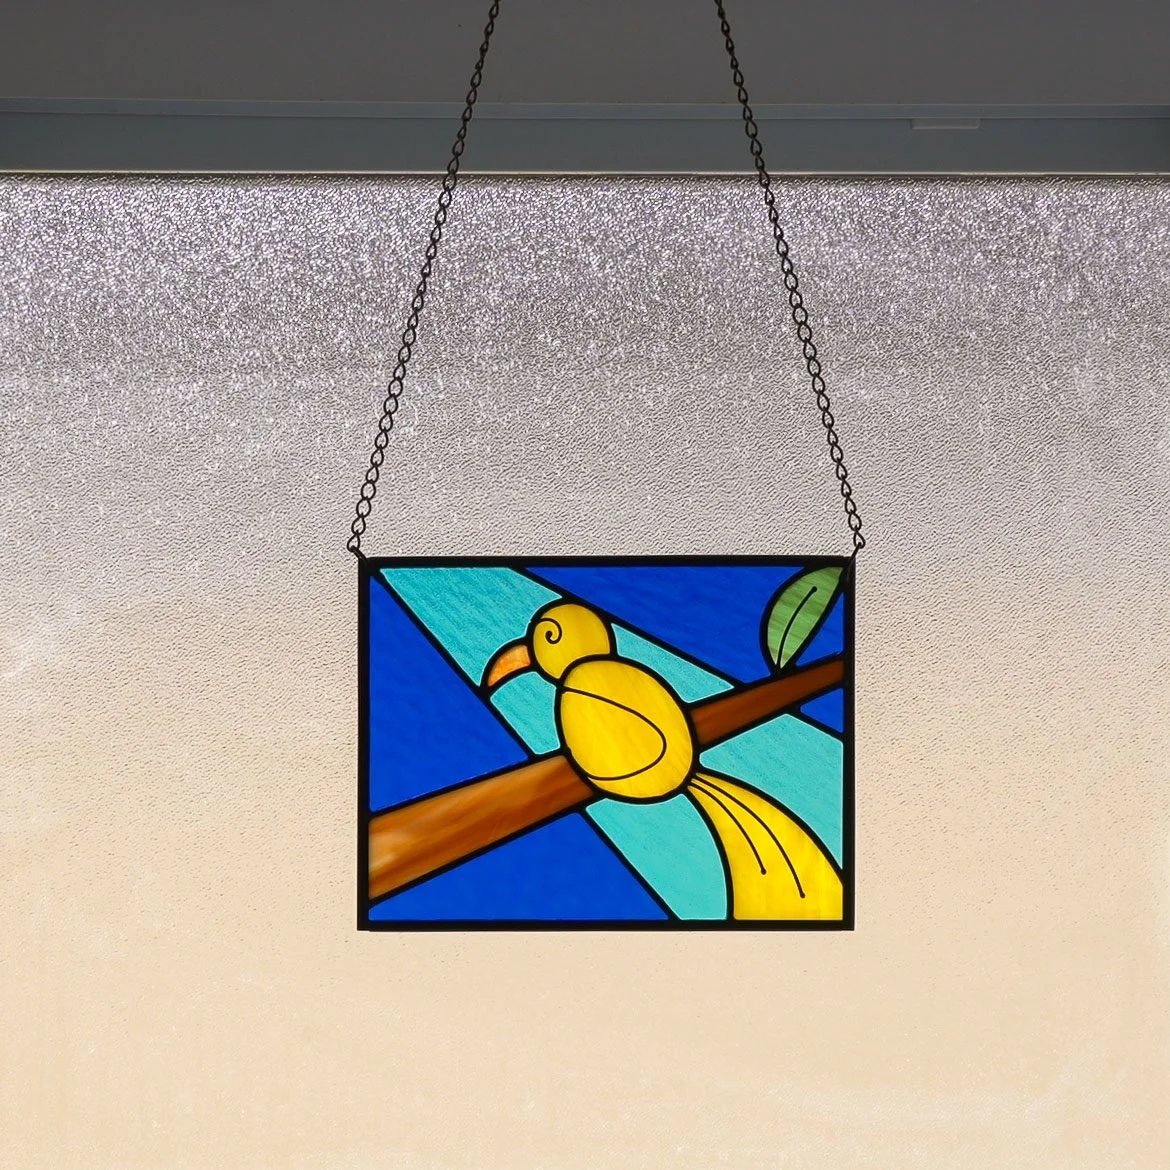
Develop the skills to give projects a high-quality, professional finish by framing them with crisp metal channels and steel chains that provide sturdy support while complementing pieces’ aesthetics.
Course FAQ
-
This course consists of 9 video lessons (each with a supporting .pdf documentation file), plus 3 supplementary lessons for those who want a little extra. The lessons vary in length, but most videos are between 8-12 minutes long.
-
Watching them in order will give you the best, most comprehensive learning experience! However, each lesson can stand on its own, so if you're interested in a specific topic or are having trouble in one particular area, feel free to jump around.
-
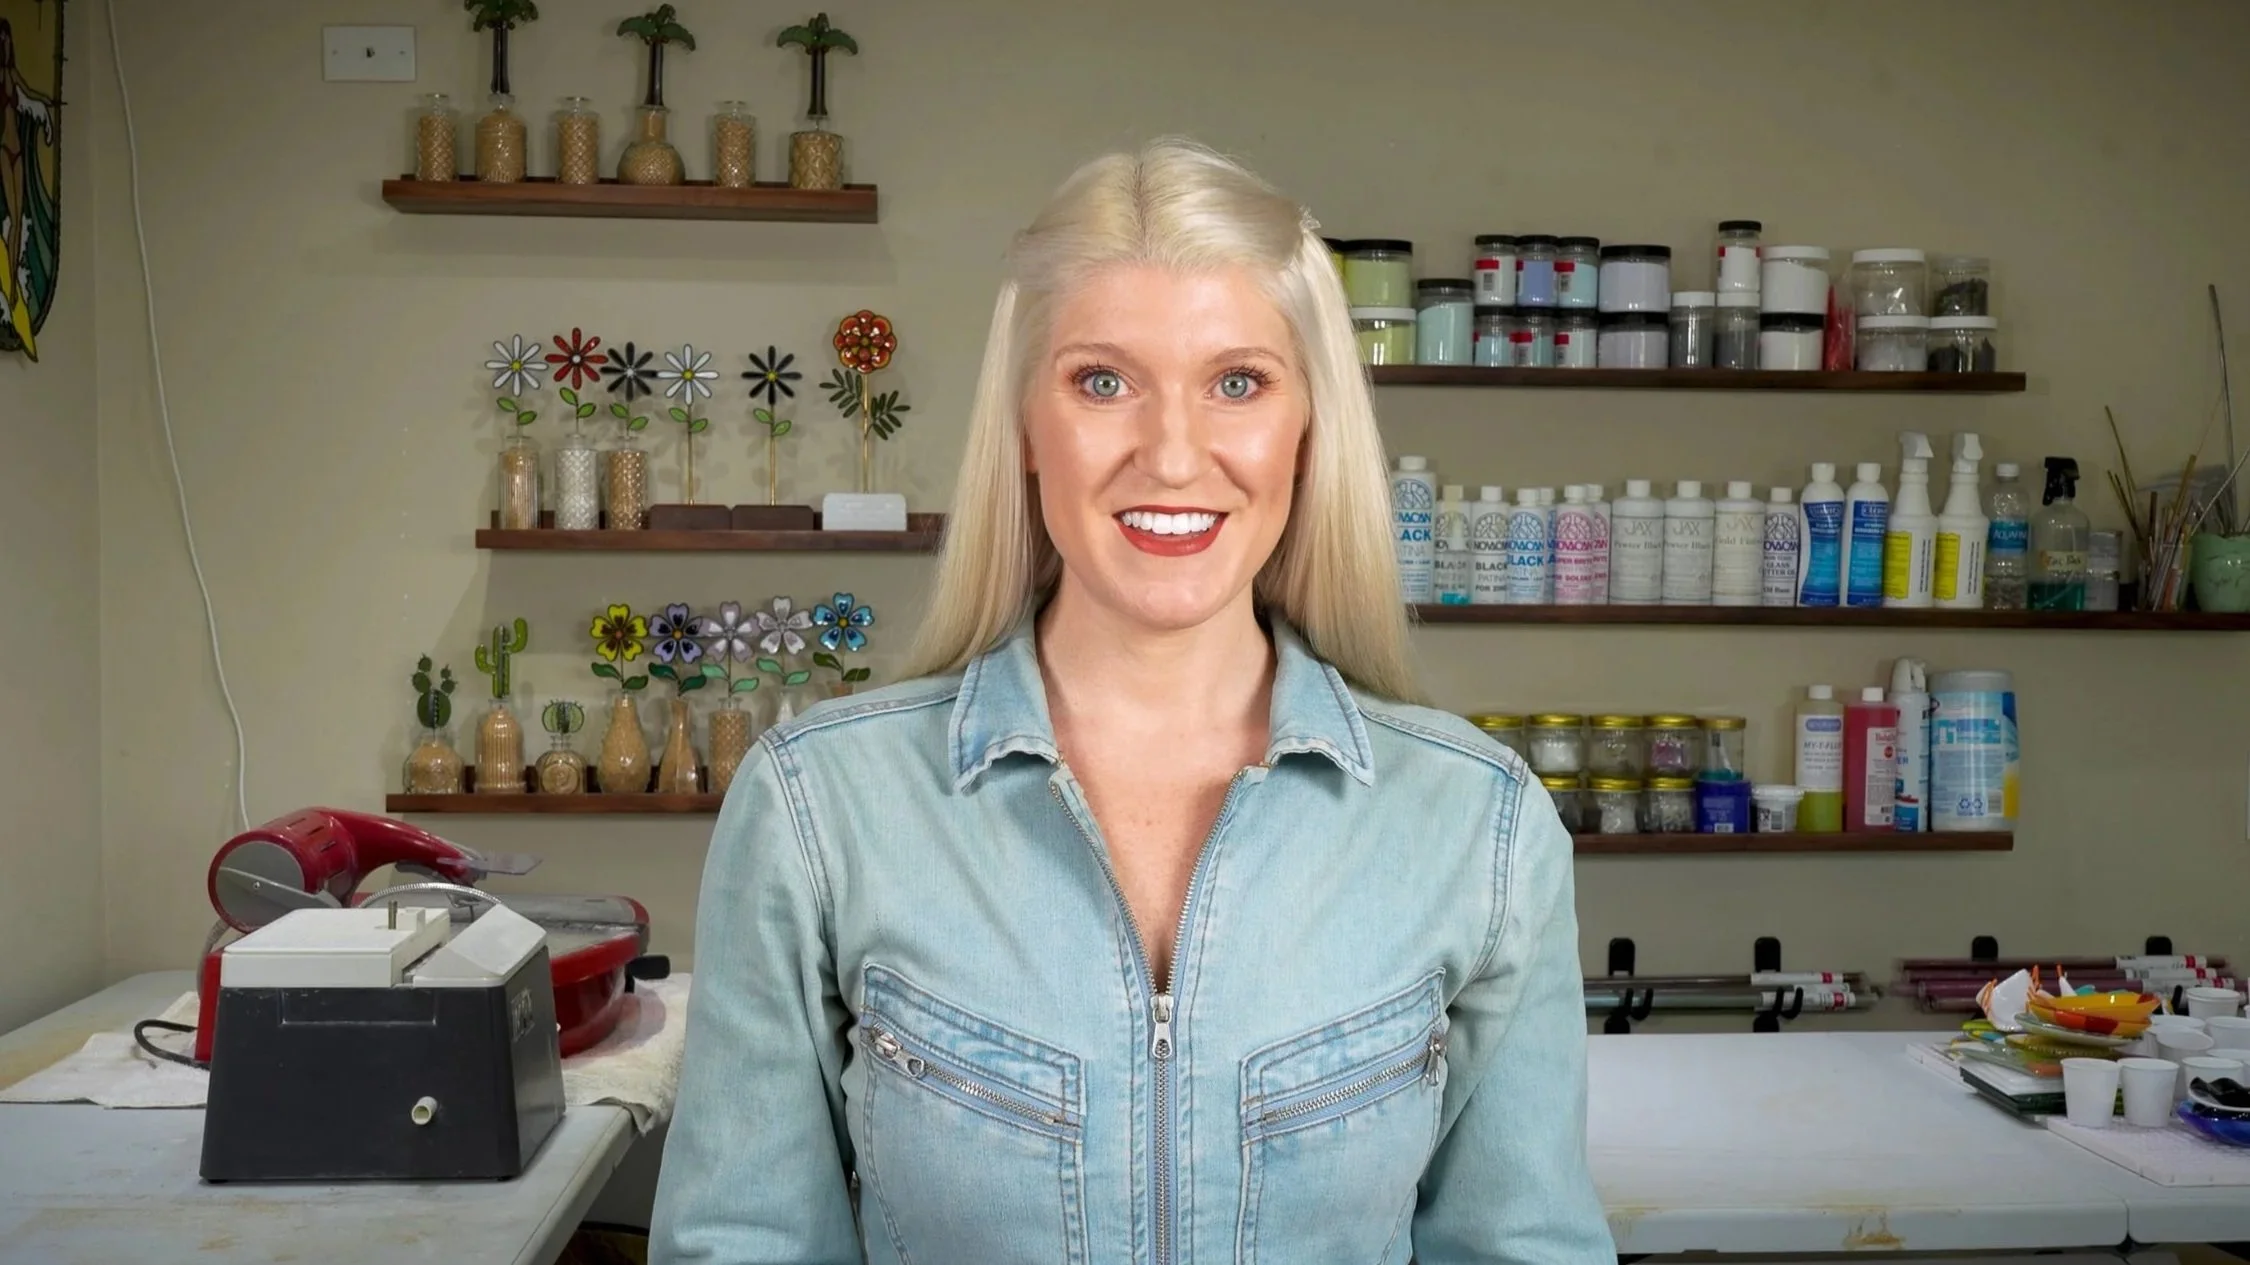
It's me, Jackie Knowles!
I've been glassworking professionally since 2017 (although I originally began this craft way back in the 90s, after being taught it by my father), and have meticulously documented my learning process the whole way through. After years of research, experimentation, and trial-and-error to develop my own skillset, I'm thrilled to begin formally sharing what I've learned with other creatives.
You can learn more about my story here, and you can keep up to date with my latest glass endeavors by reading my Studio Journal.
& thanks for your interest in this course!
-
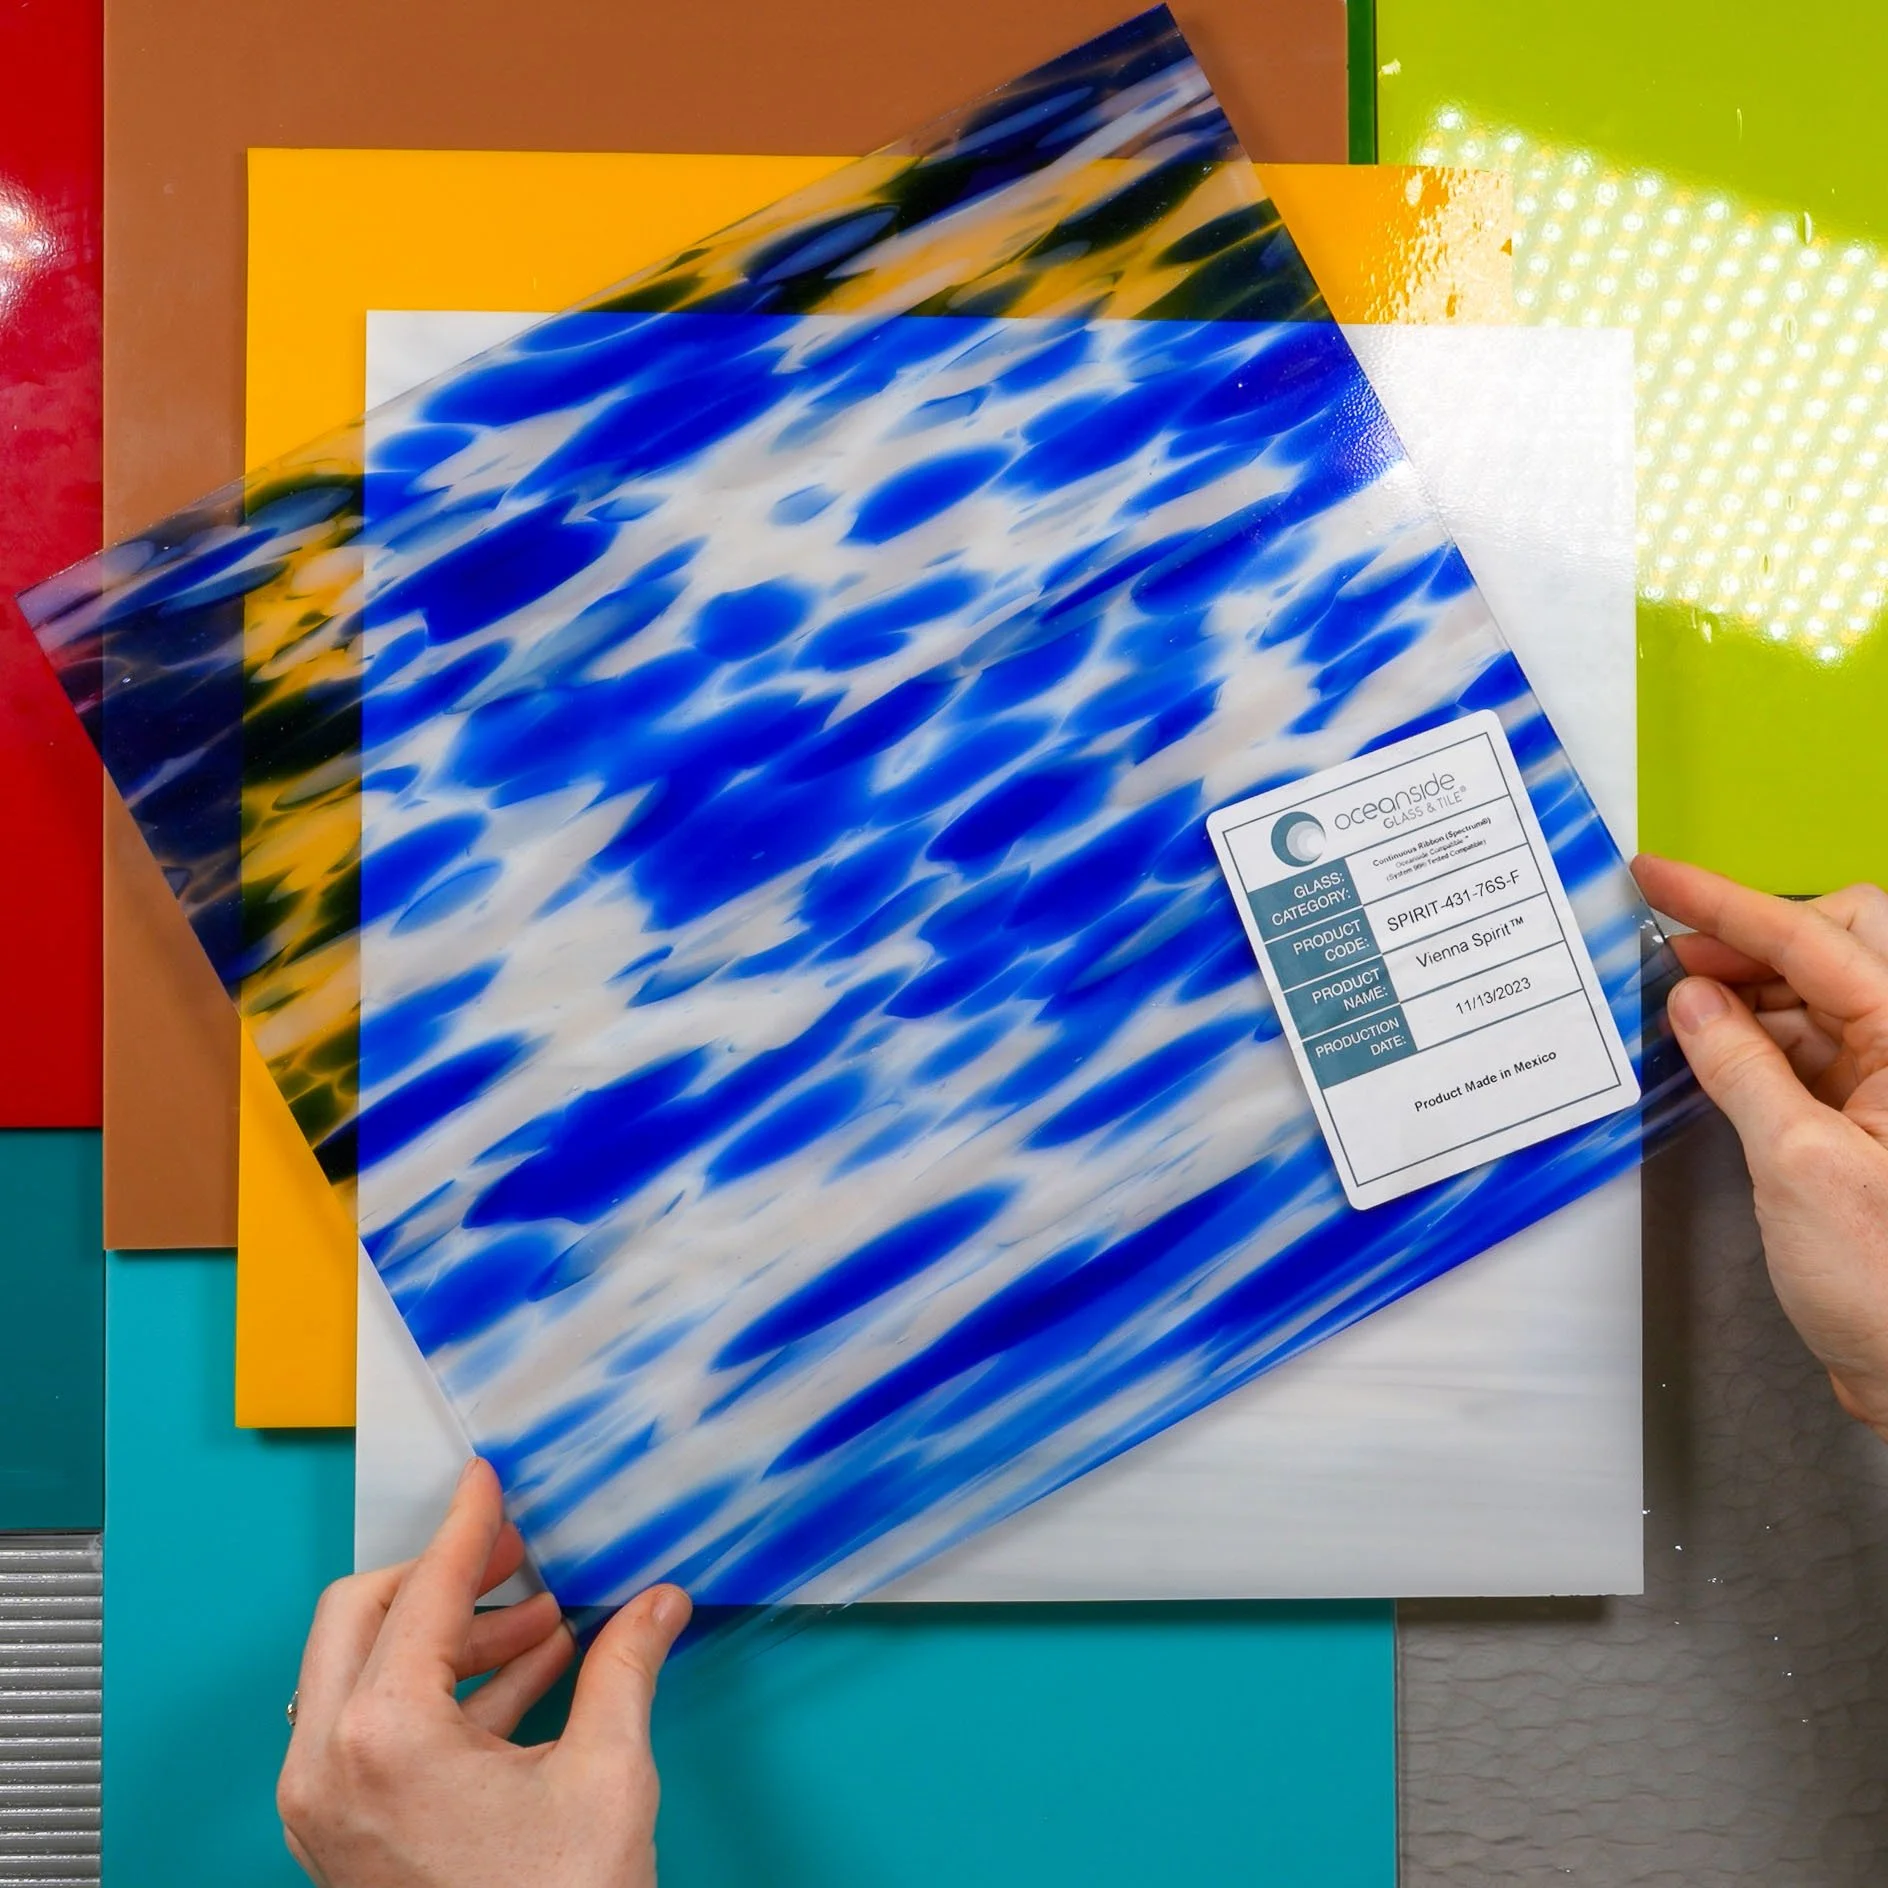
Oceanside Glass™ is the proud sponsor and collaborator of this course!
Every glass product used by Glasswork Pixie® during these lessons is from their catalogue, so if a certain glass catches your eye during a video, check OceansideGlass.com to find out more about it.
Recommended Tools & Materials
👋🏻 Hi! Your instructor, Jackie Knowles here!
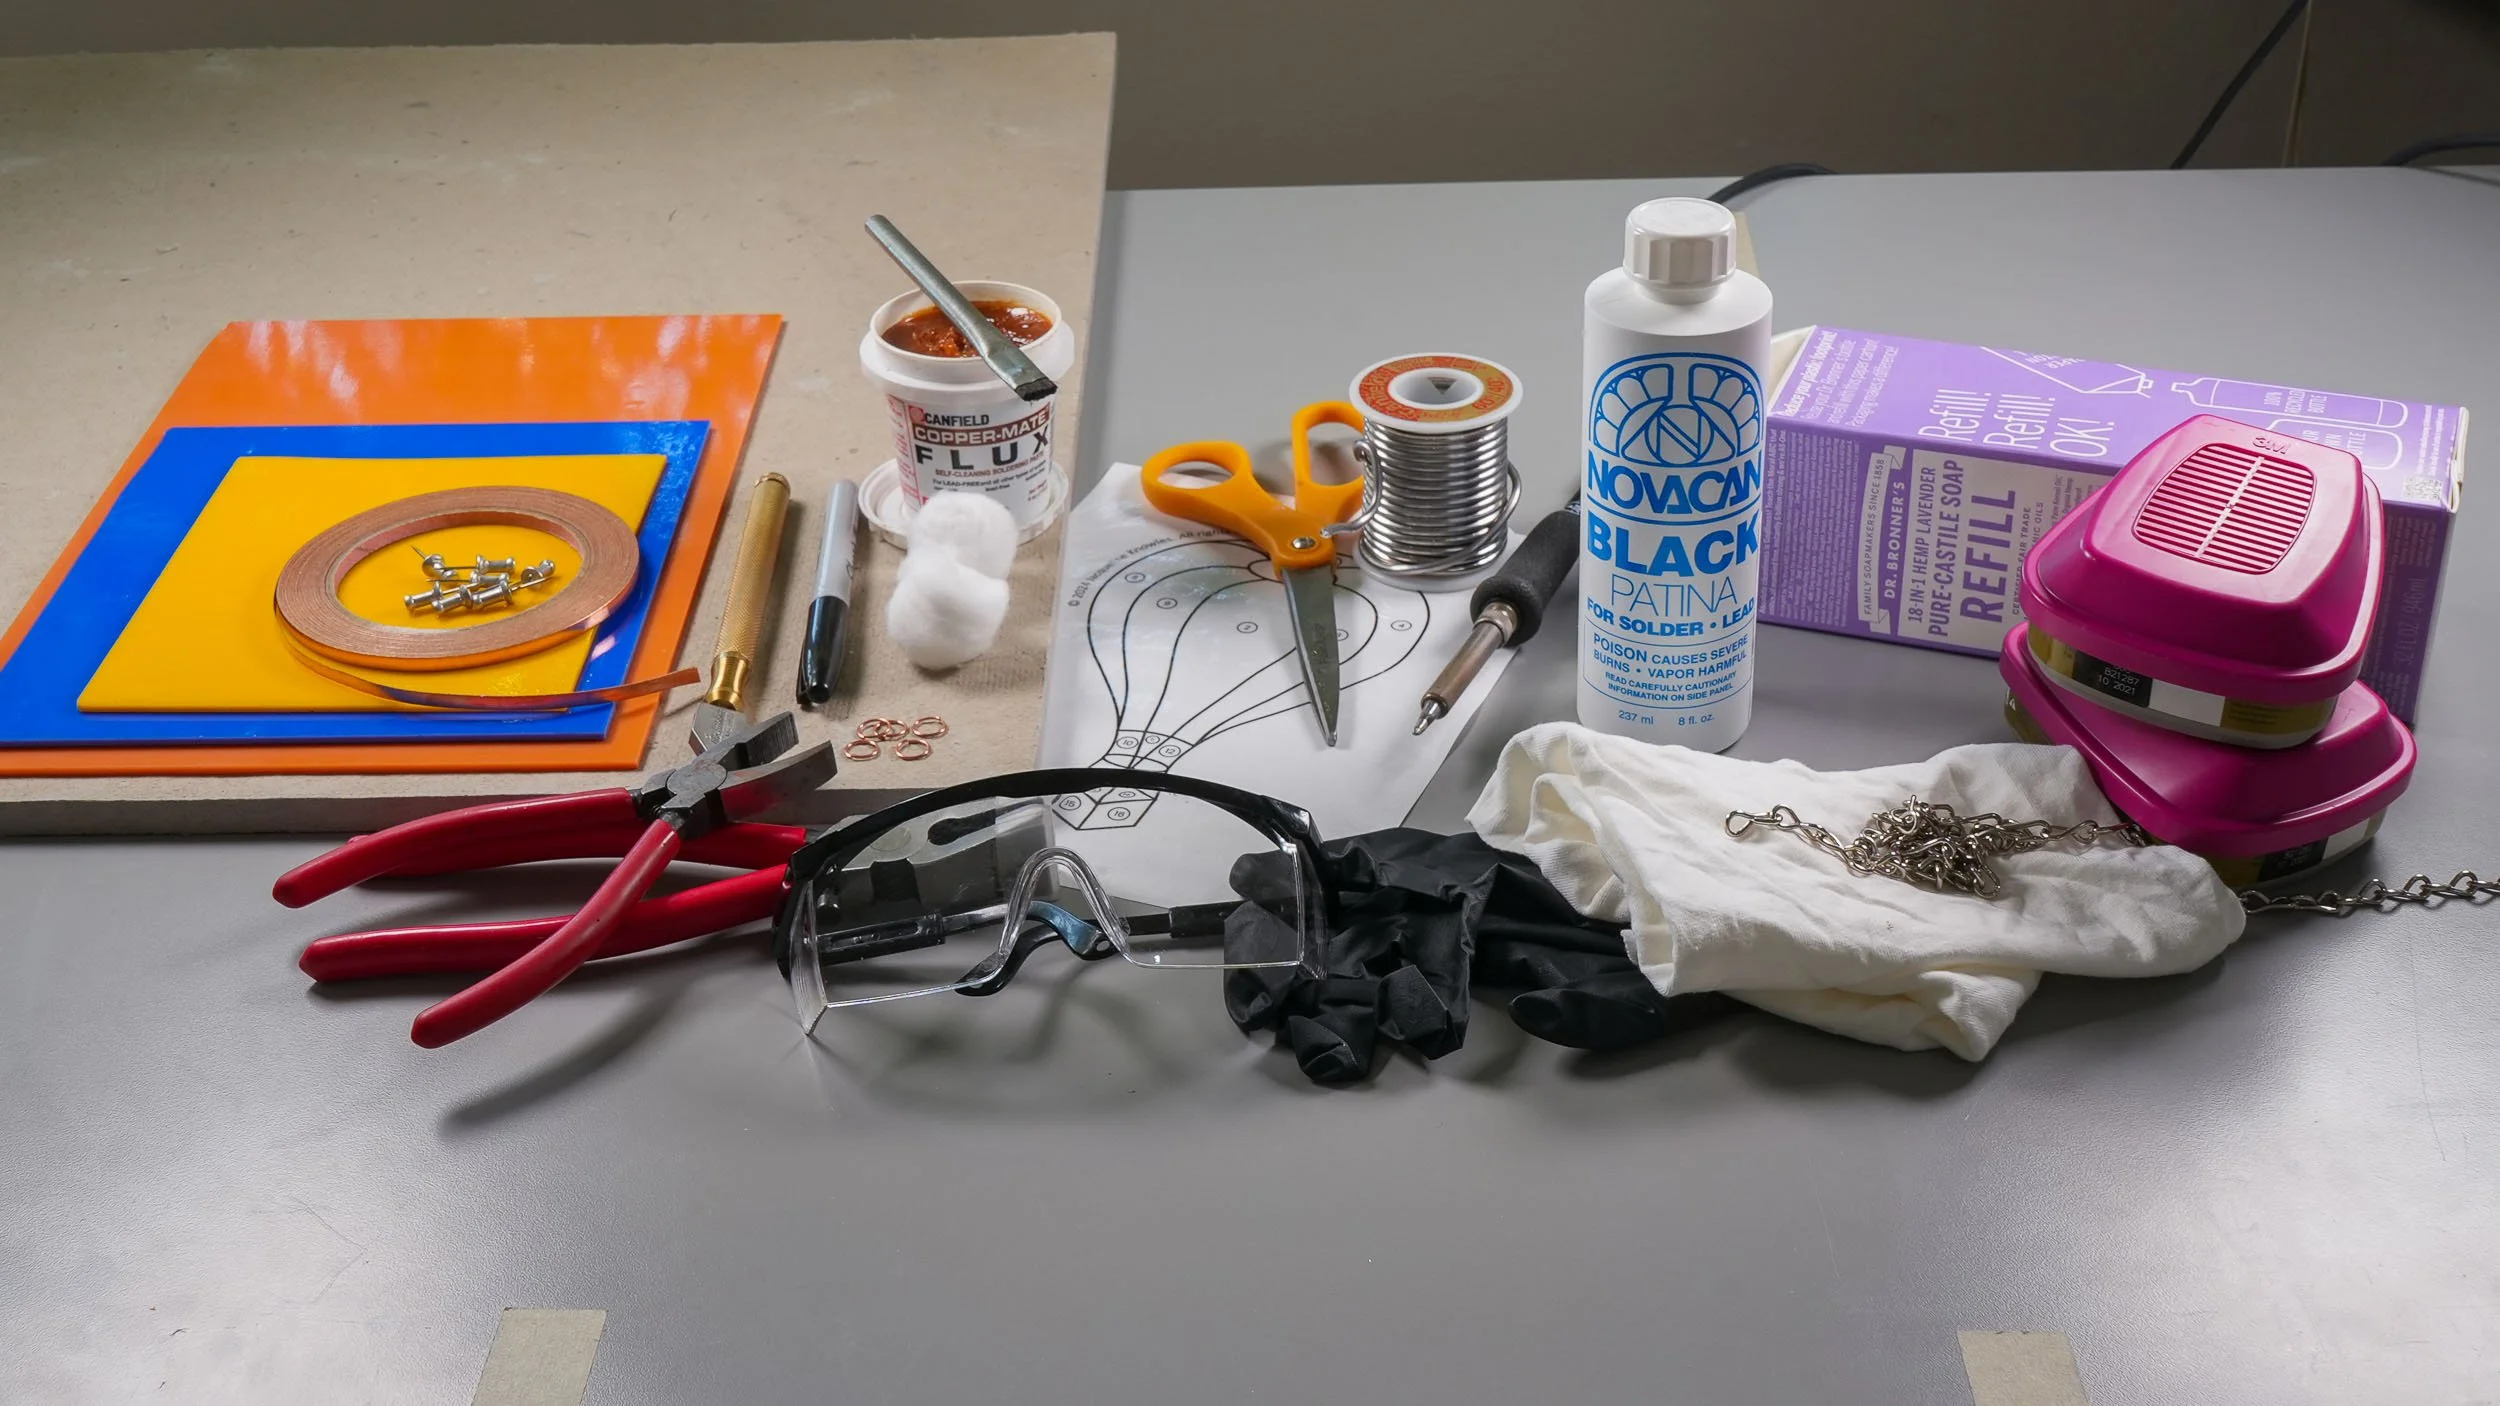
These are the tools and materials used in the Glasswork Pixie® stained glass studio.
I’ve tried countless different items over the years, and this is the list of those that I’ve found to be the most reliable, user-friendly, and conducive to creating quality art pieces; I highly recommend them to both beginners and experienced artists alike!
Watch Lesson 1 to learn more about these items, including exactly how each one is used in the stained glass process.

STAINED GLASS
Oceanside Glass™ glass sheets make up about half of my supply, and they’re very beginner-friendly. I also frequently use sheets made by Bullseye, Wissmach, and Youghiogheny.
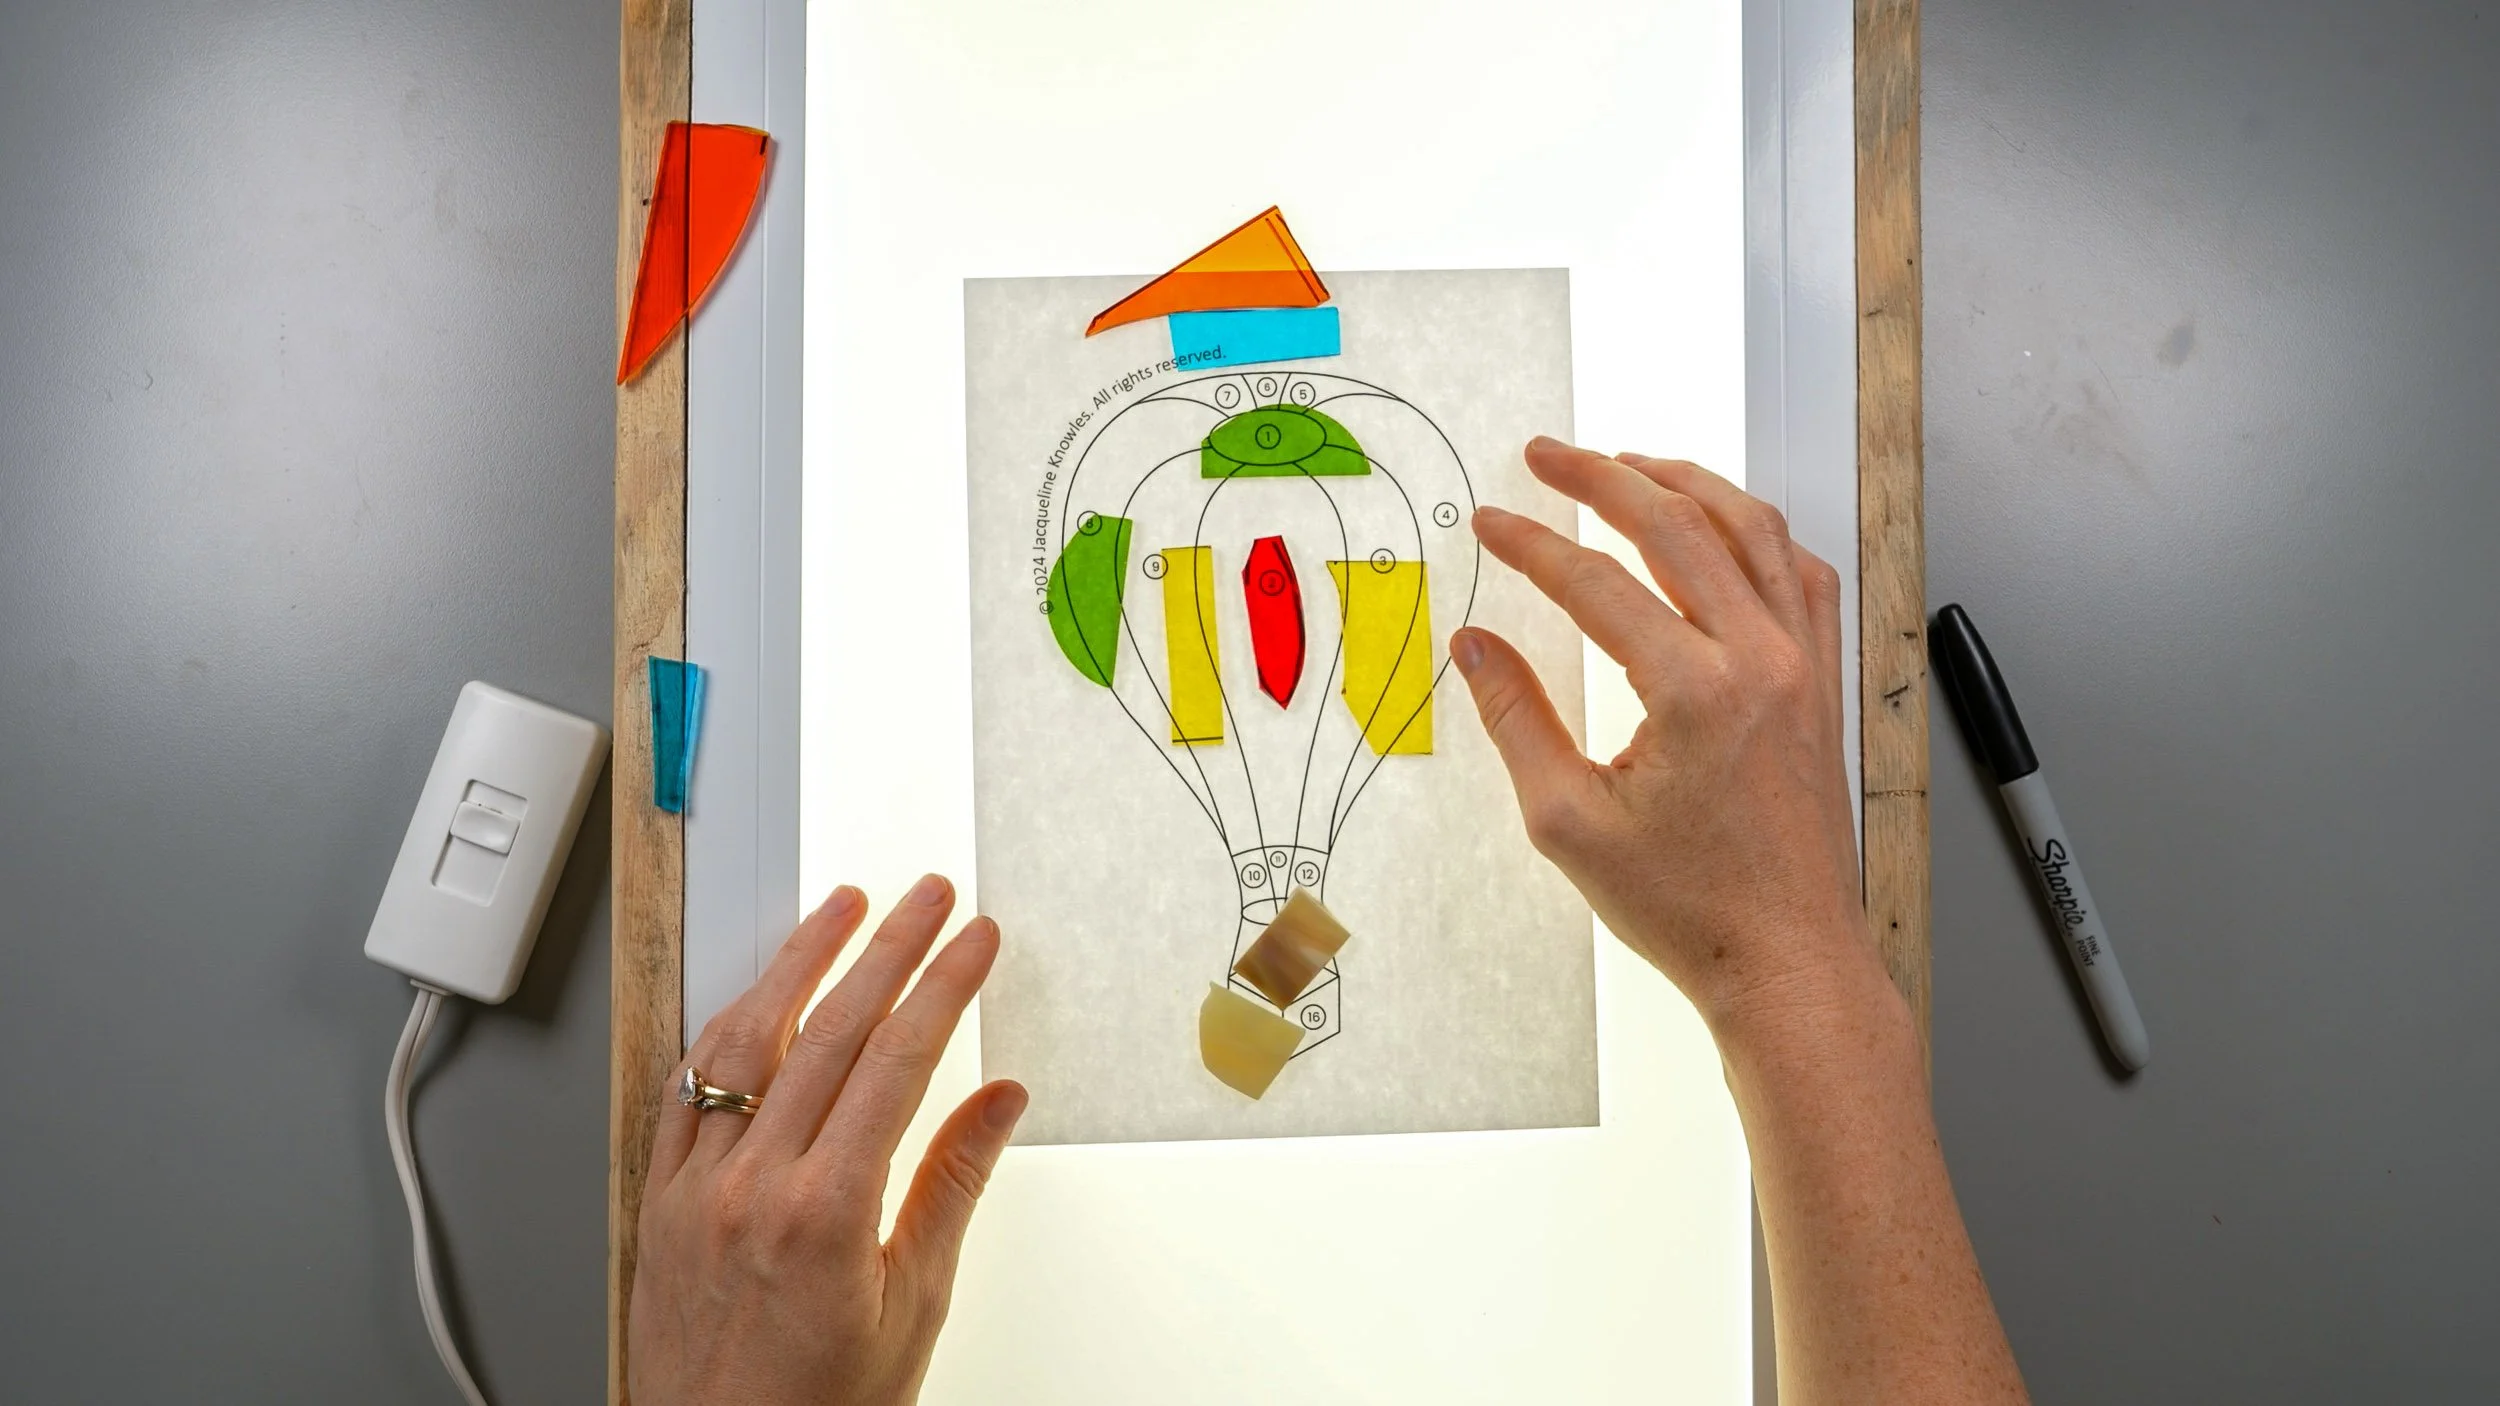
LIGHTBOARD
I use a one-of-a-kind lightboard made by a friend, but if I had to buy one I’d probably try HSK’s version because it’s dimmable, available in several different sizes, and has thousands of positive reviews on Amazon.
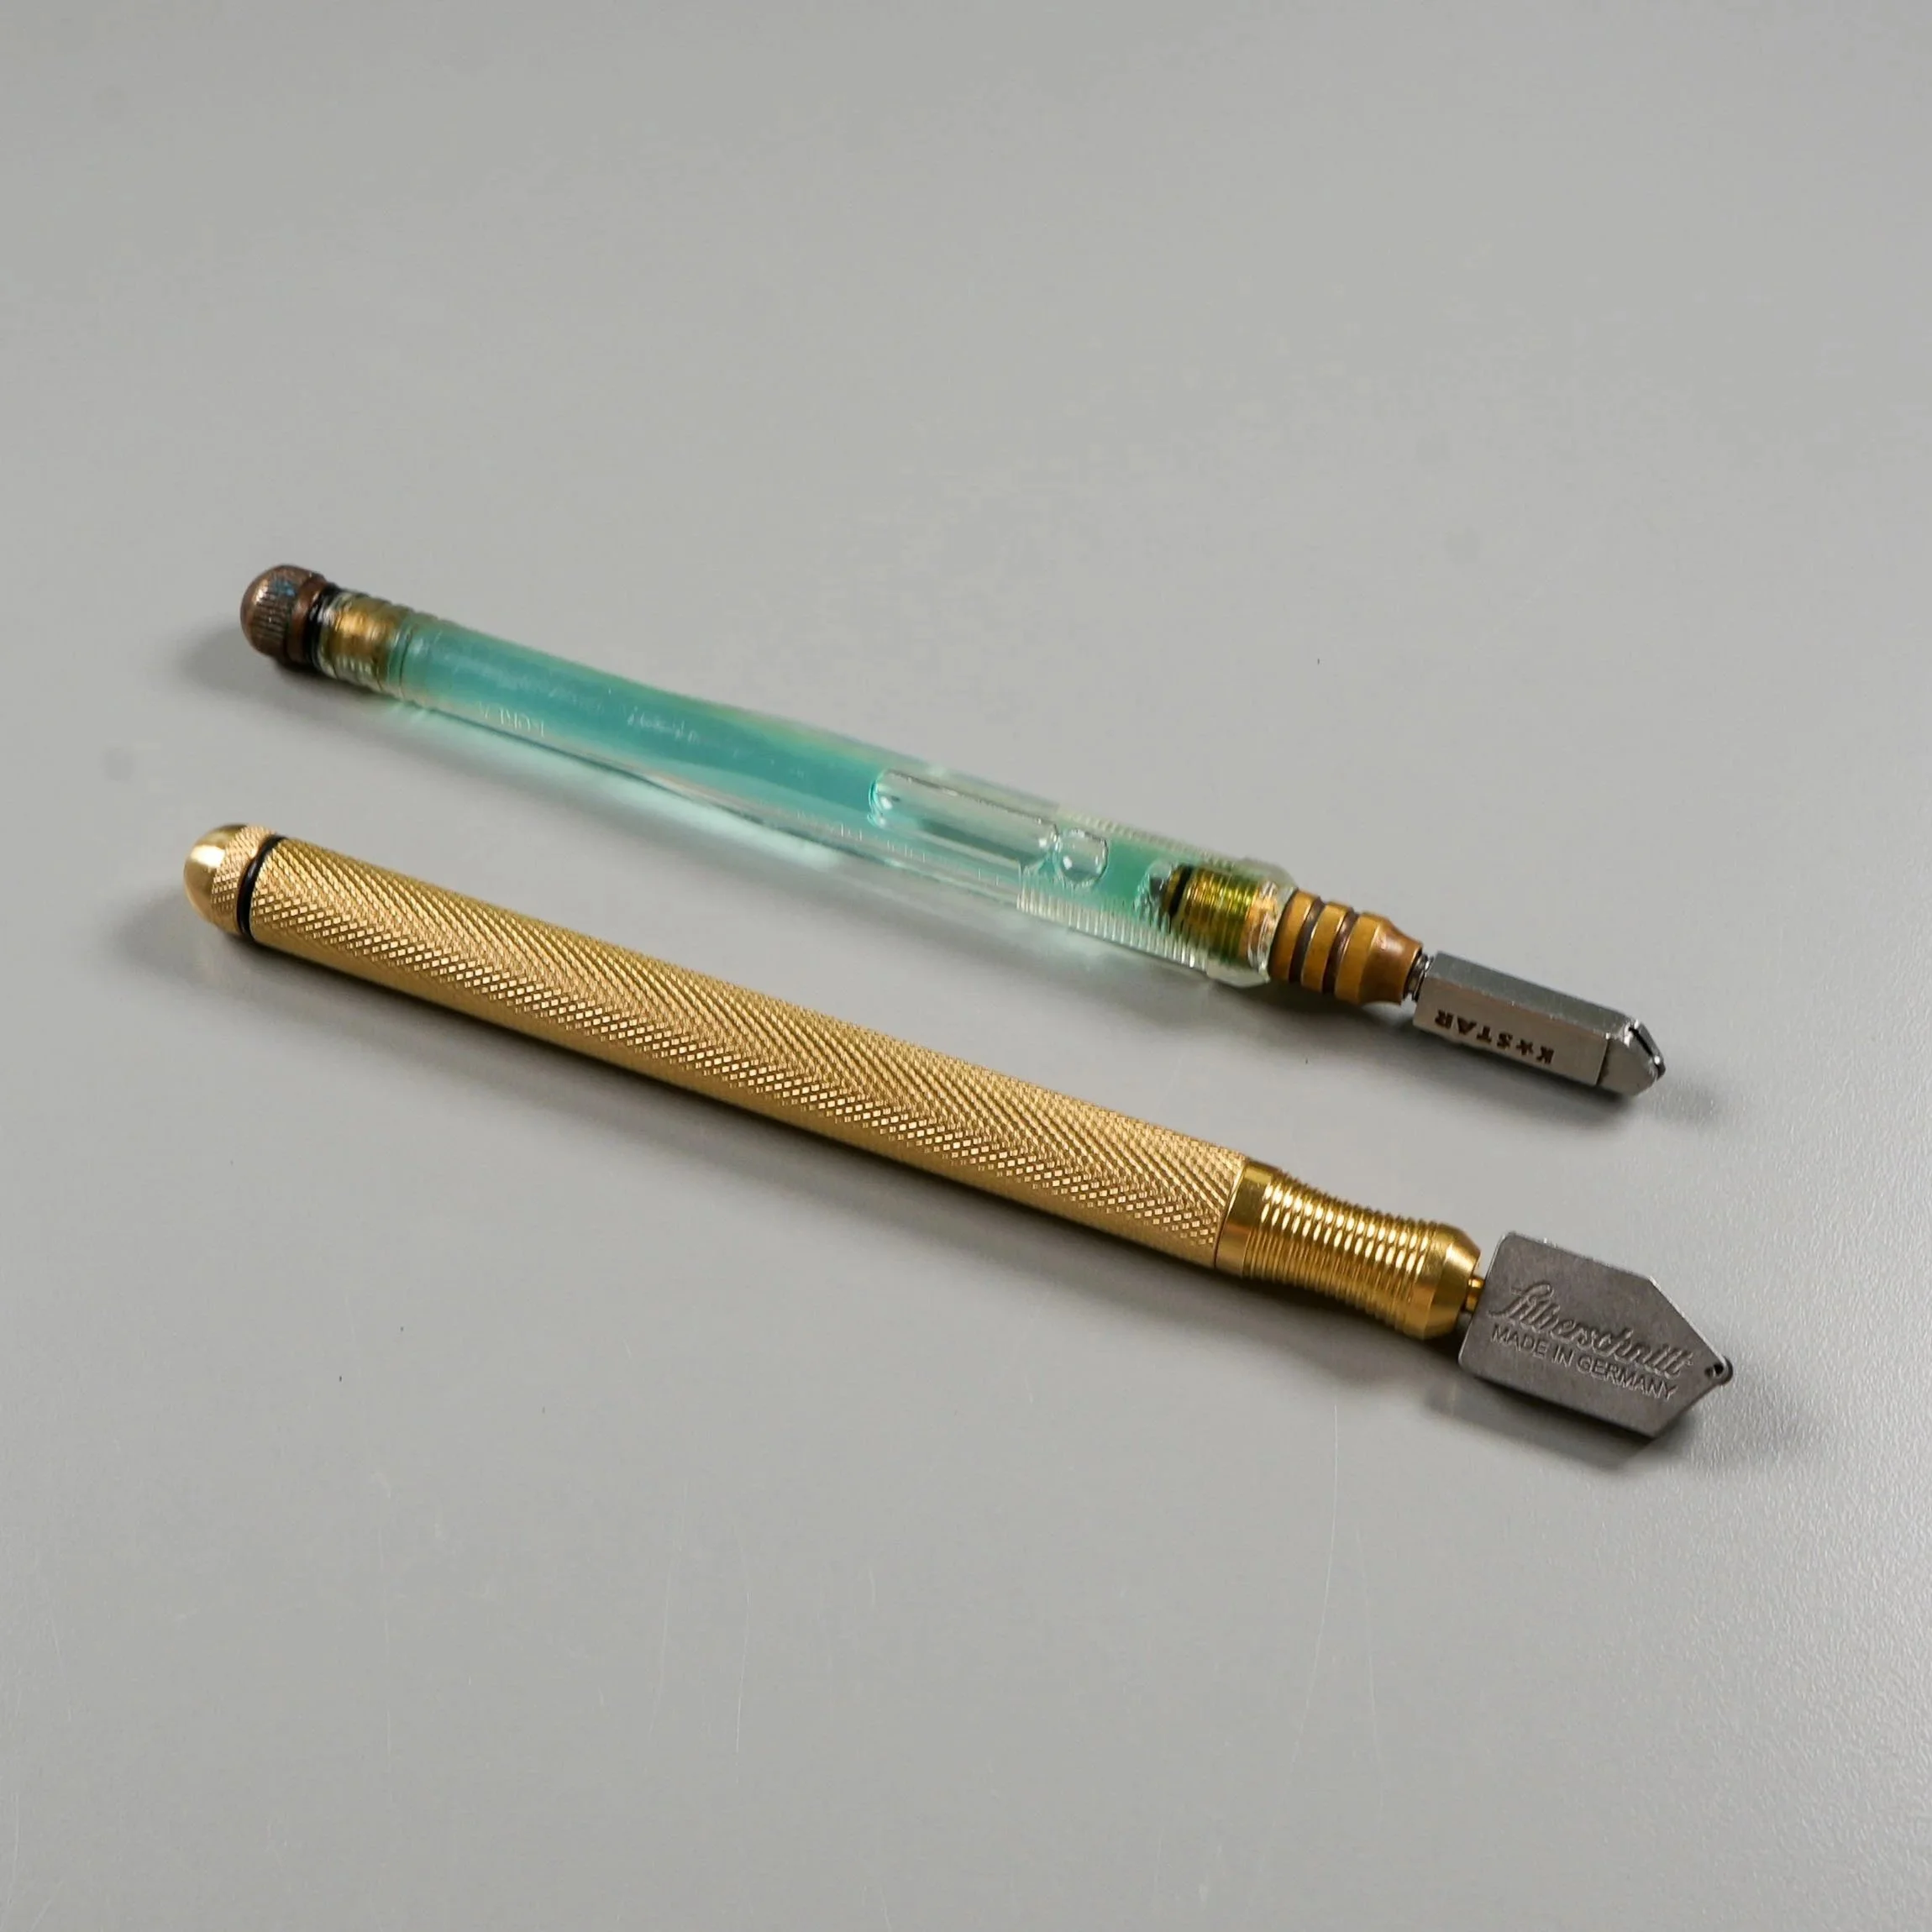
GLASS CUTTER
My favorite is an old K*Star cutter that I inherited from my dad, but it’s tough to find now! My second choice is the BOHLE-Silberschnitt® 5000.0 cutter because it glides so smoothly and its textured brass handle has a luxurious, weighty feel.
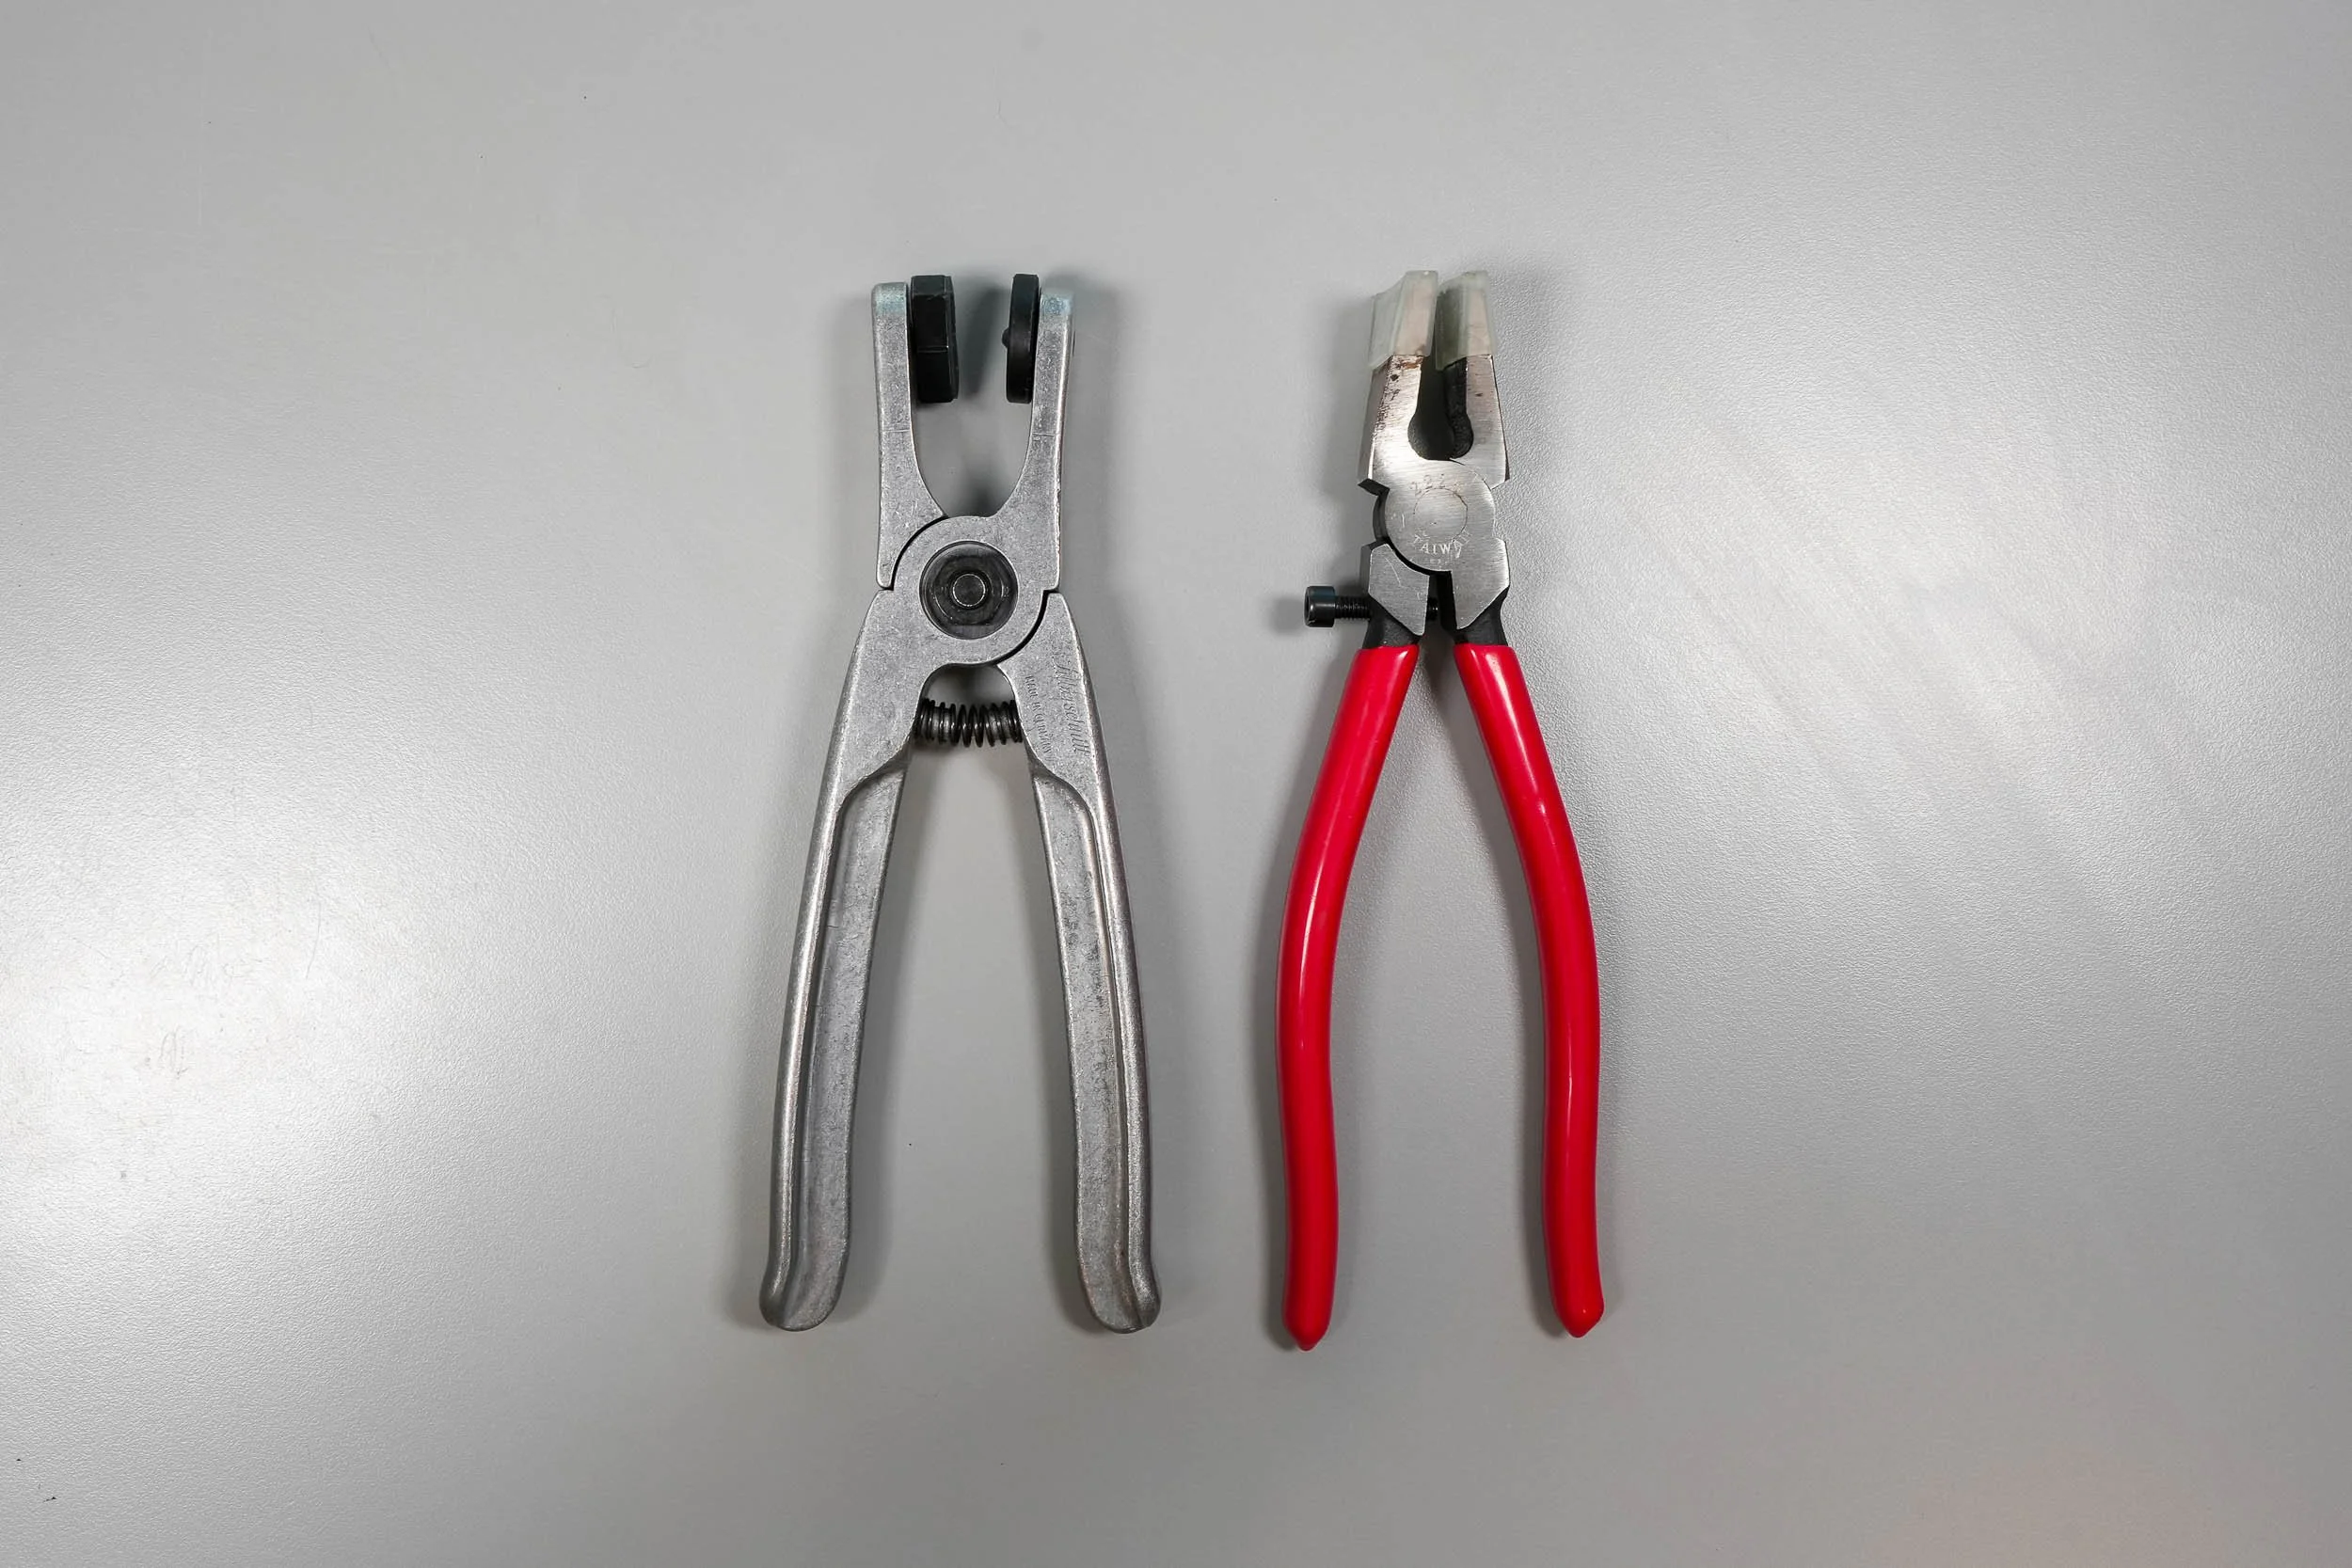
RUNNING PLIERS
I adore the BOHLE-Silberschnitt® 700.0 running pliers because their rotating head makes breaking tight curves a breeze.
For beginners, I’d instead recommend Studio-Pro running pliers, which are simpler and less expensive.

GROZING PLIERS
Studio-Pro grozing pliers are my go-to. I have two pairs because when working with small pieces, it’s easier to use one pair to hold the glass itself and another pair to break off excess glass.

TILE NIPPERS
I don’t use tile nippers too often, but when I do it’s a heavy-duty pair with carbide cutting wheels.
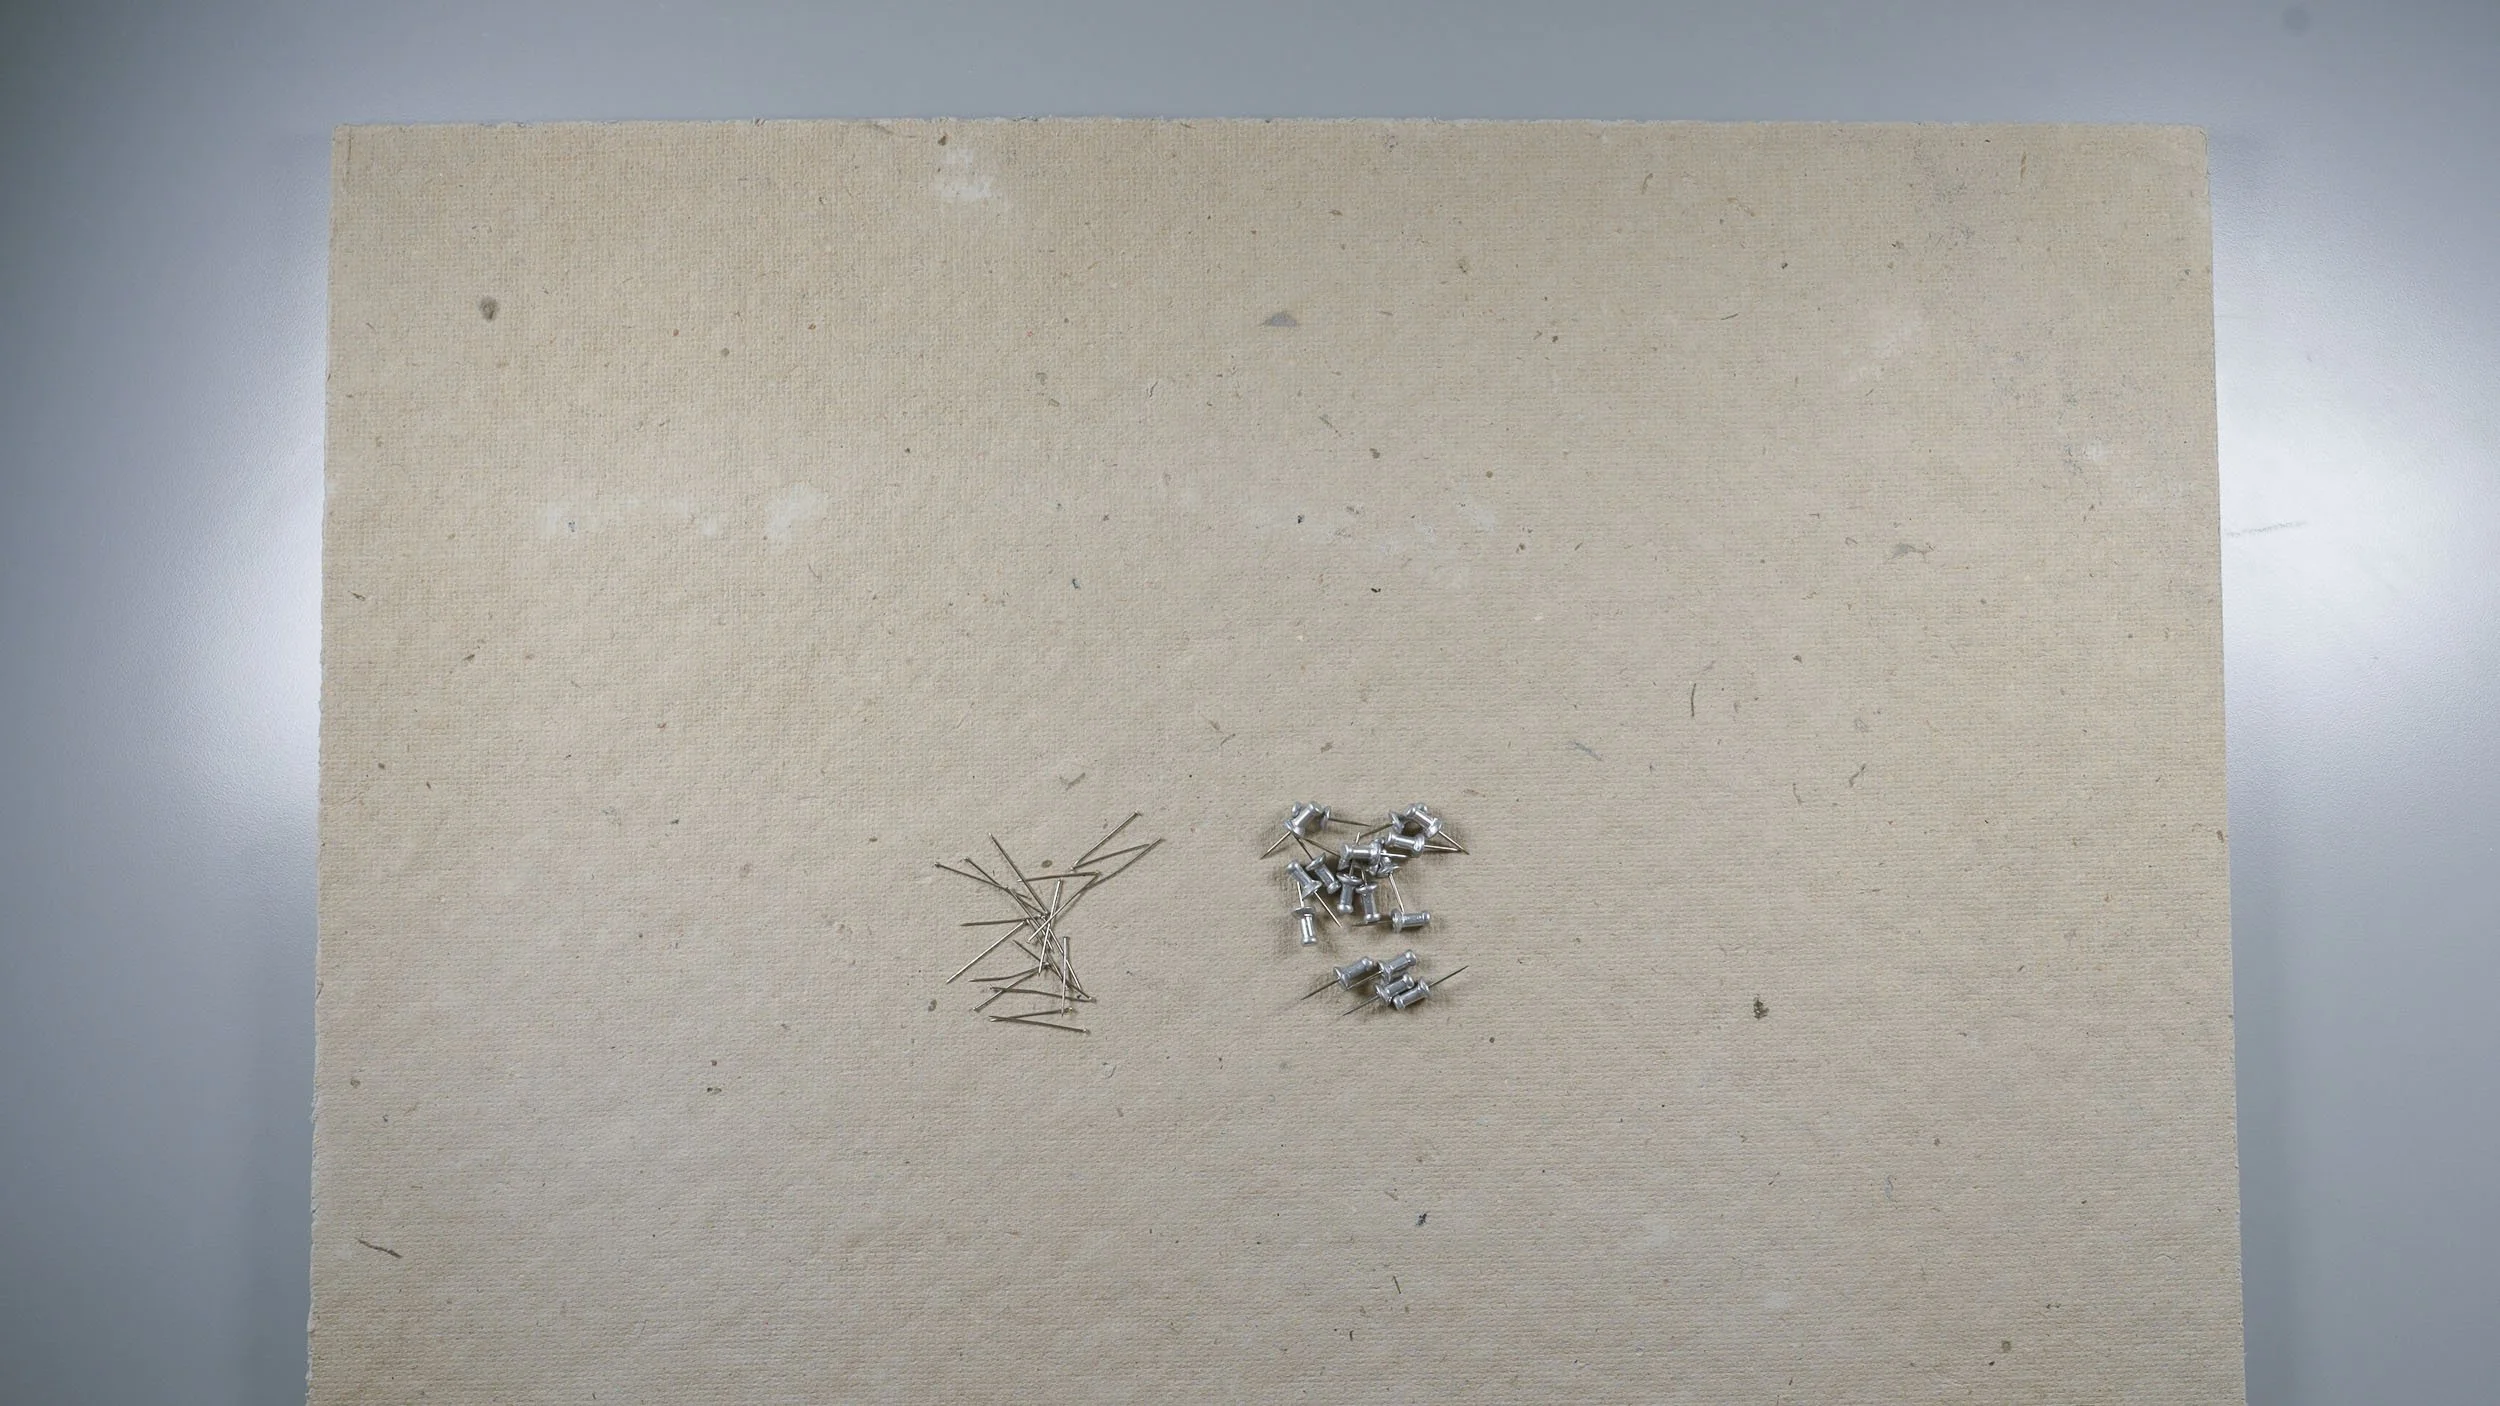
WORK SURFACE + TACKS
I like building projects on homasote insulation boards because they’re easy to push tacks into and are heat-resistant (so they can be soldered on too).
I usually pin pieces into place with dressmaker pins, but find solid metal thumbtacks to be another sturdy option.
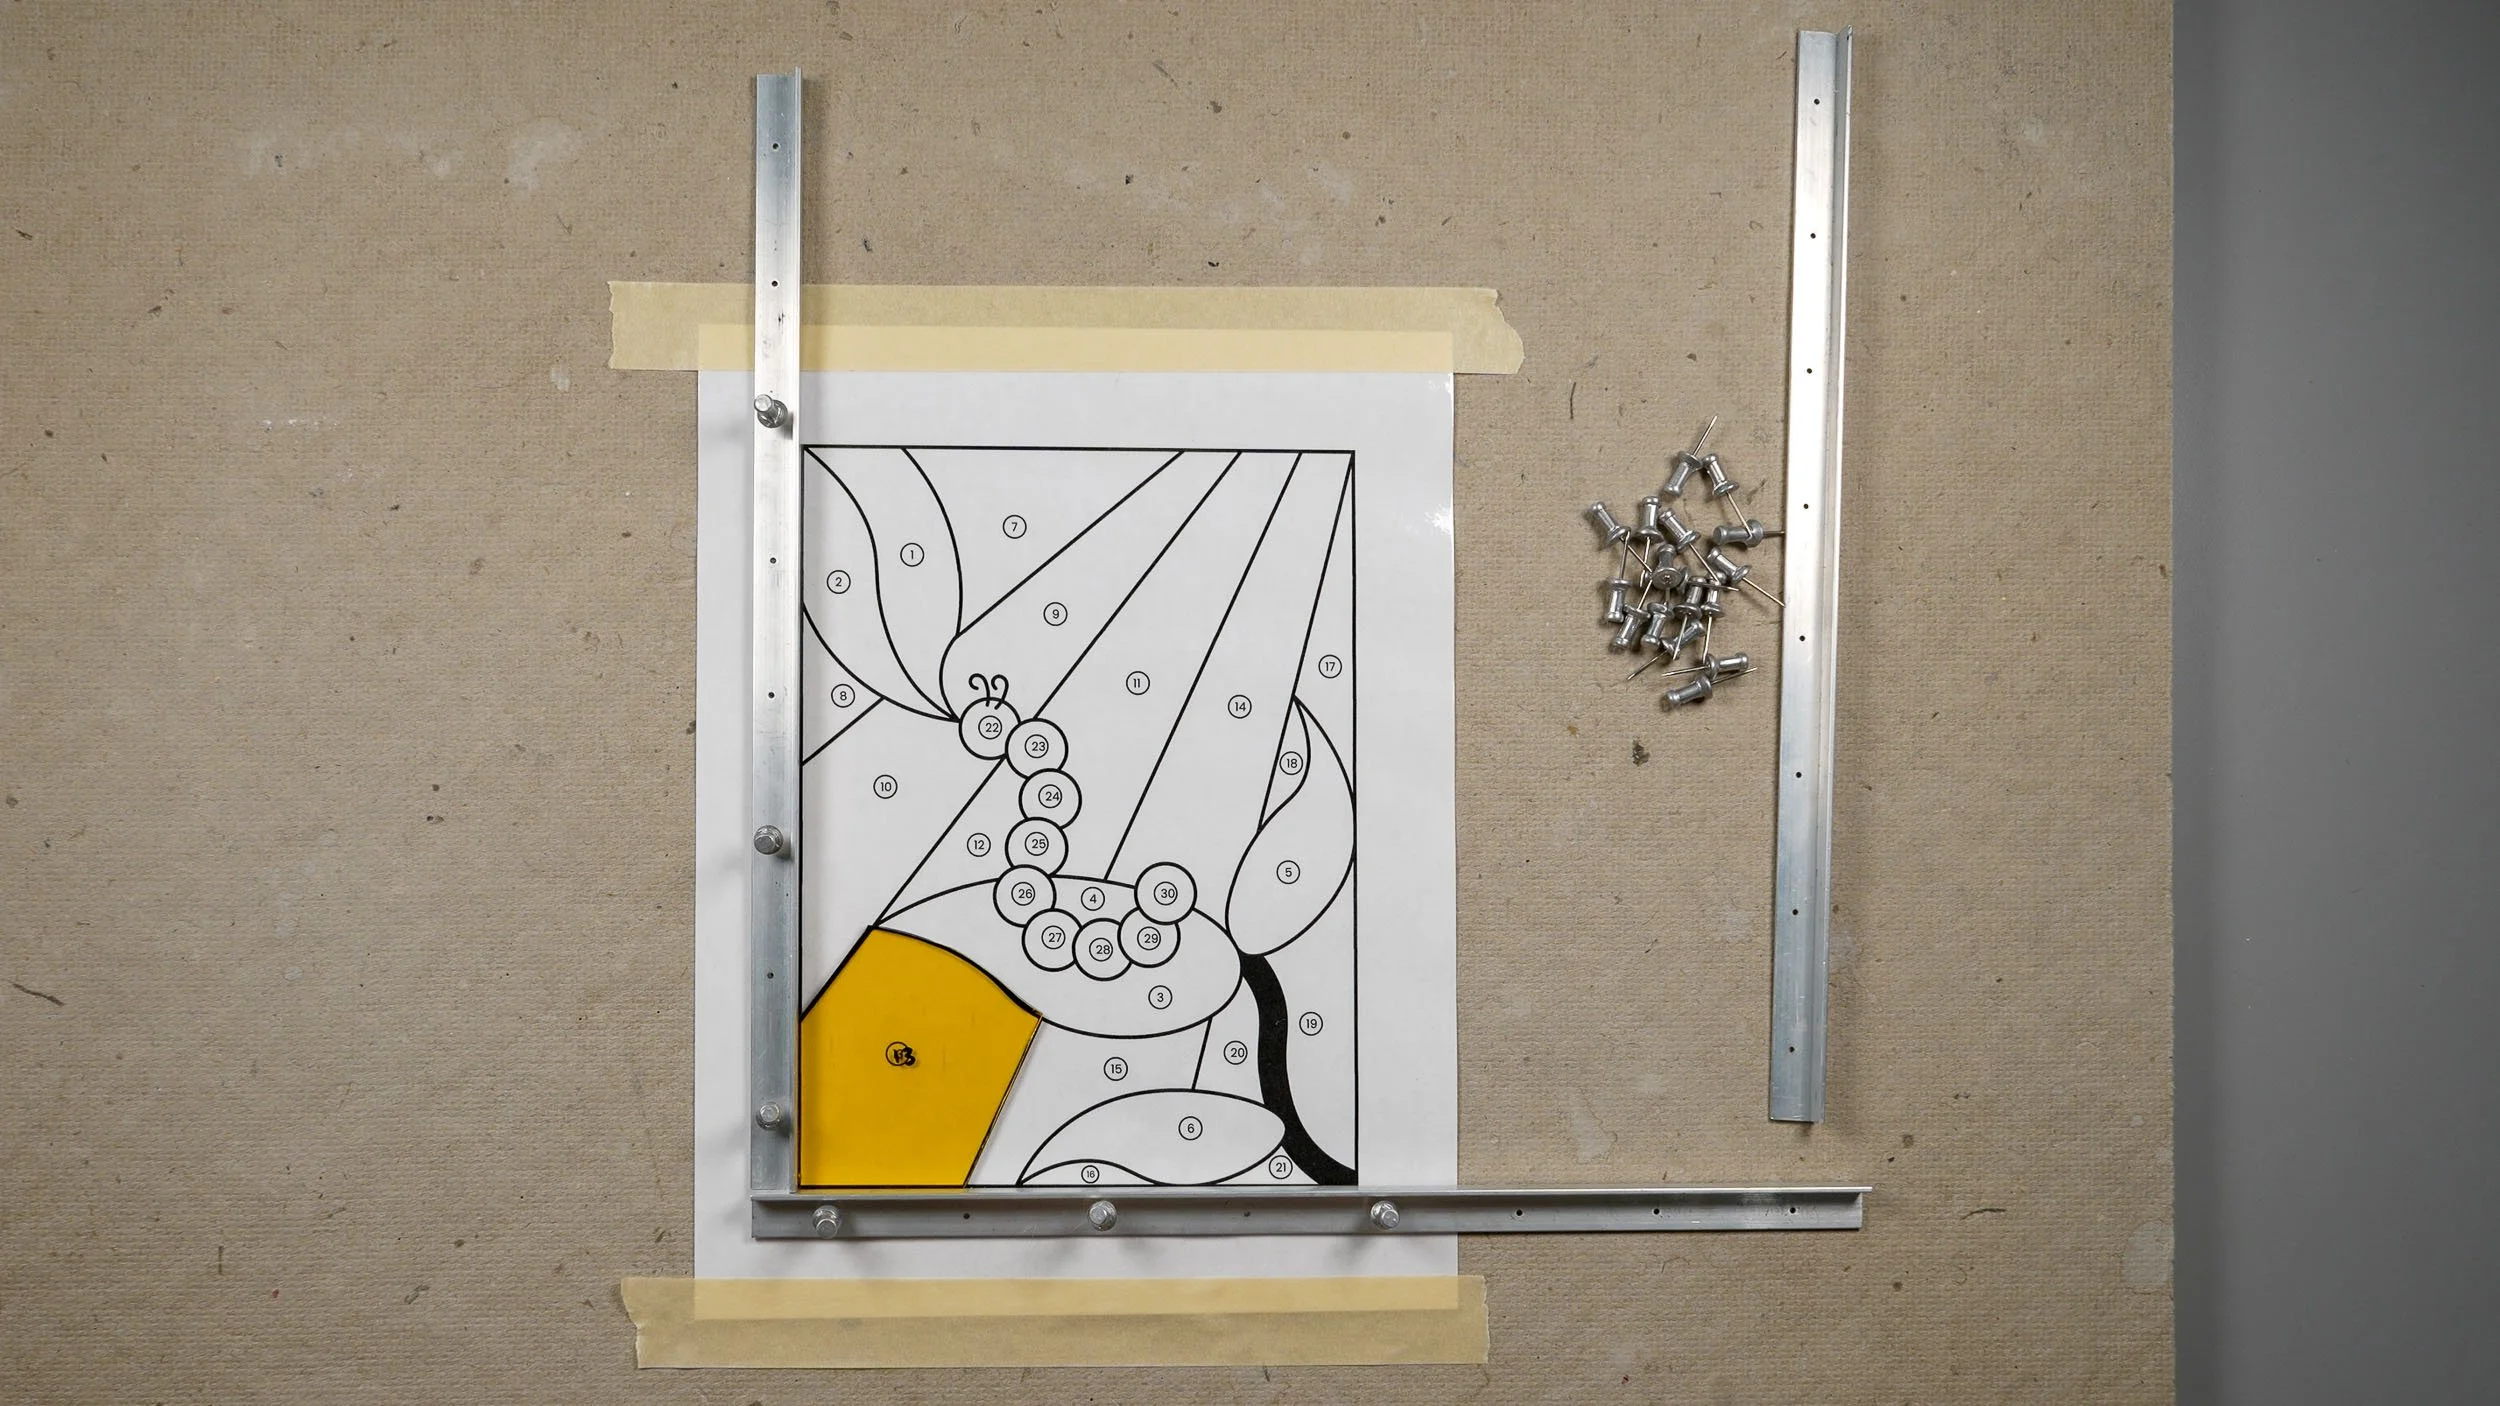
LAYOUT BLOCKS
I pin Morton layout blocks around my straight-edged projects as I build them to ensure that their sides are perfectly straight and their corners are perfectly square.
I really appreciate how convenient these are to set up and the crisp, professional finished pieces they result in.

RULER
I prefer to use a Westcott 15” cork-backed metal ruler because it’s sturdy and doesn’t slip when I use it as a guide to cut against.

MARKERS
Switching from normal Sharpies to oil-based paint markers was a game changer in my studio! As long as you give these babies a minute to dry, they’ll stay on glass through a car wash.
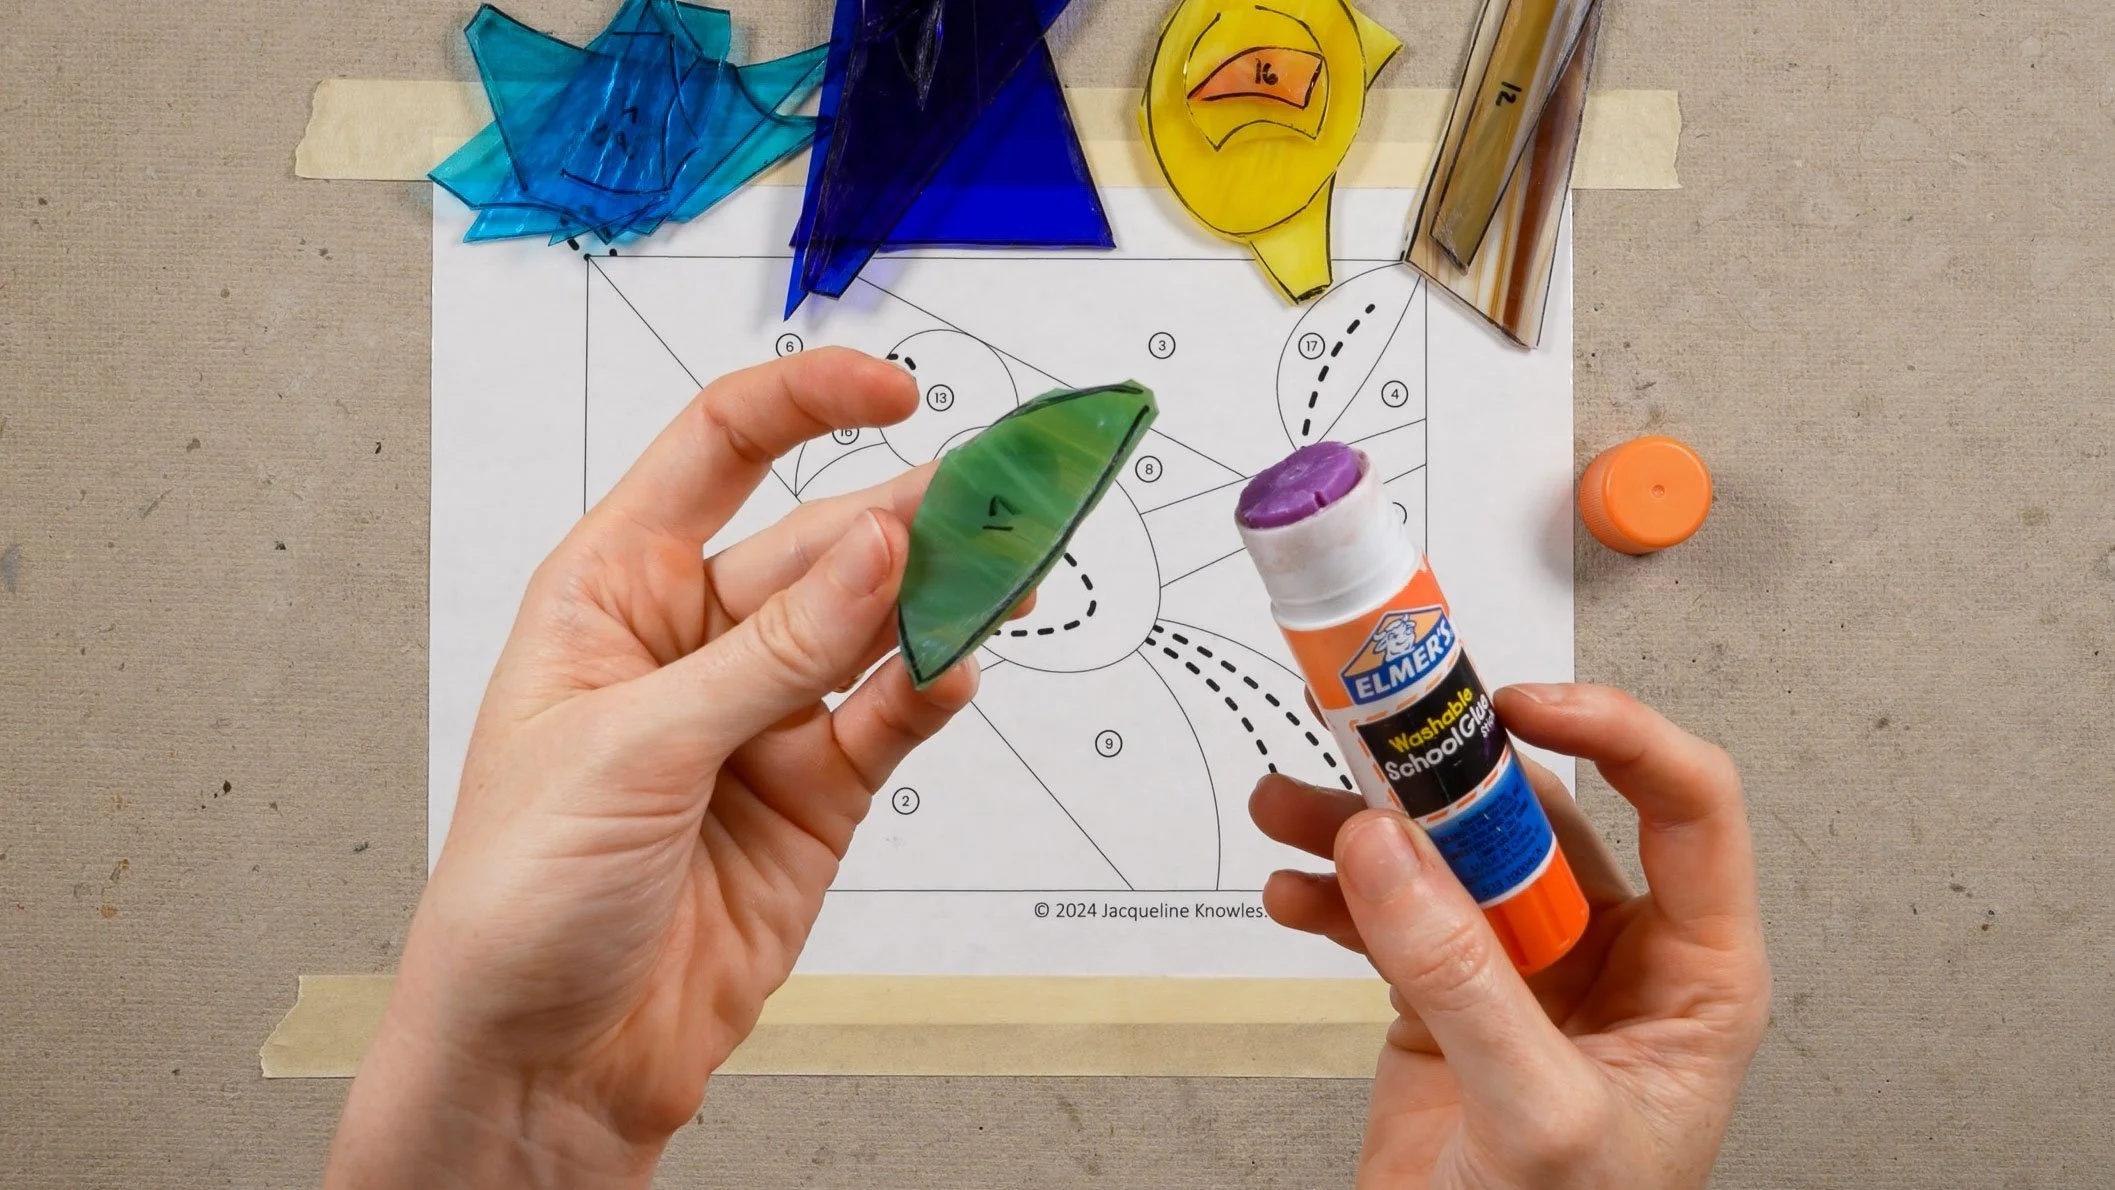
GLUE STICK
Running a glue stick over marker lines on glass helps ensure they don’t wash off during the grinding process (this is especially helpful when using non-oil-based markers).
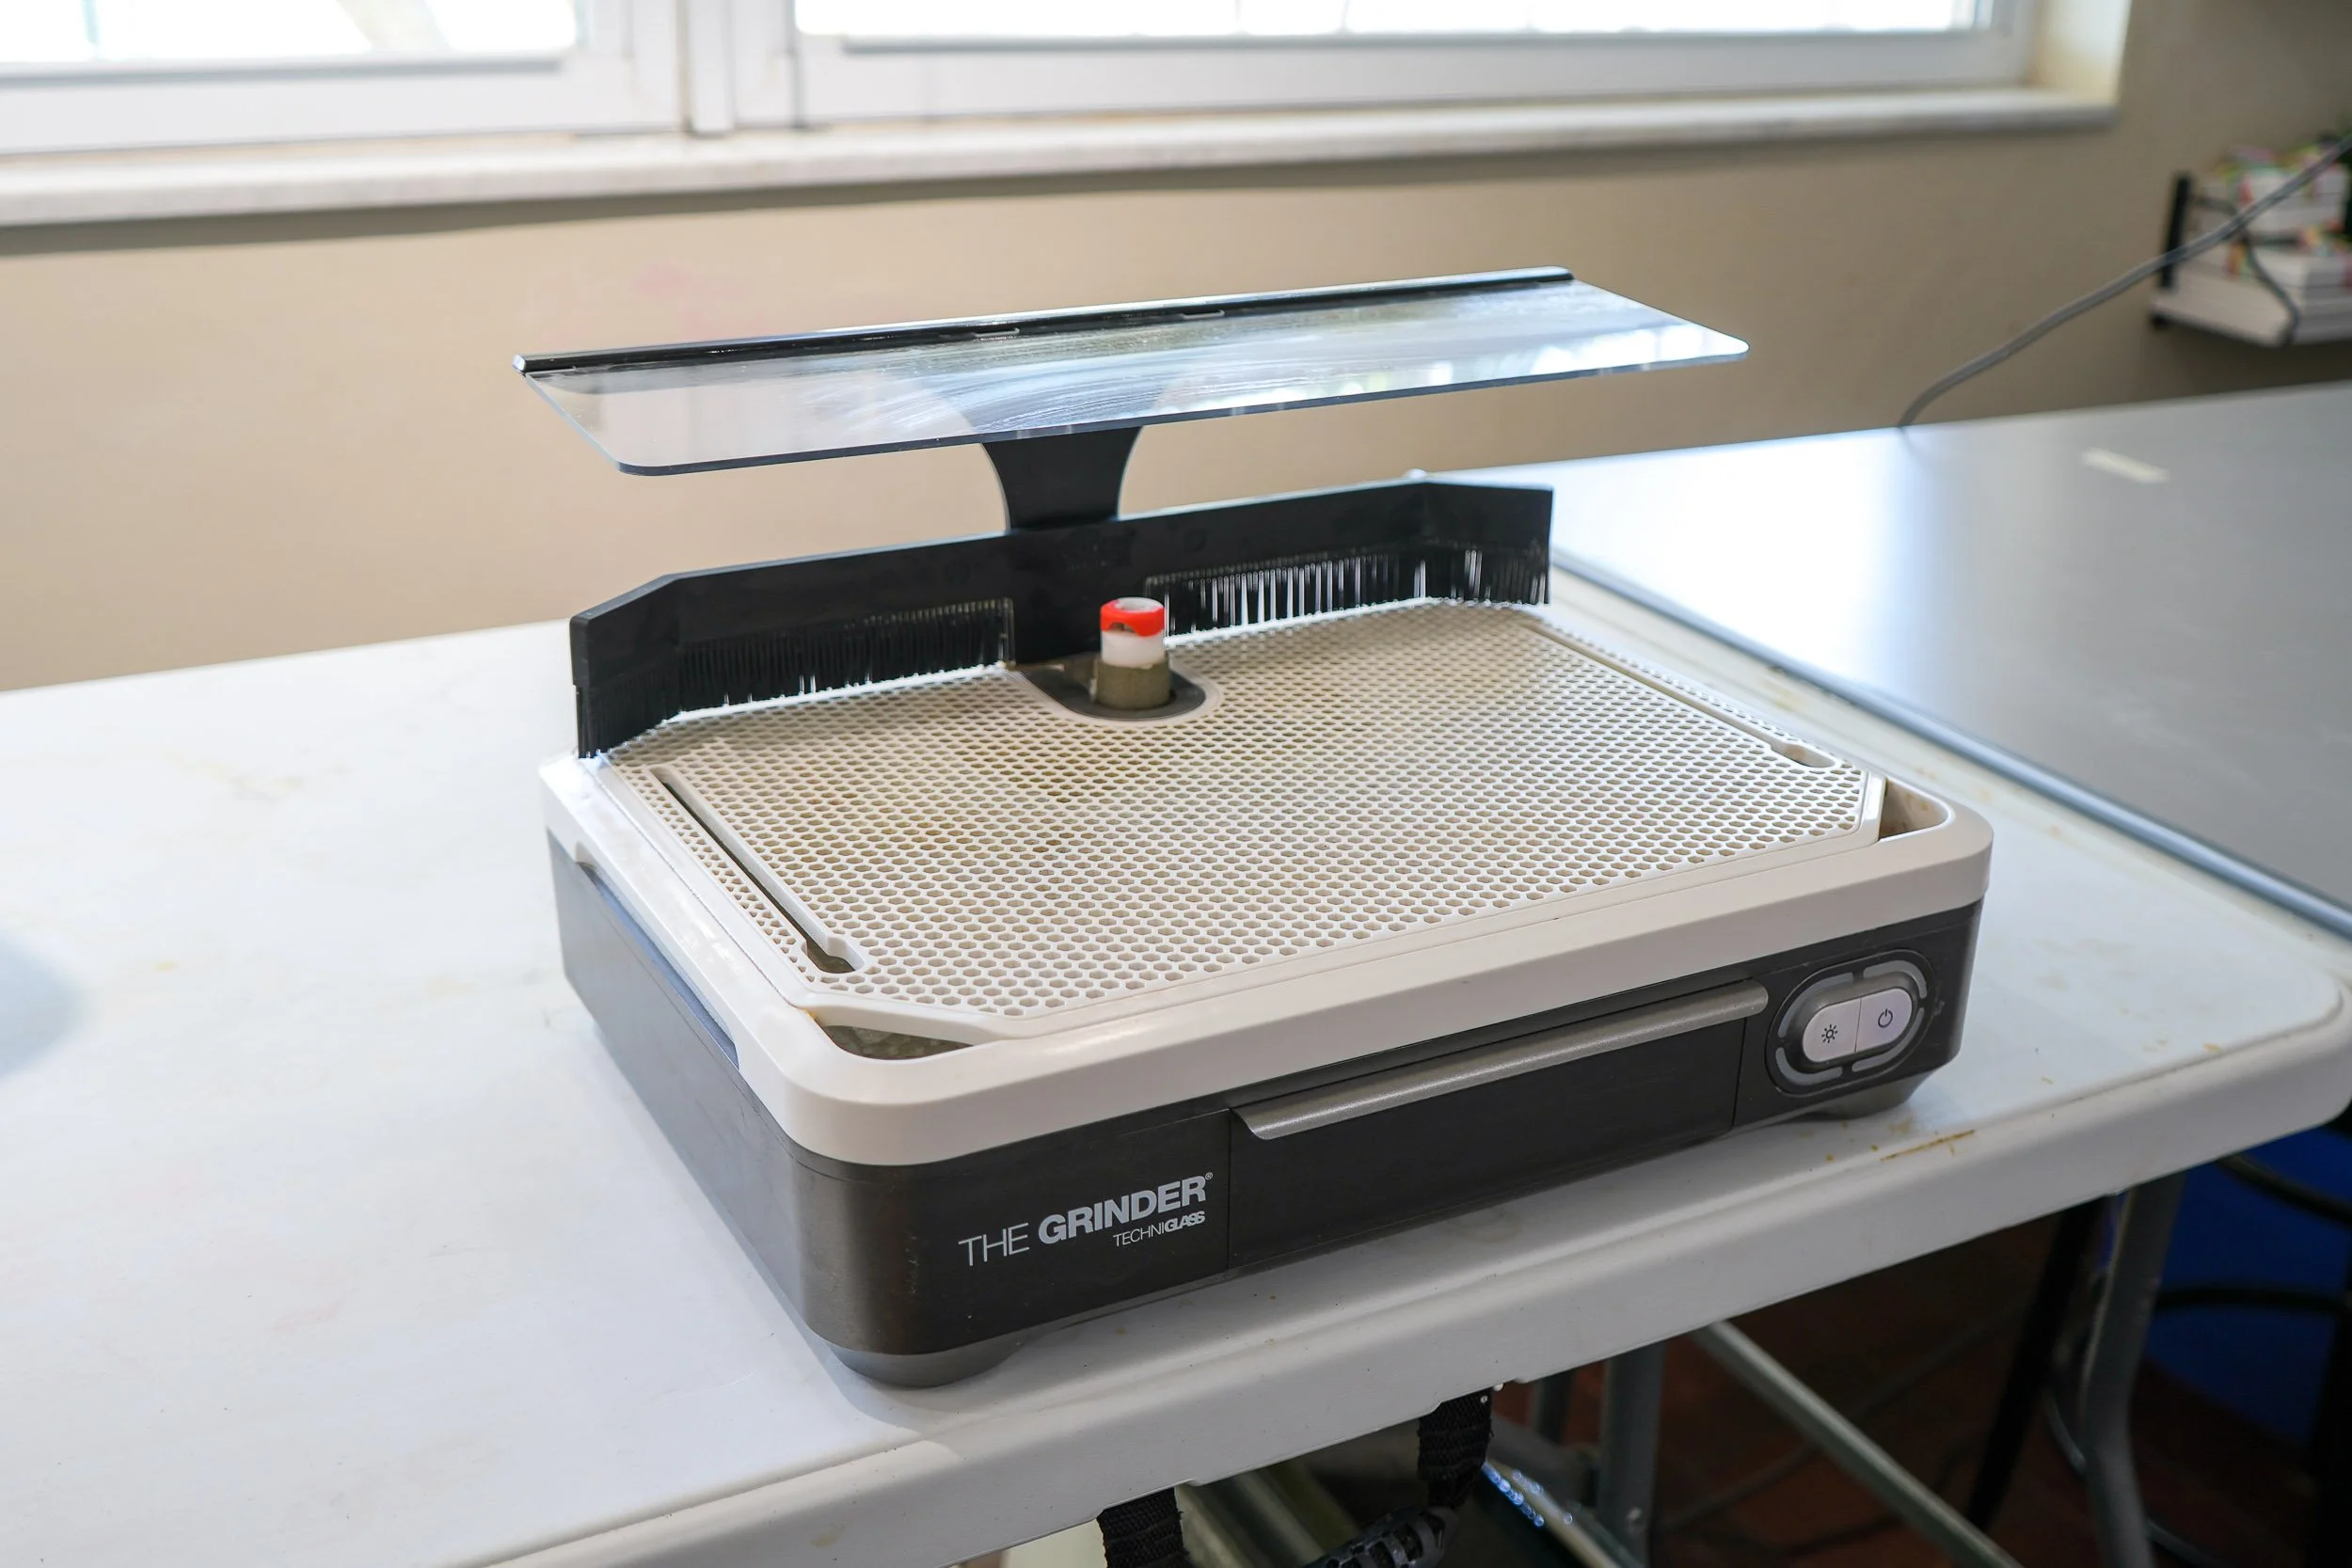
GLASS GRINDER
Words can’t describe my fondness for Techniglass’s ‘The Grinder’. It has the largest grinding surface I’ve ever seen, a wide LED light strip, and their customer service team is extremely kind and helpful.
Before upgrading to The Grinder, I used a small Gryphon Gryphette, which is perfect for beginners who aren’t ready to make a big investment.

GRINDER BITS
Techniglass makes innovative ‘Quick Fit’ bits that can be installed and removed in a snap. I also frequently use TWOFERS traditional bits because they’re affordable and long-lasting. Both are available in several different sizes and grits (I’d recommend 3/4” or 1” regular-grit bits for beginners).
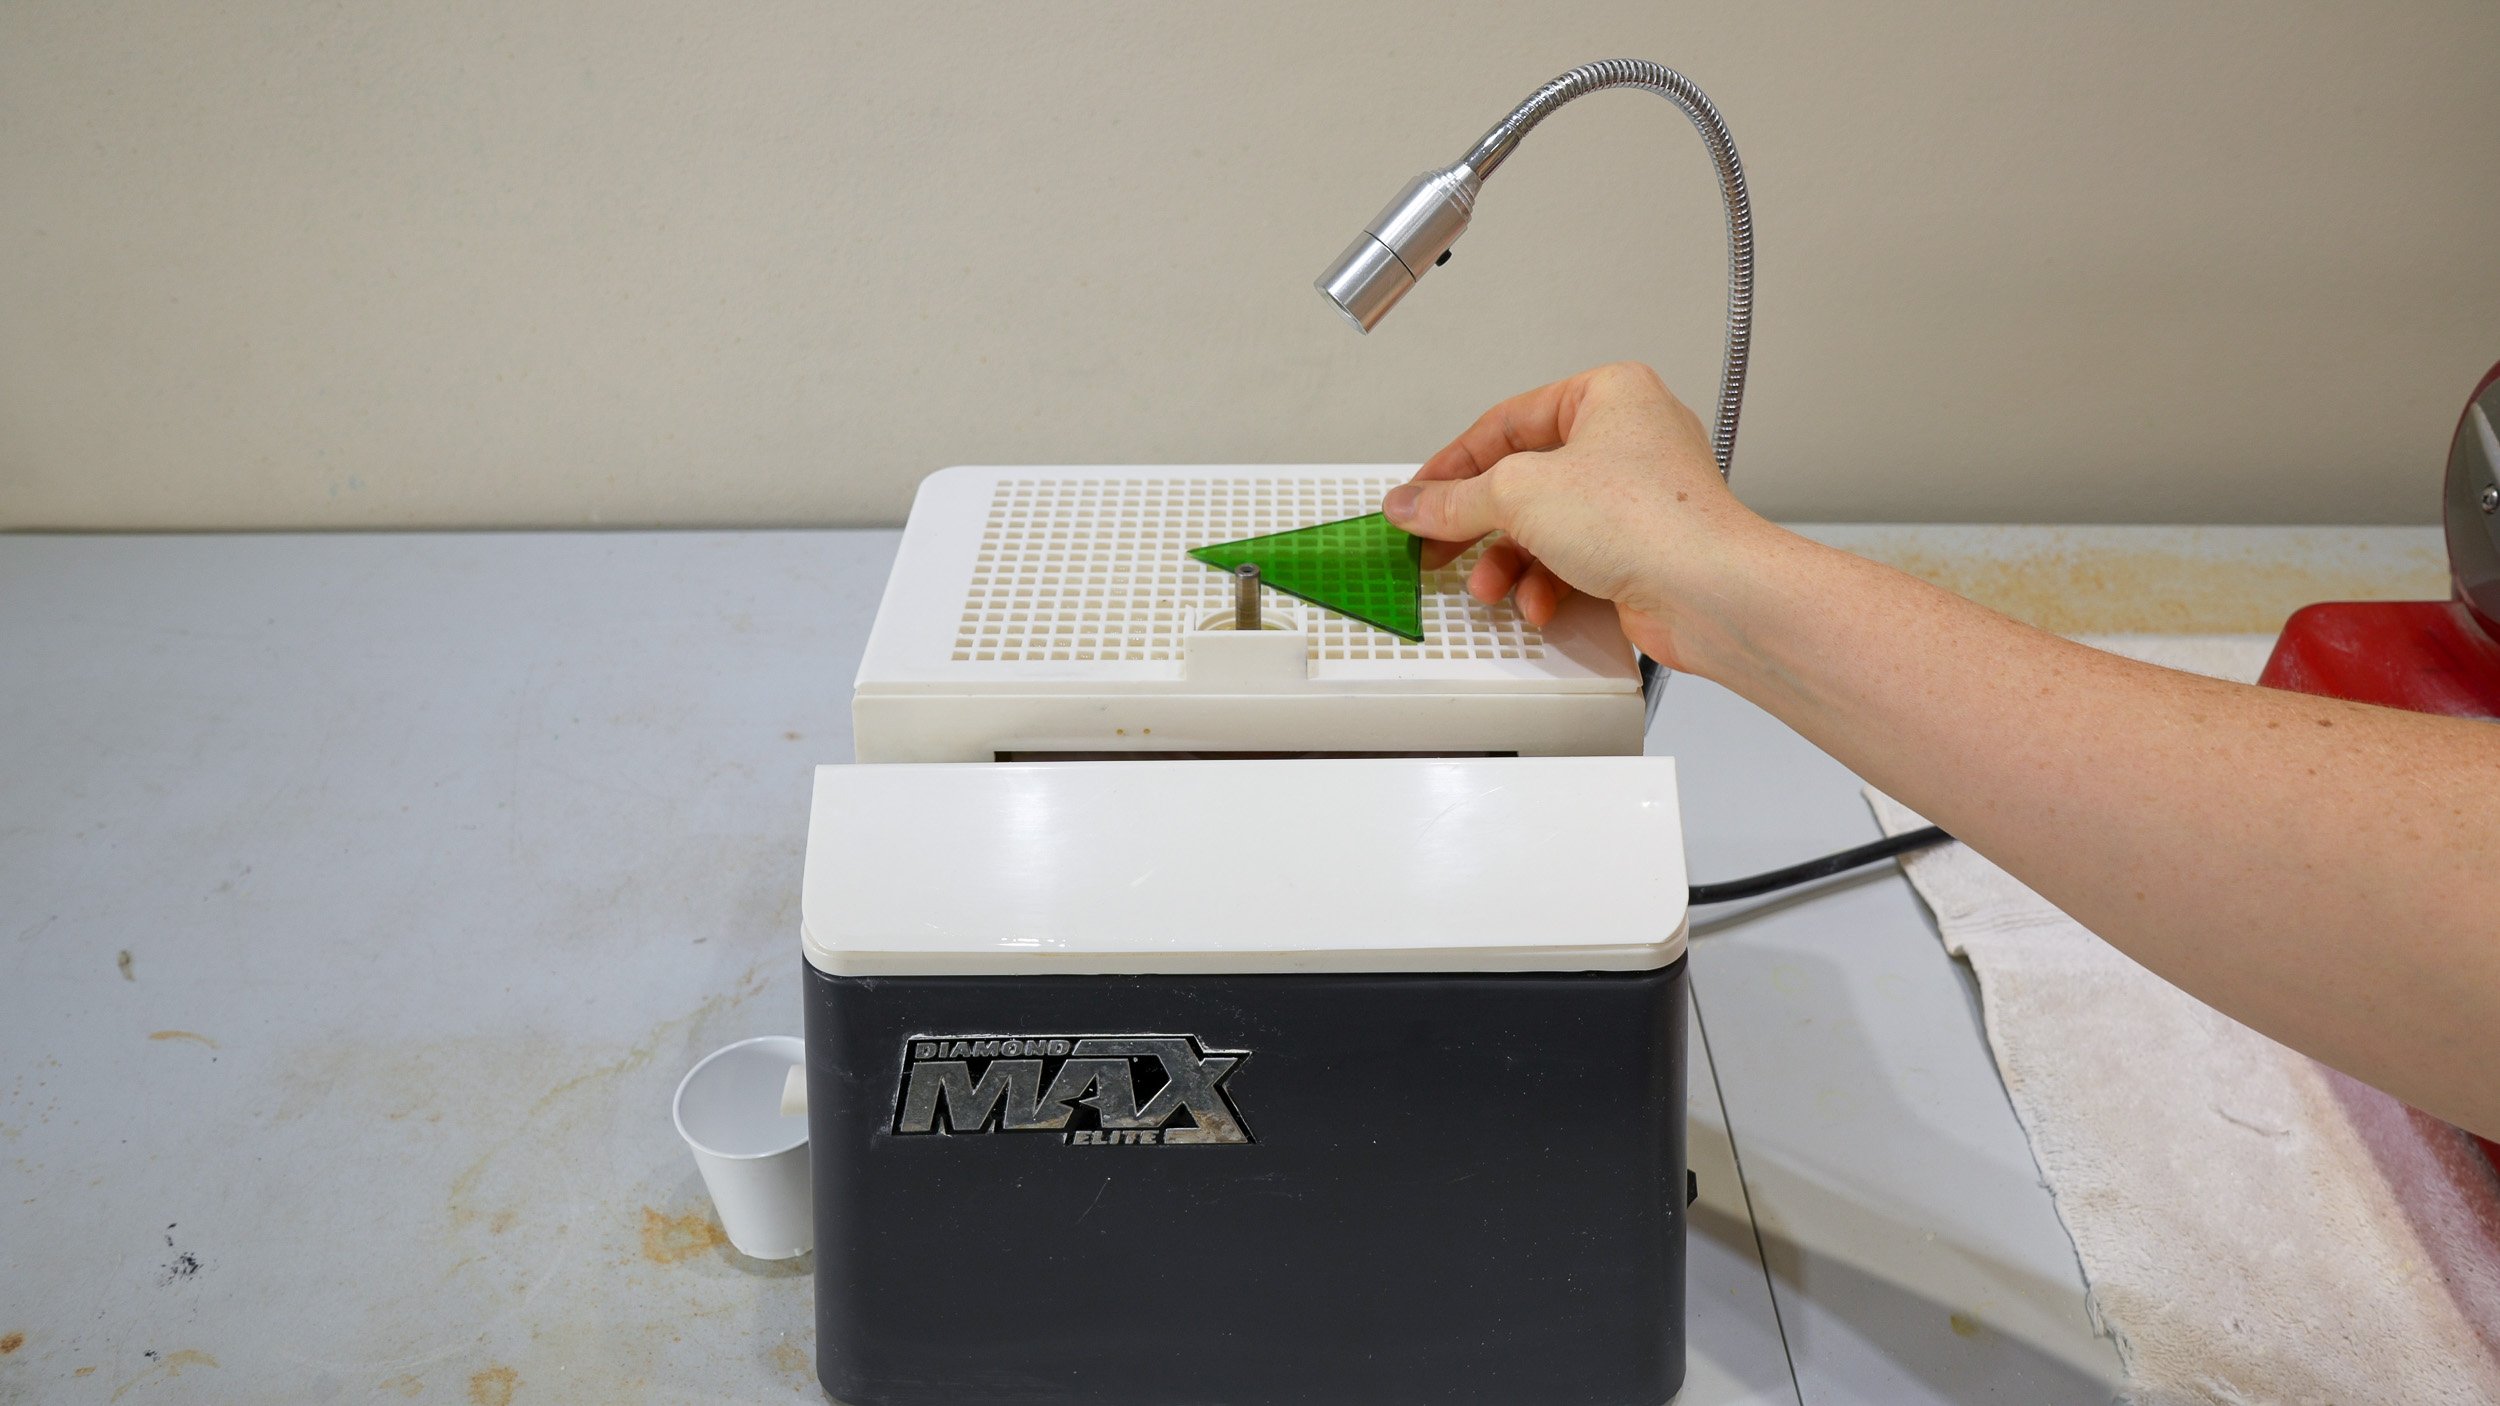
DISC GRINDER
The abrasive surface of a disc grinder faces upward (as opposed to outward like with standard grinders), so holding glass to it results in a perfectly straight edge (or a beveled edge if the glass is tilted).
I’m partial to the Diamond Max Elite grinder because it doubles as a standard grinder AND a disc grinder, and it has a bright, adjustable light.
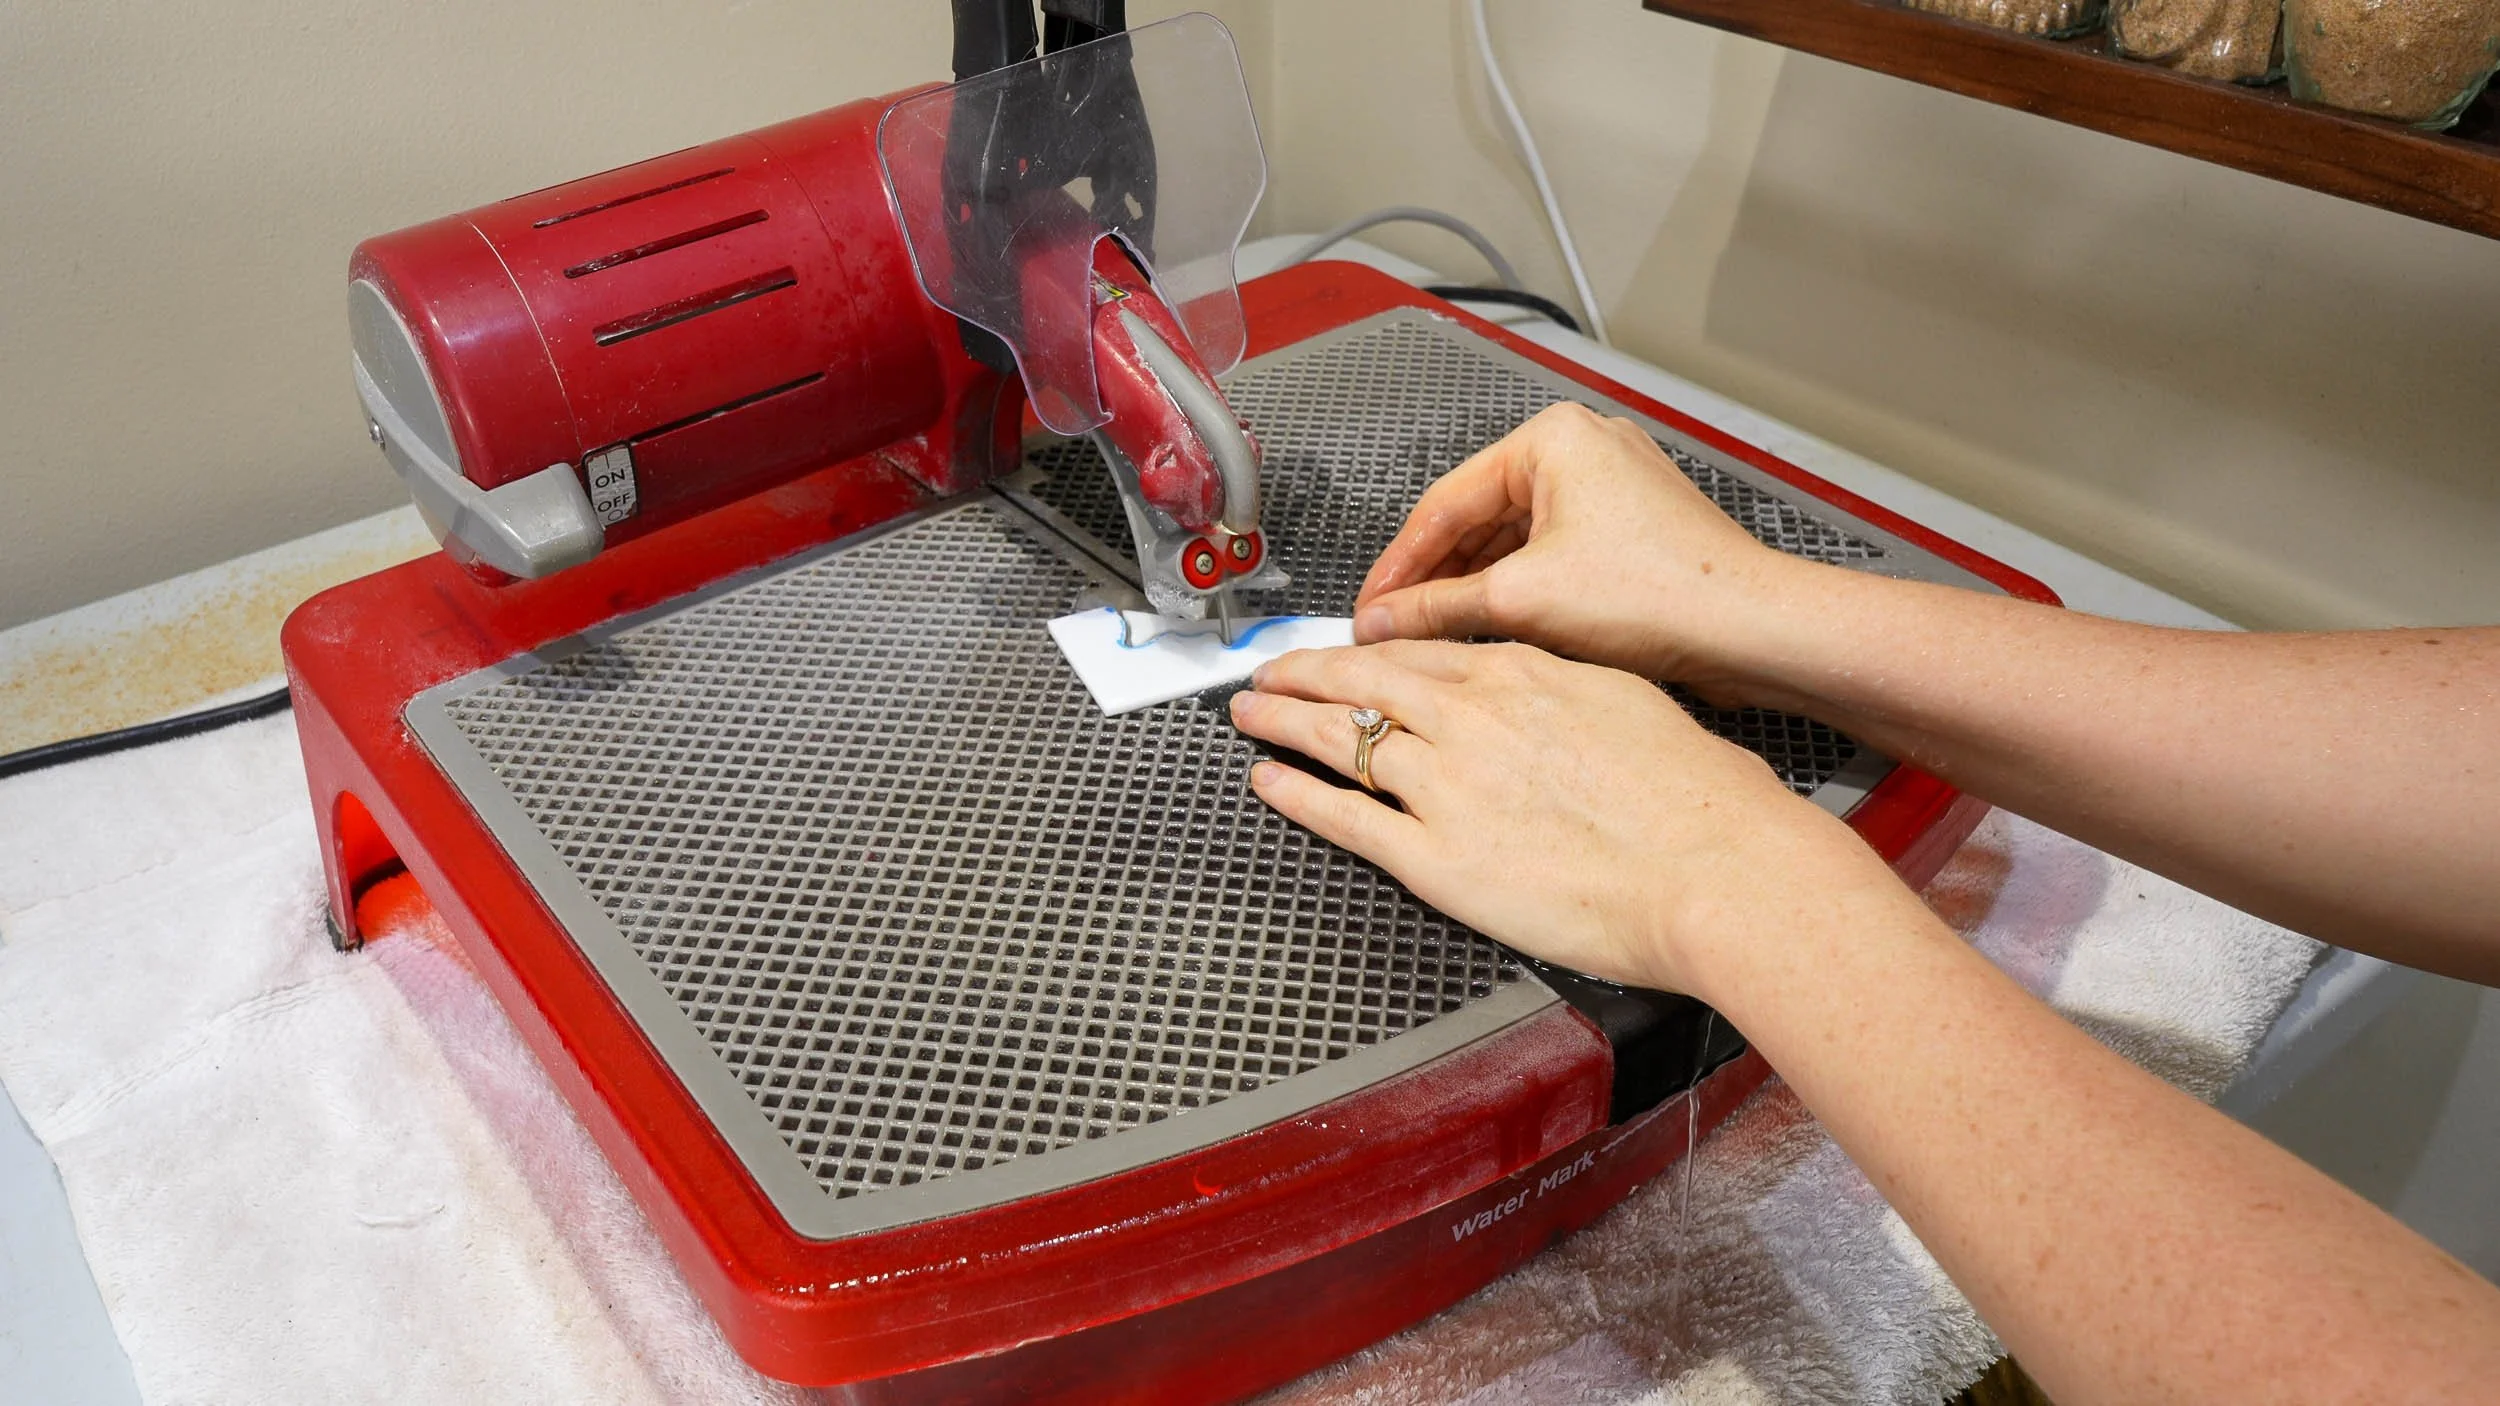
RING SAW
Although they’re expensive, ring saws quickly pay for themselves in time saved making complex cuts. Their thin, abrasive ring blades truly allow for creation of any 2D shape glass you can think of (especially if used with a separating blade).
I love my Gemini Taurus 3 saw because it has a large grid surface and is unbelievably durable. I’ve used it regularly since 2016 (including to cut through thick stone for DIY home projects), and it’s still going strong!
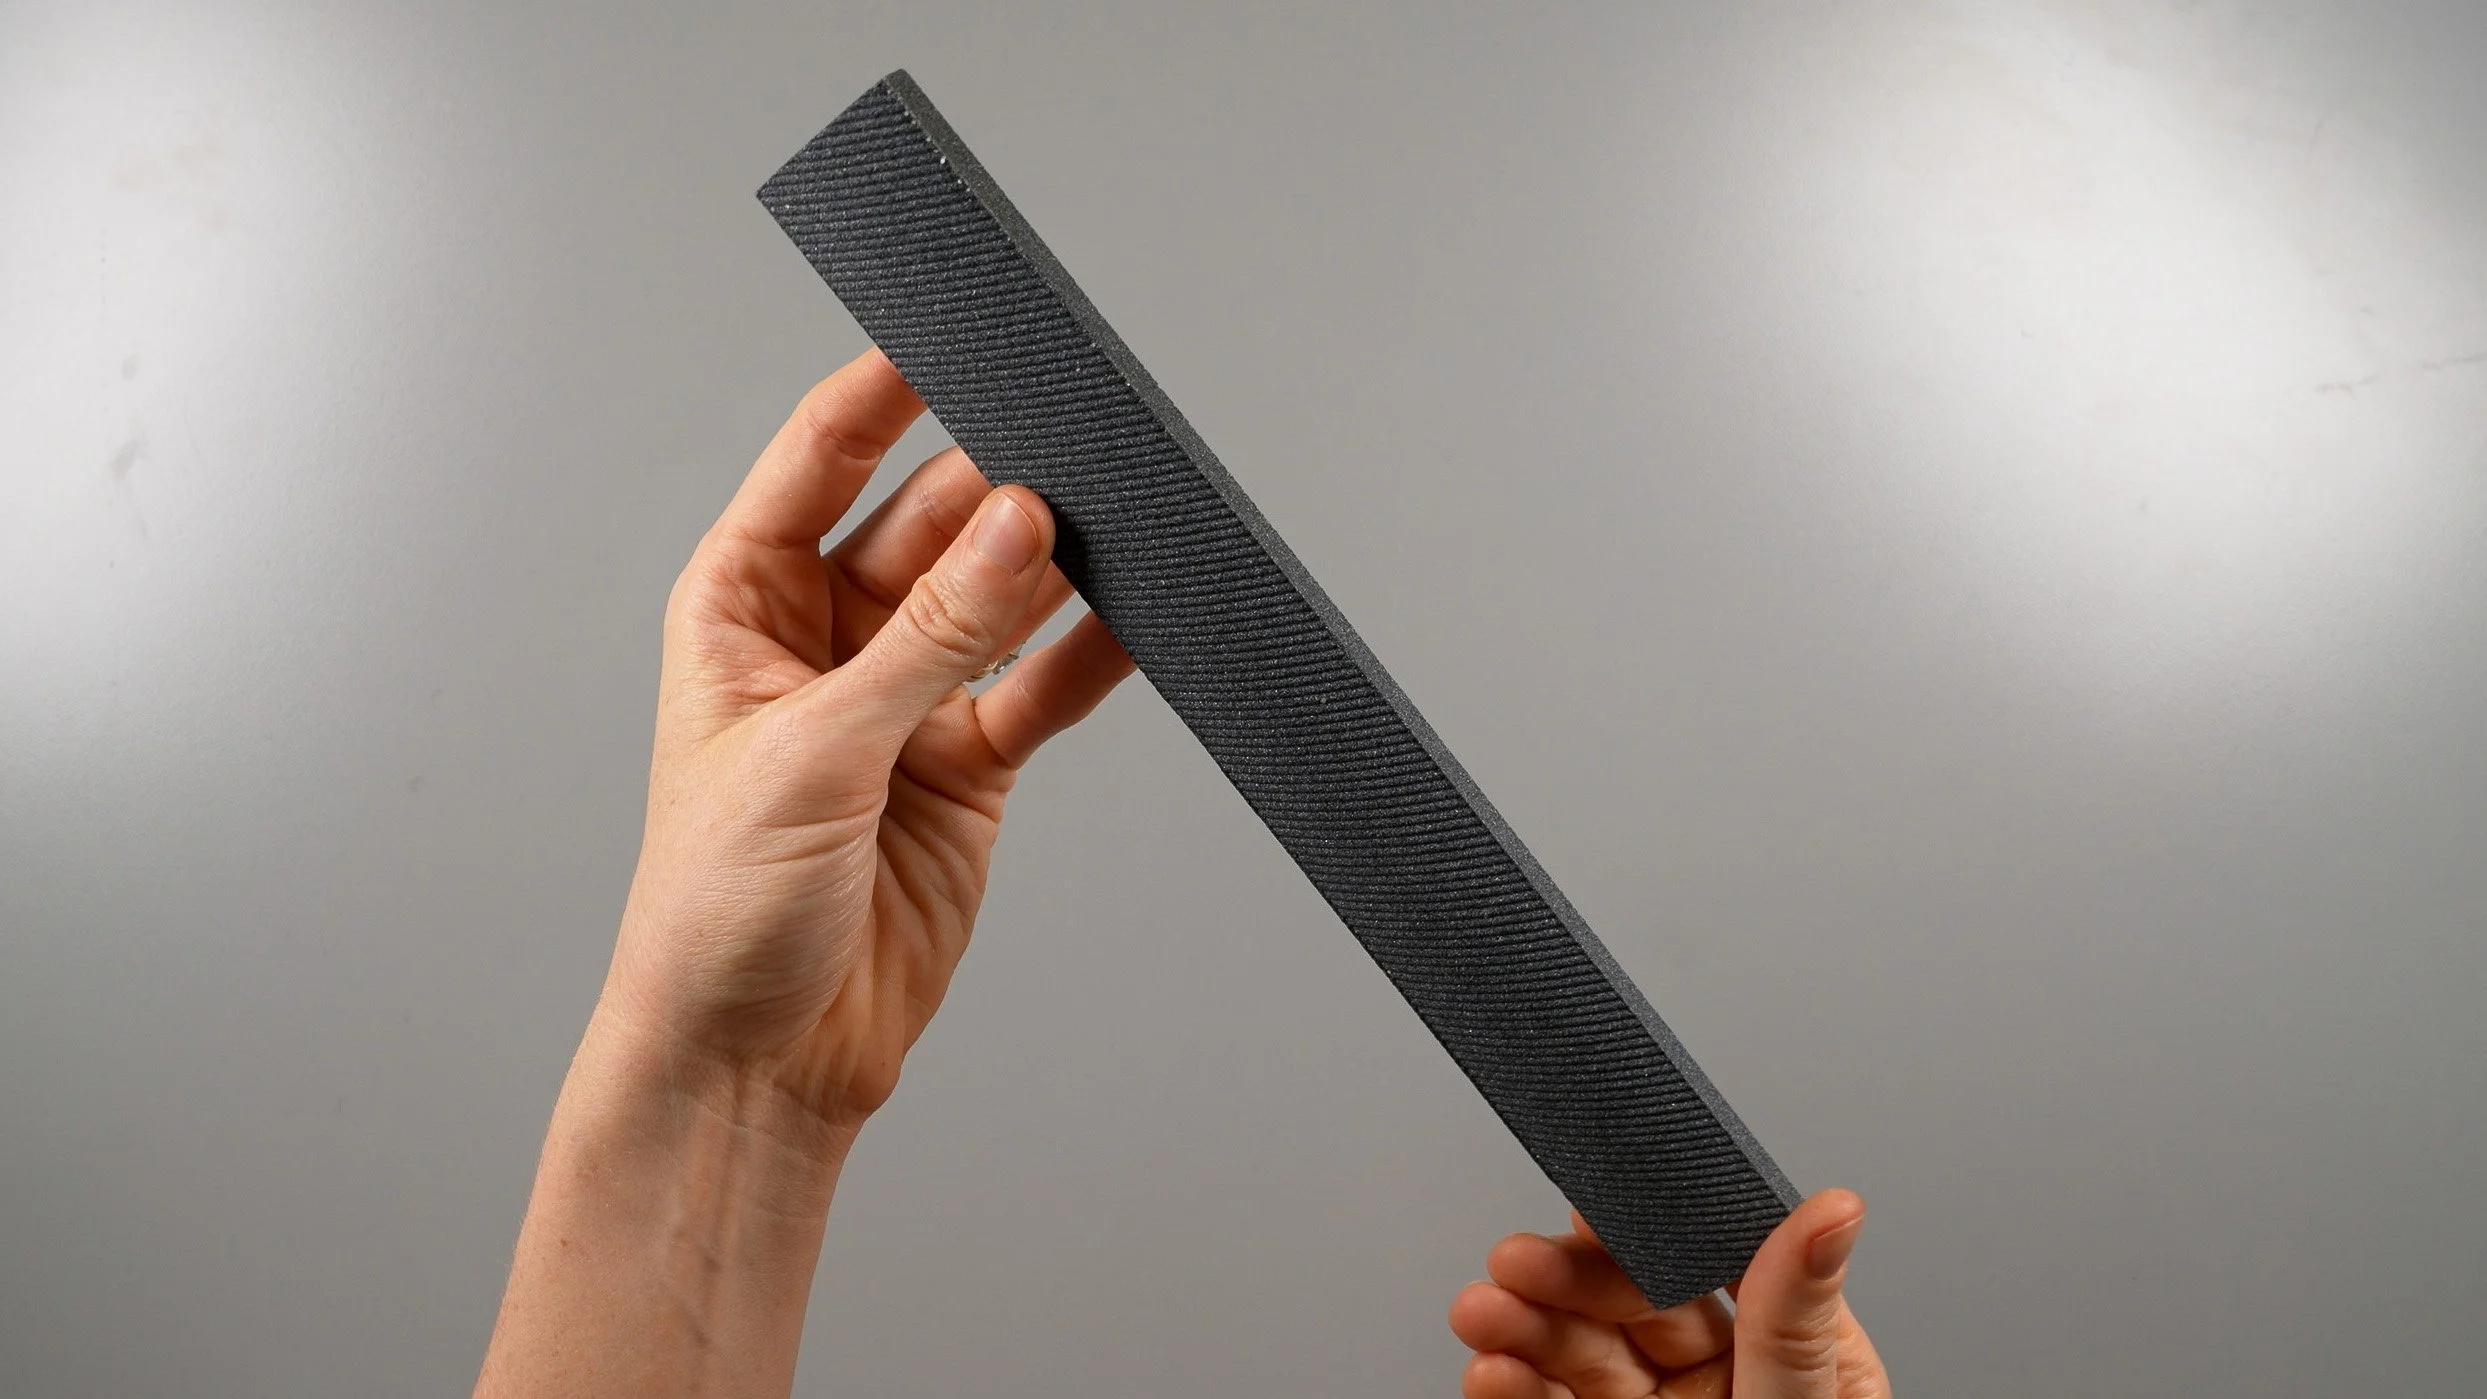
ABRADING STONE
Abrading stones (a.k.a. carborundum stones) are used to file away at glass to refine it to a specific shape. They can’t compete with the efficiency of electric grinders, but they’re a great alternative for artists that cut their glass very precisely.
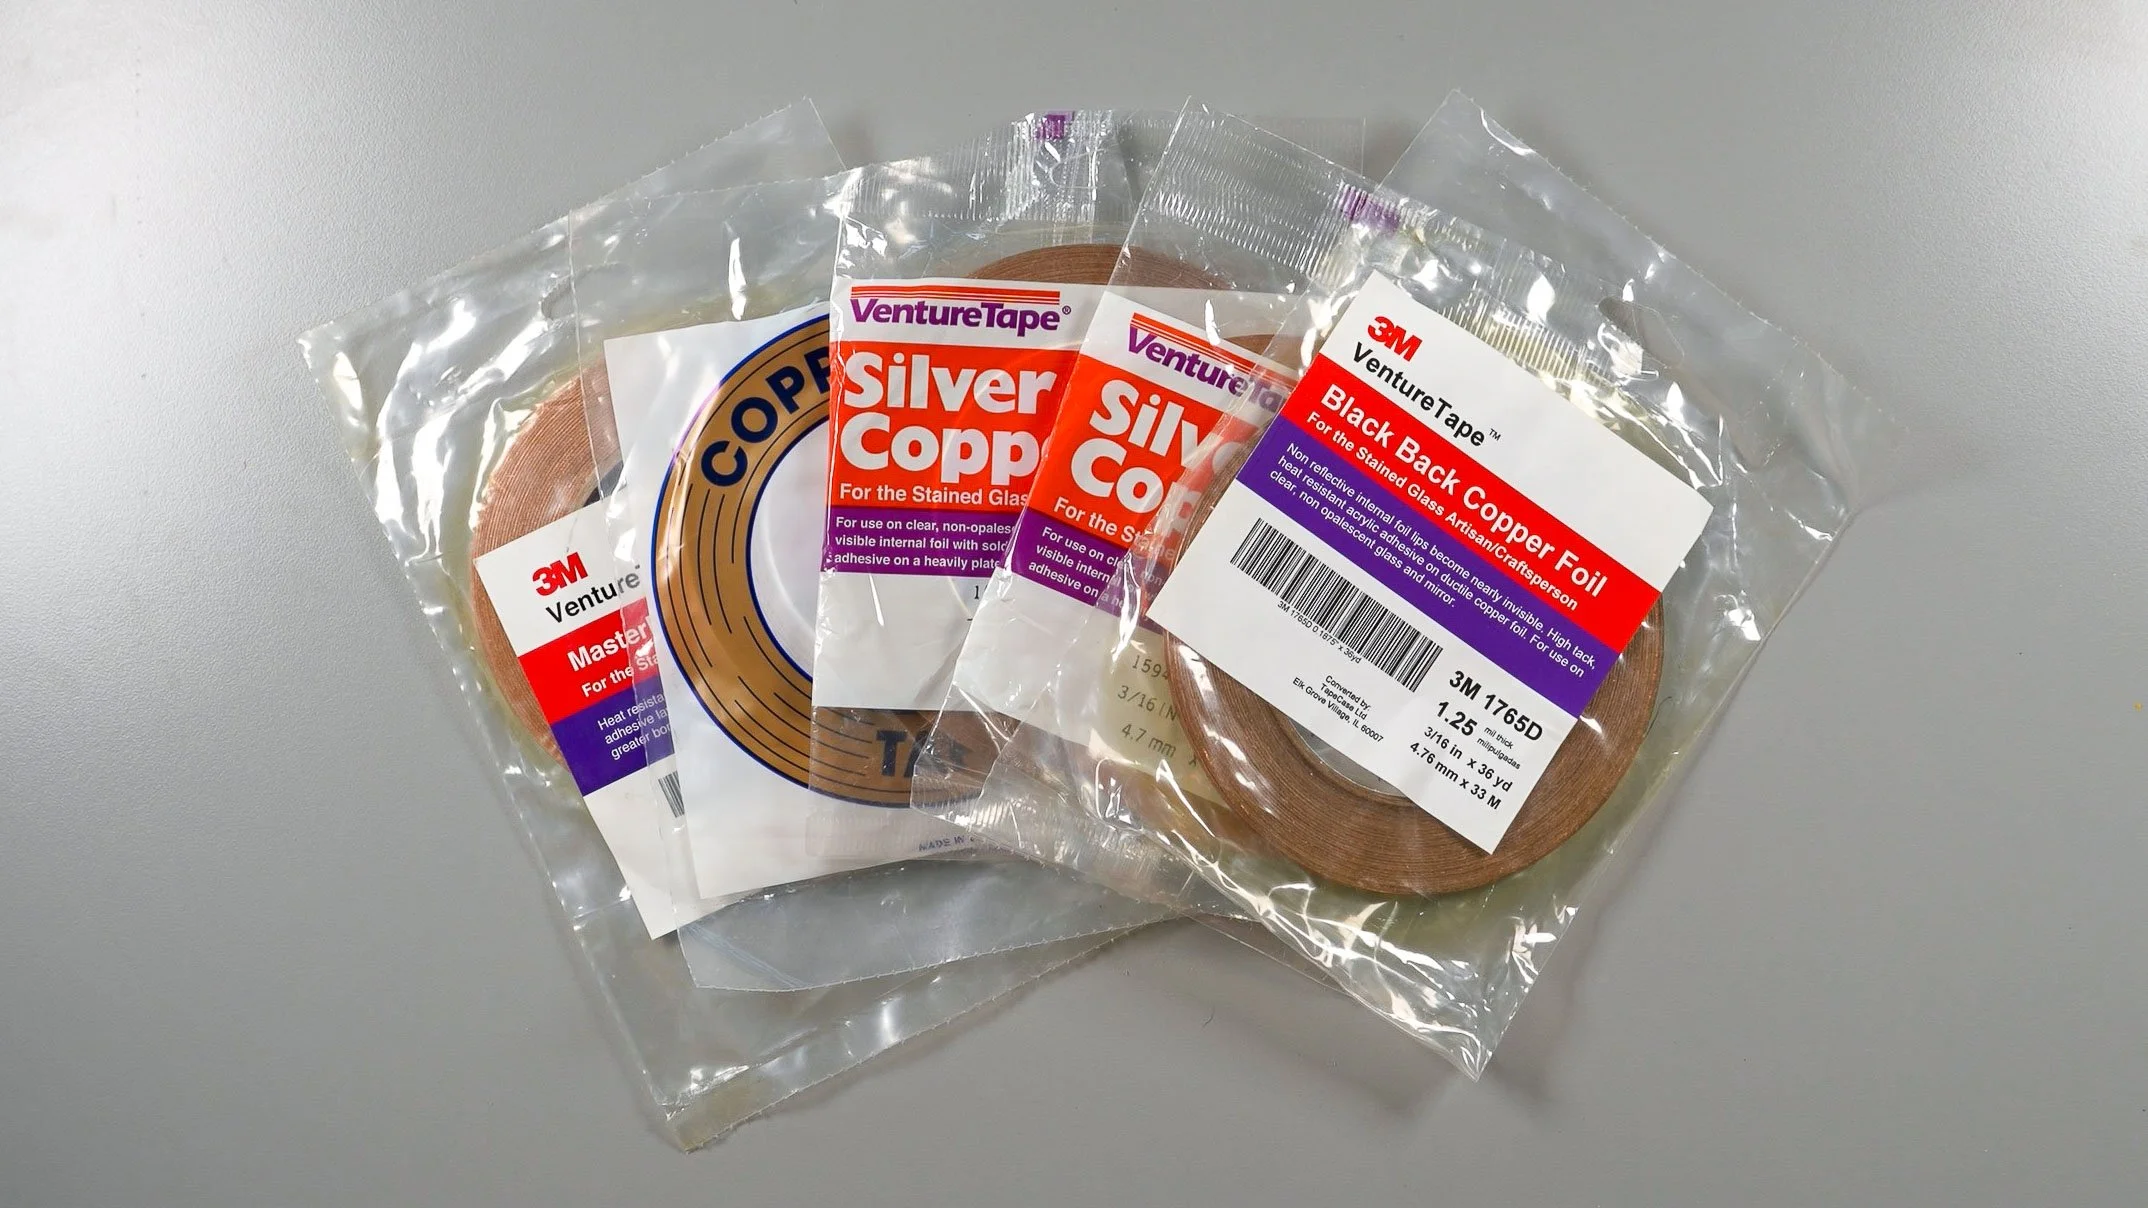
COPPER FOIL
I’ve used various sizes and backing colors of both Edco and Venture Tape foils for years without issue.
I’d recommend beginners start with 7/32” wide copper-backed foil.
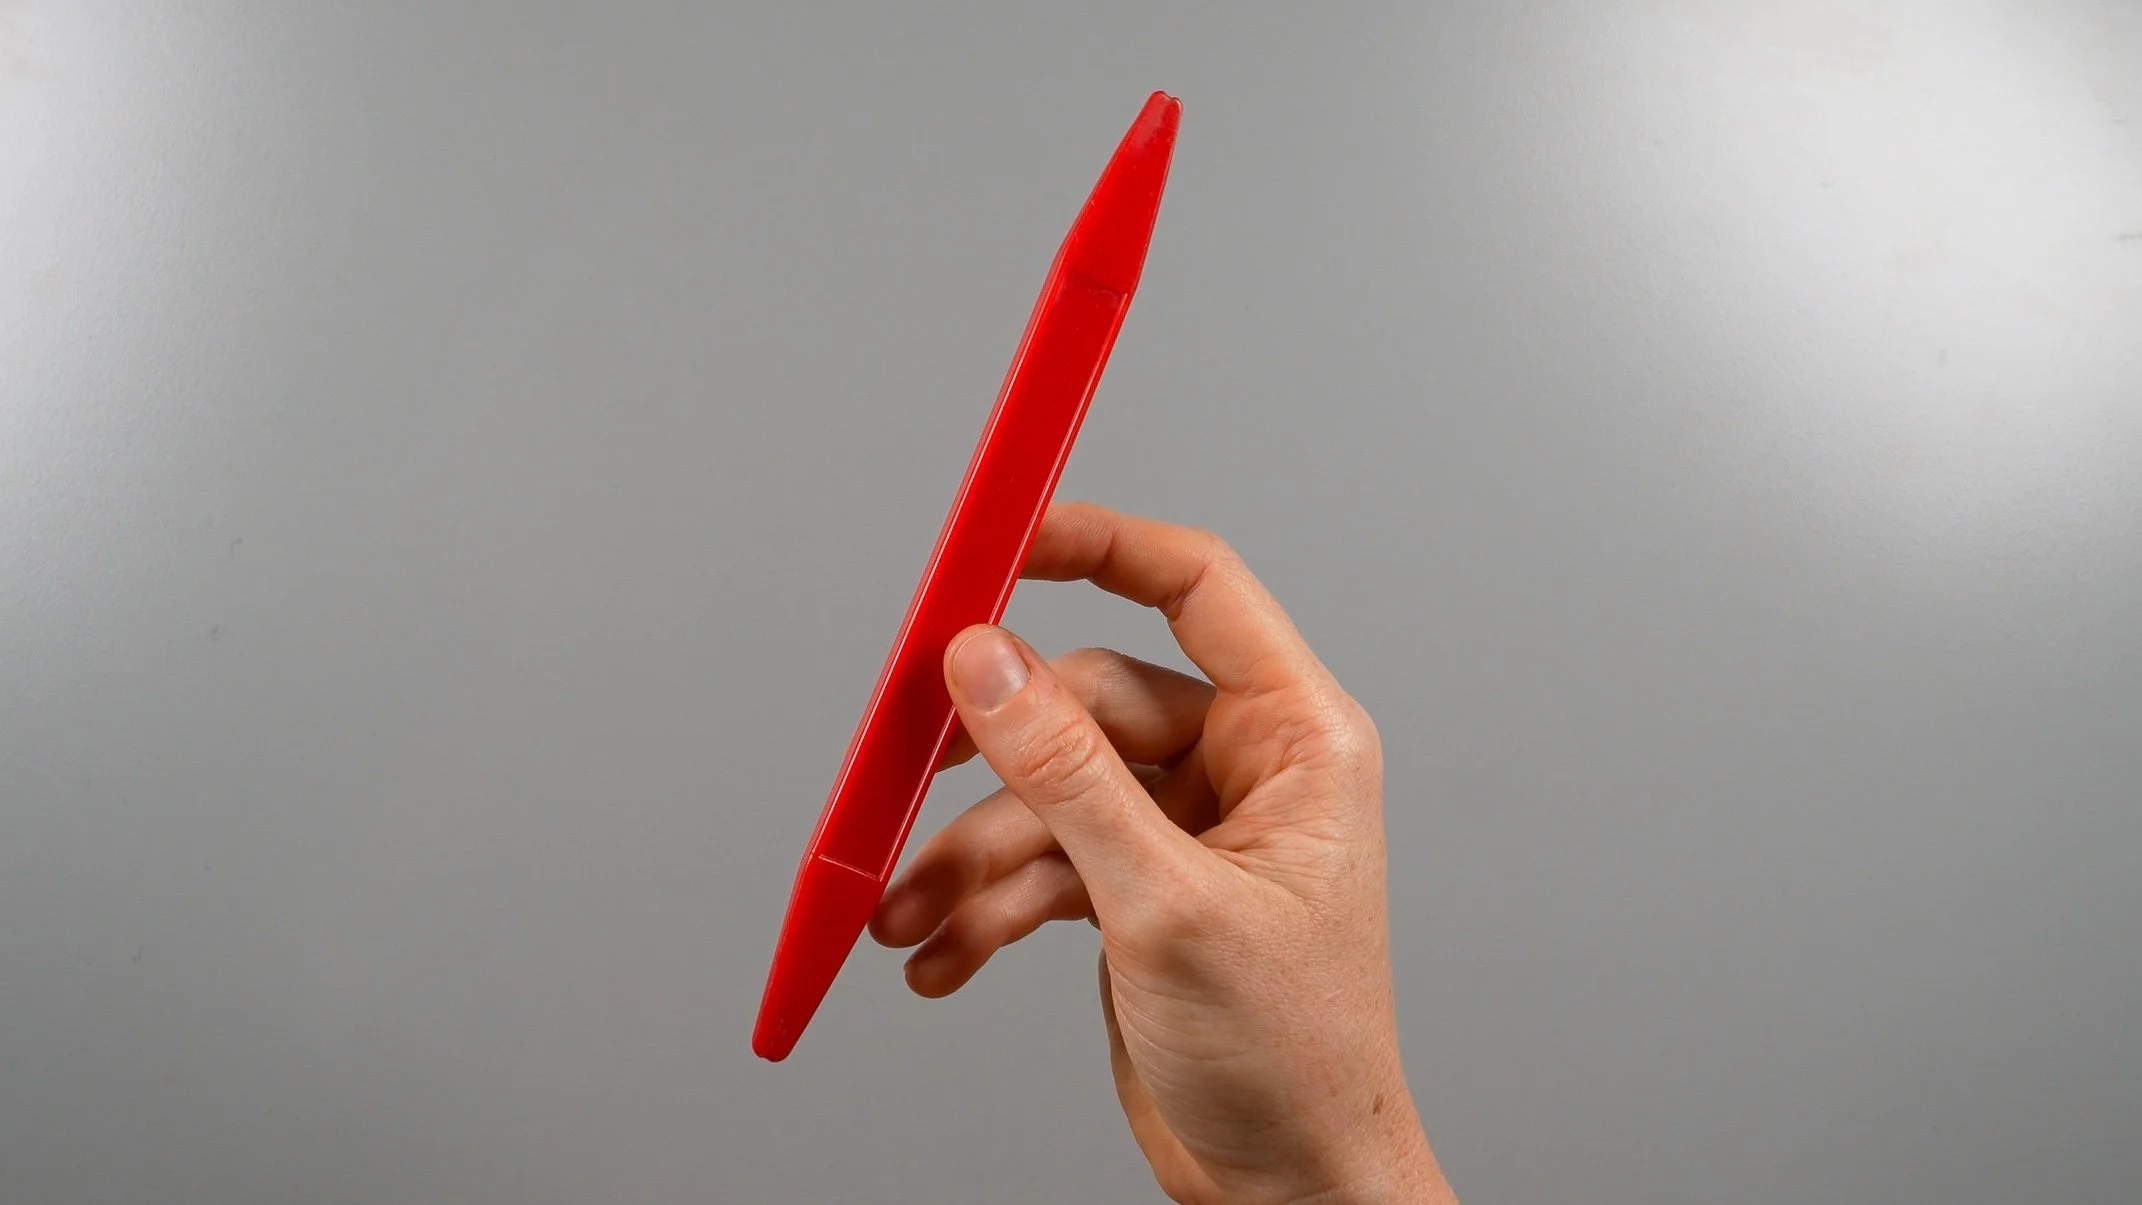
BURNISHING FID
I like using a Studio Pro fid because it has both flat edges and narrow rounded tips, which is convenient for burnishing foil to intricately-shaped glass pieces with small, tight curves.
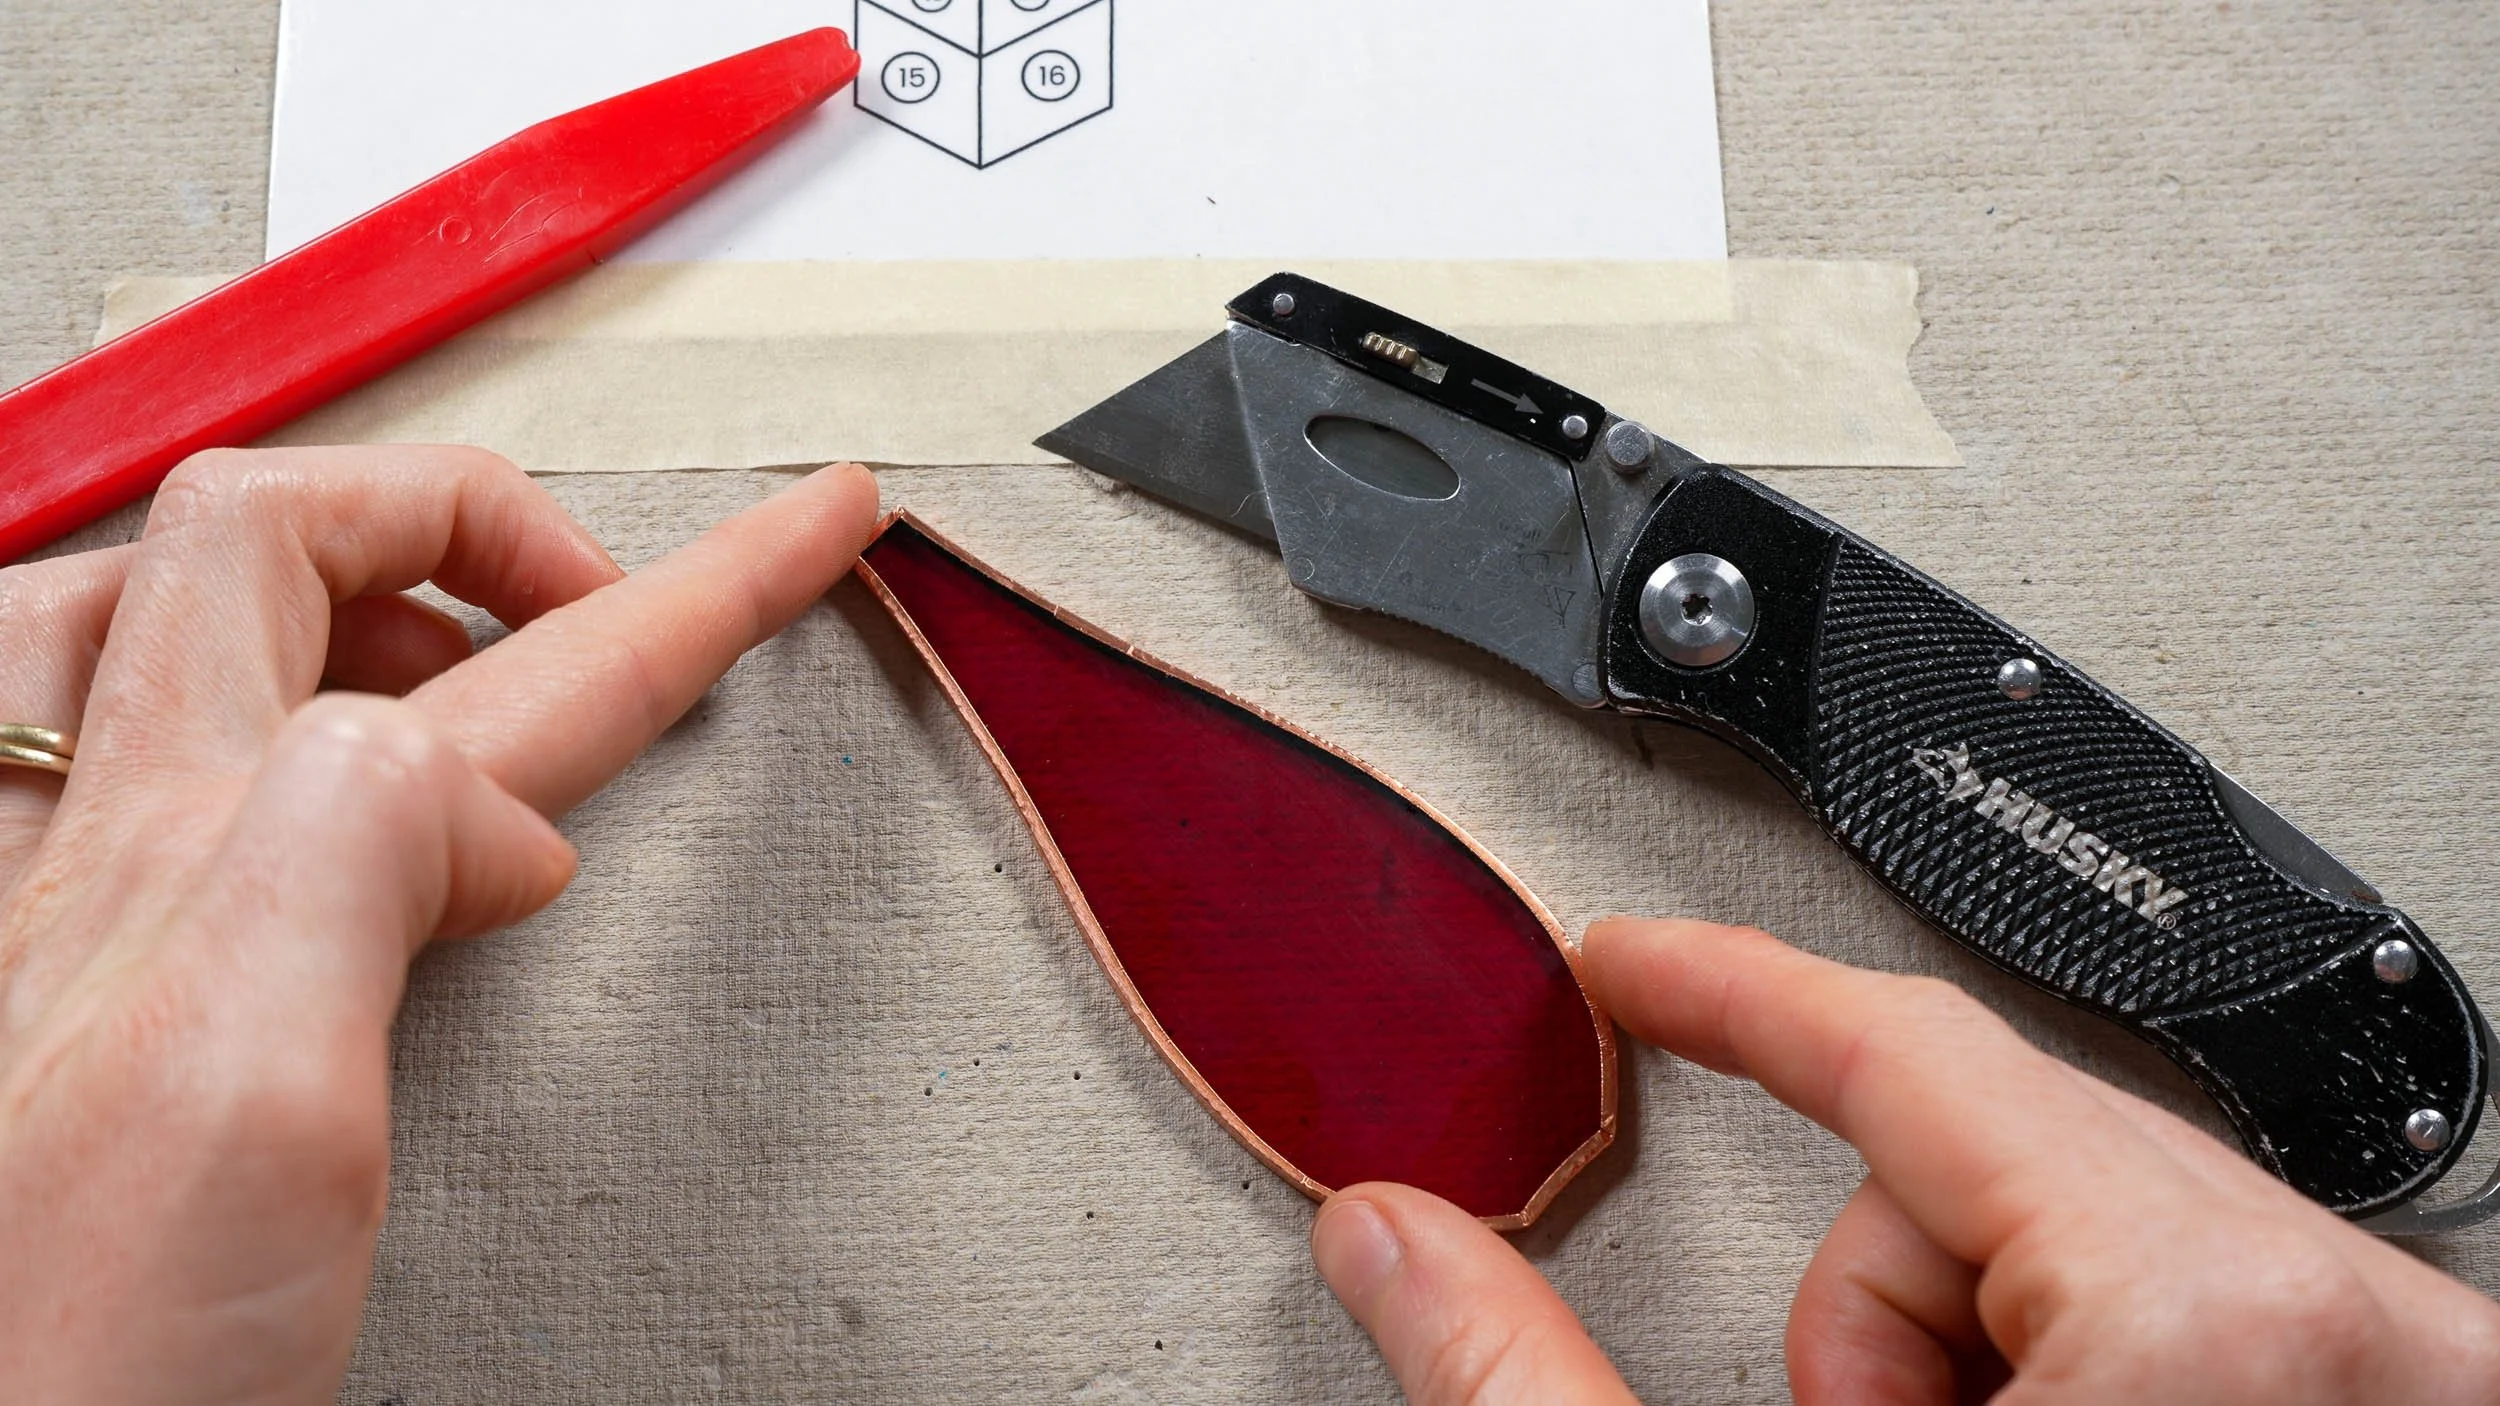
X-ACTO KNIFE
I always go over foil overlaps with an x-acto knife to ensure my solder seams end up looking as pristine as possible. I’m fond of my folding Husky model because I can keep it alongside my other tools without getting cut as I reach for something else.
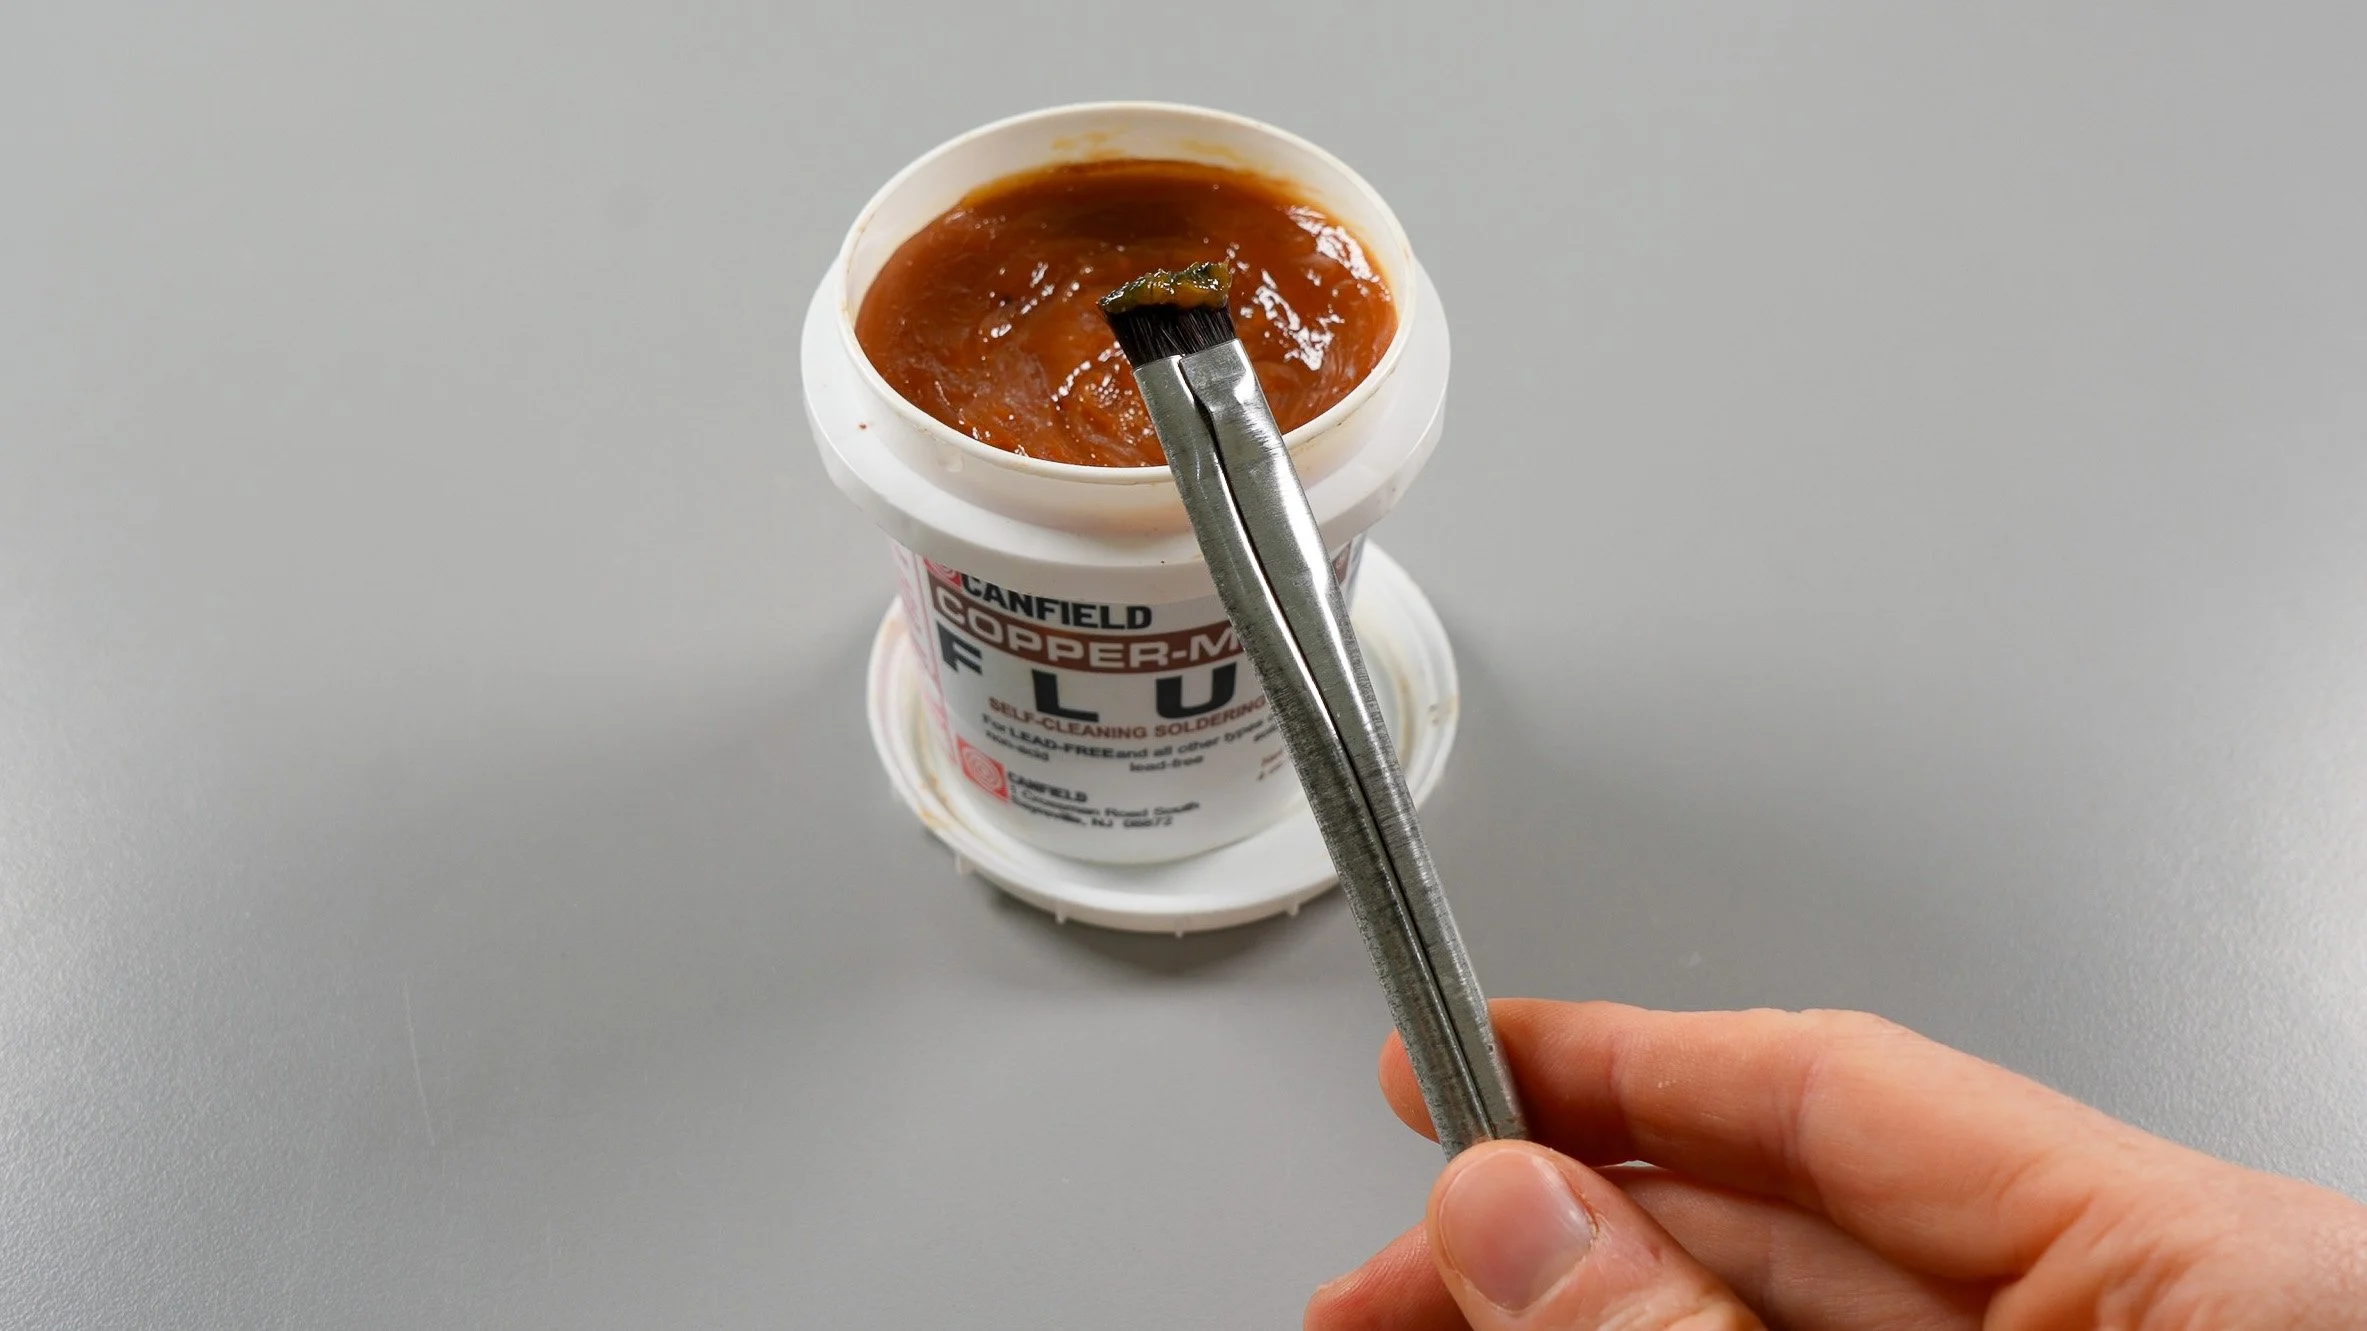
FLUX + FLUX BRUSH
I never deviate from my Copper Mate paste flux! It makes solder smoothly workable and doesn’t cause bubbling or spitting.
For those that prefer liquid flux—I’ve tried just about every kind out there, and the only liquid one I’ve found to not cause solder issues is Rubyfluid.
I use a standard flux brush (and trim the end short).
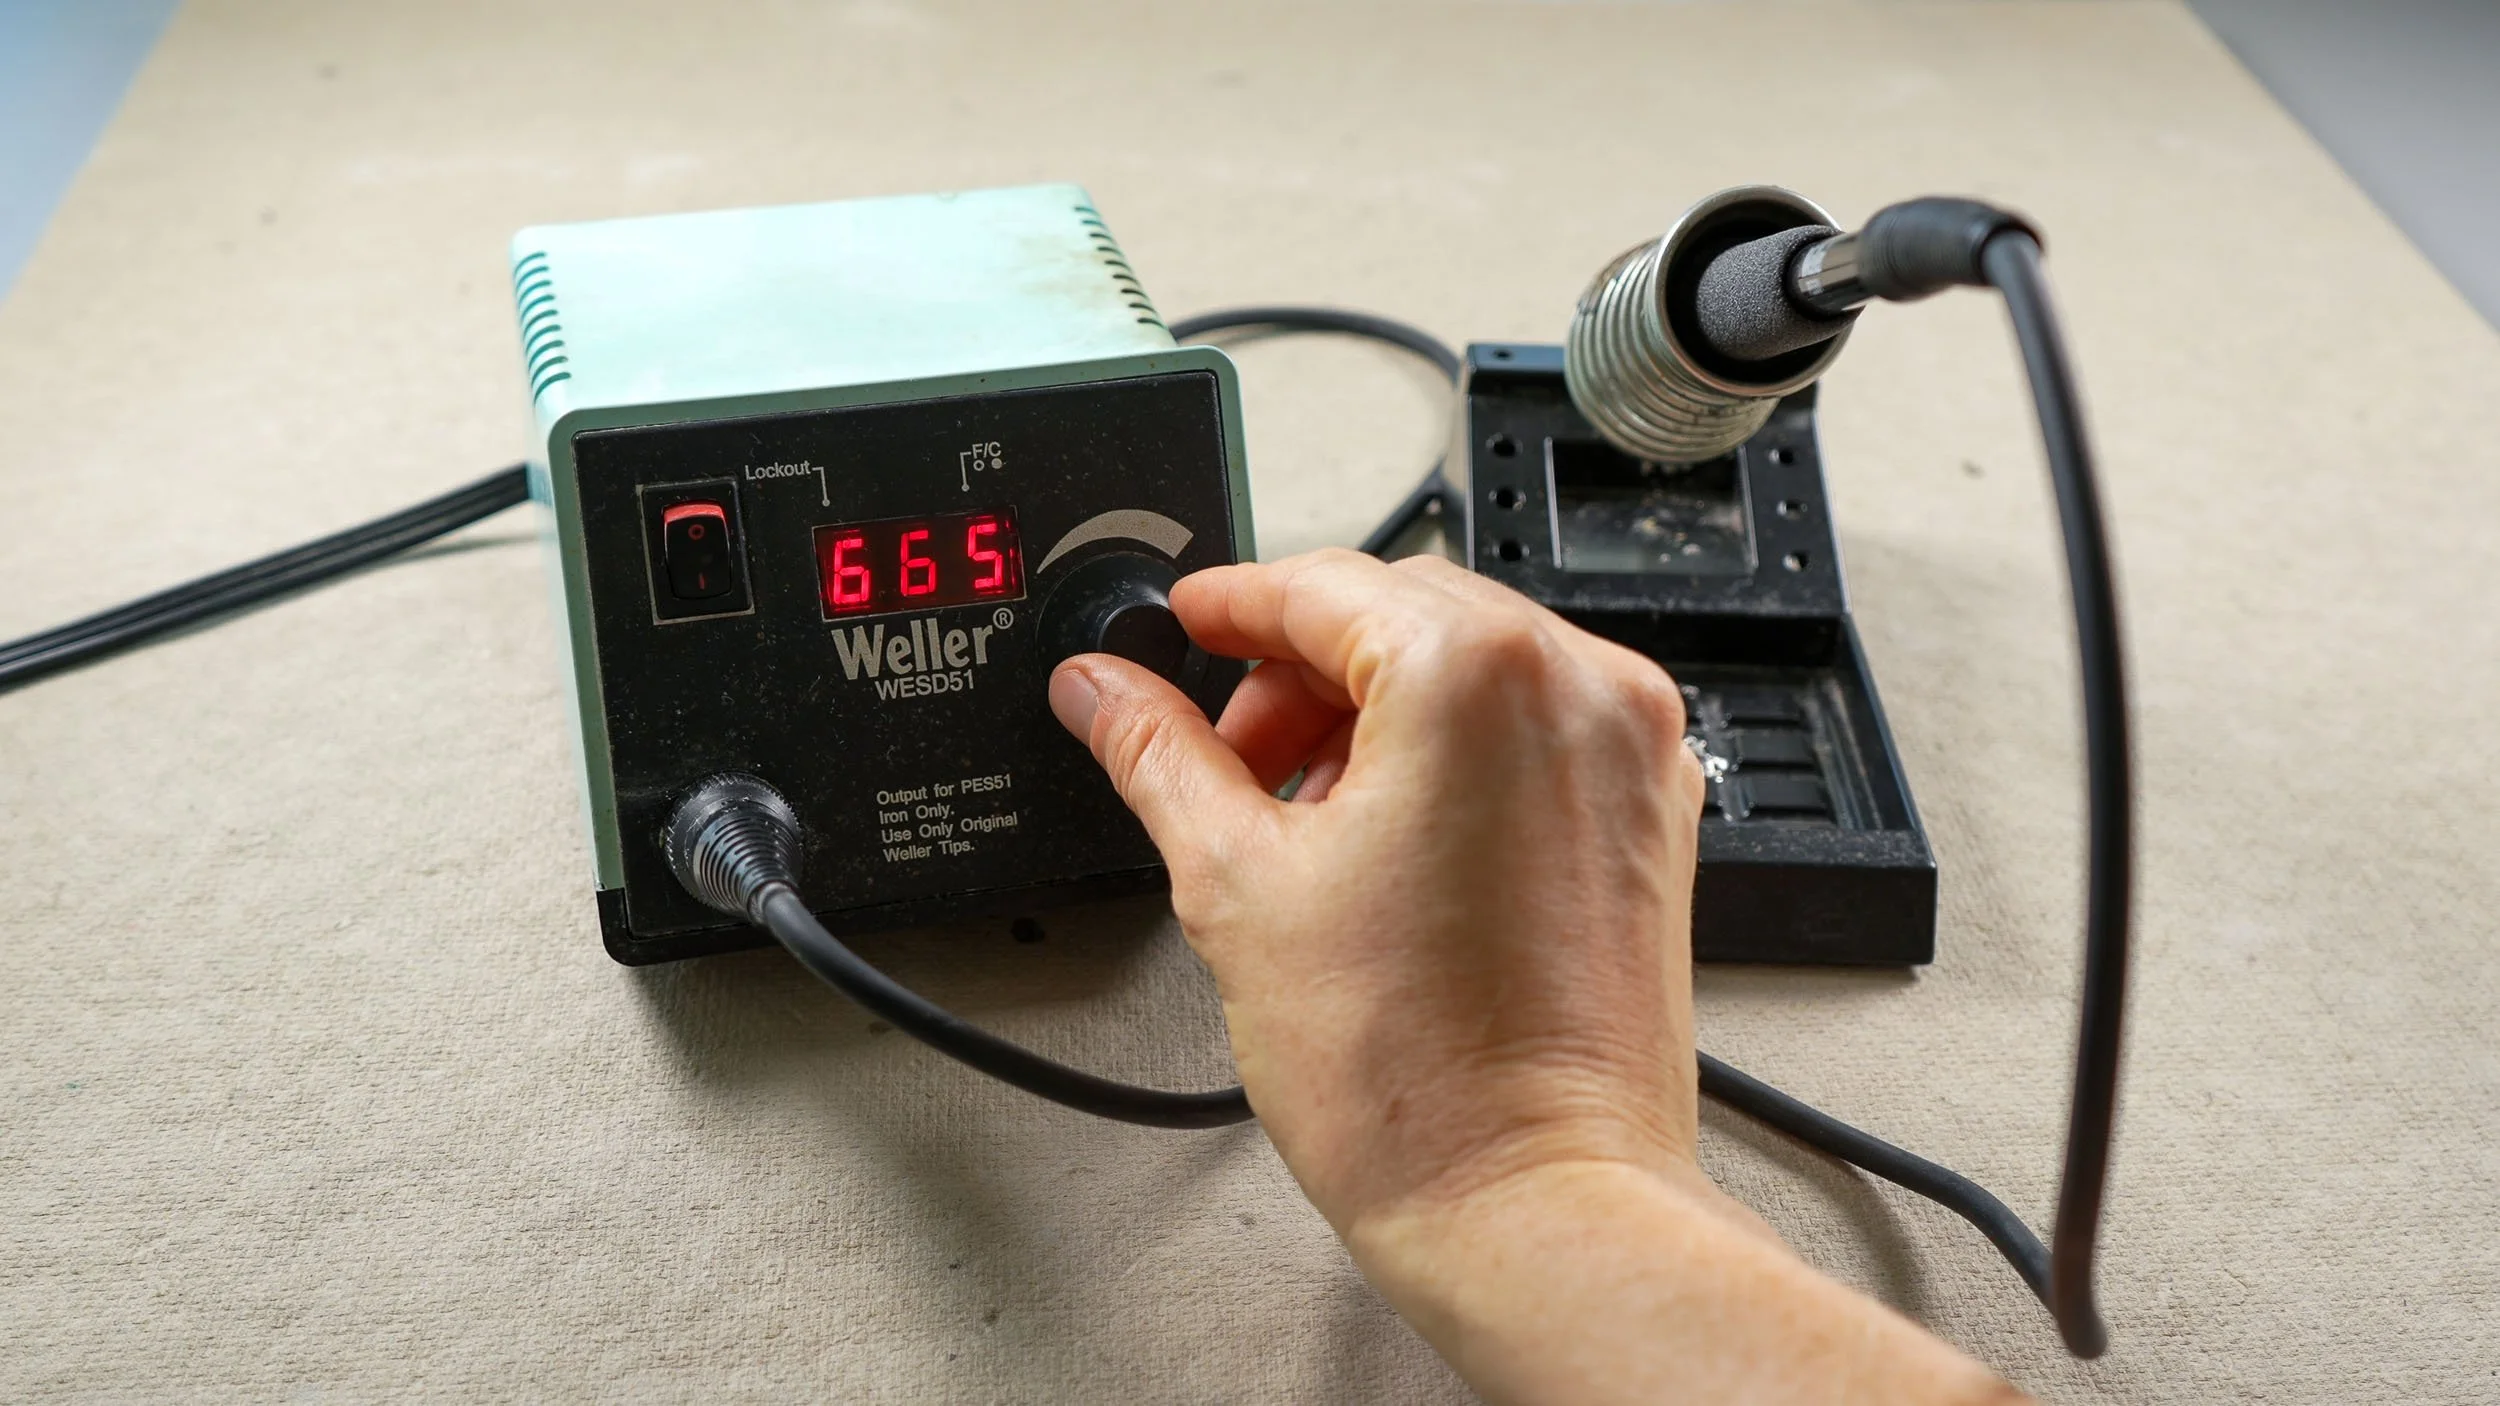
SOLDERING IRON
I love my Weller WESD51 iron because it heats up quickly, allows for exact temperature setting, comes with a safety stand, and the iron itself is lightweight (this model has since been discontinued and replaced with the WE1010NA).
My backup iron is the Hakko FX-601, which also works very well.
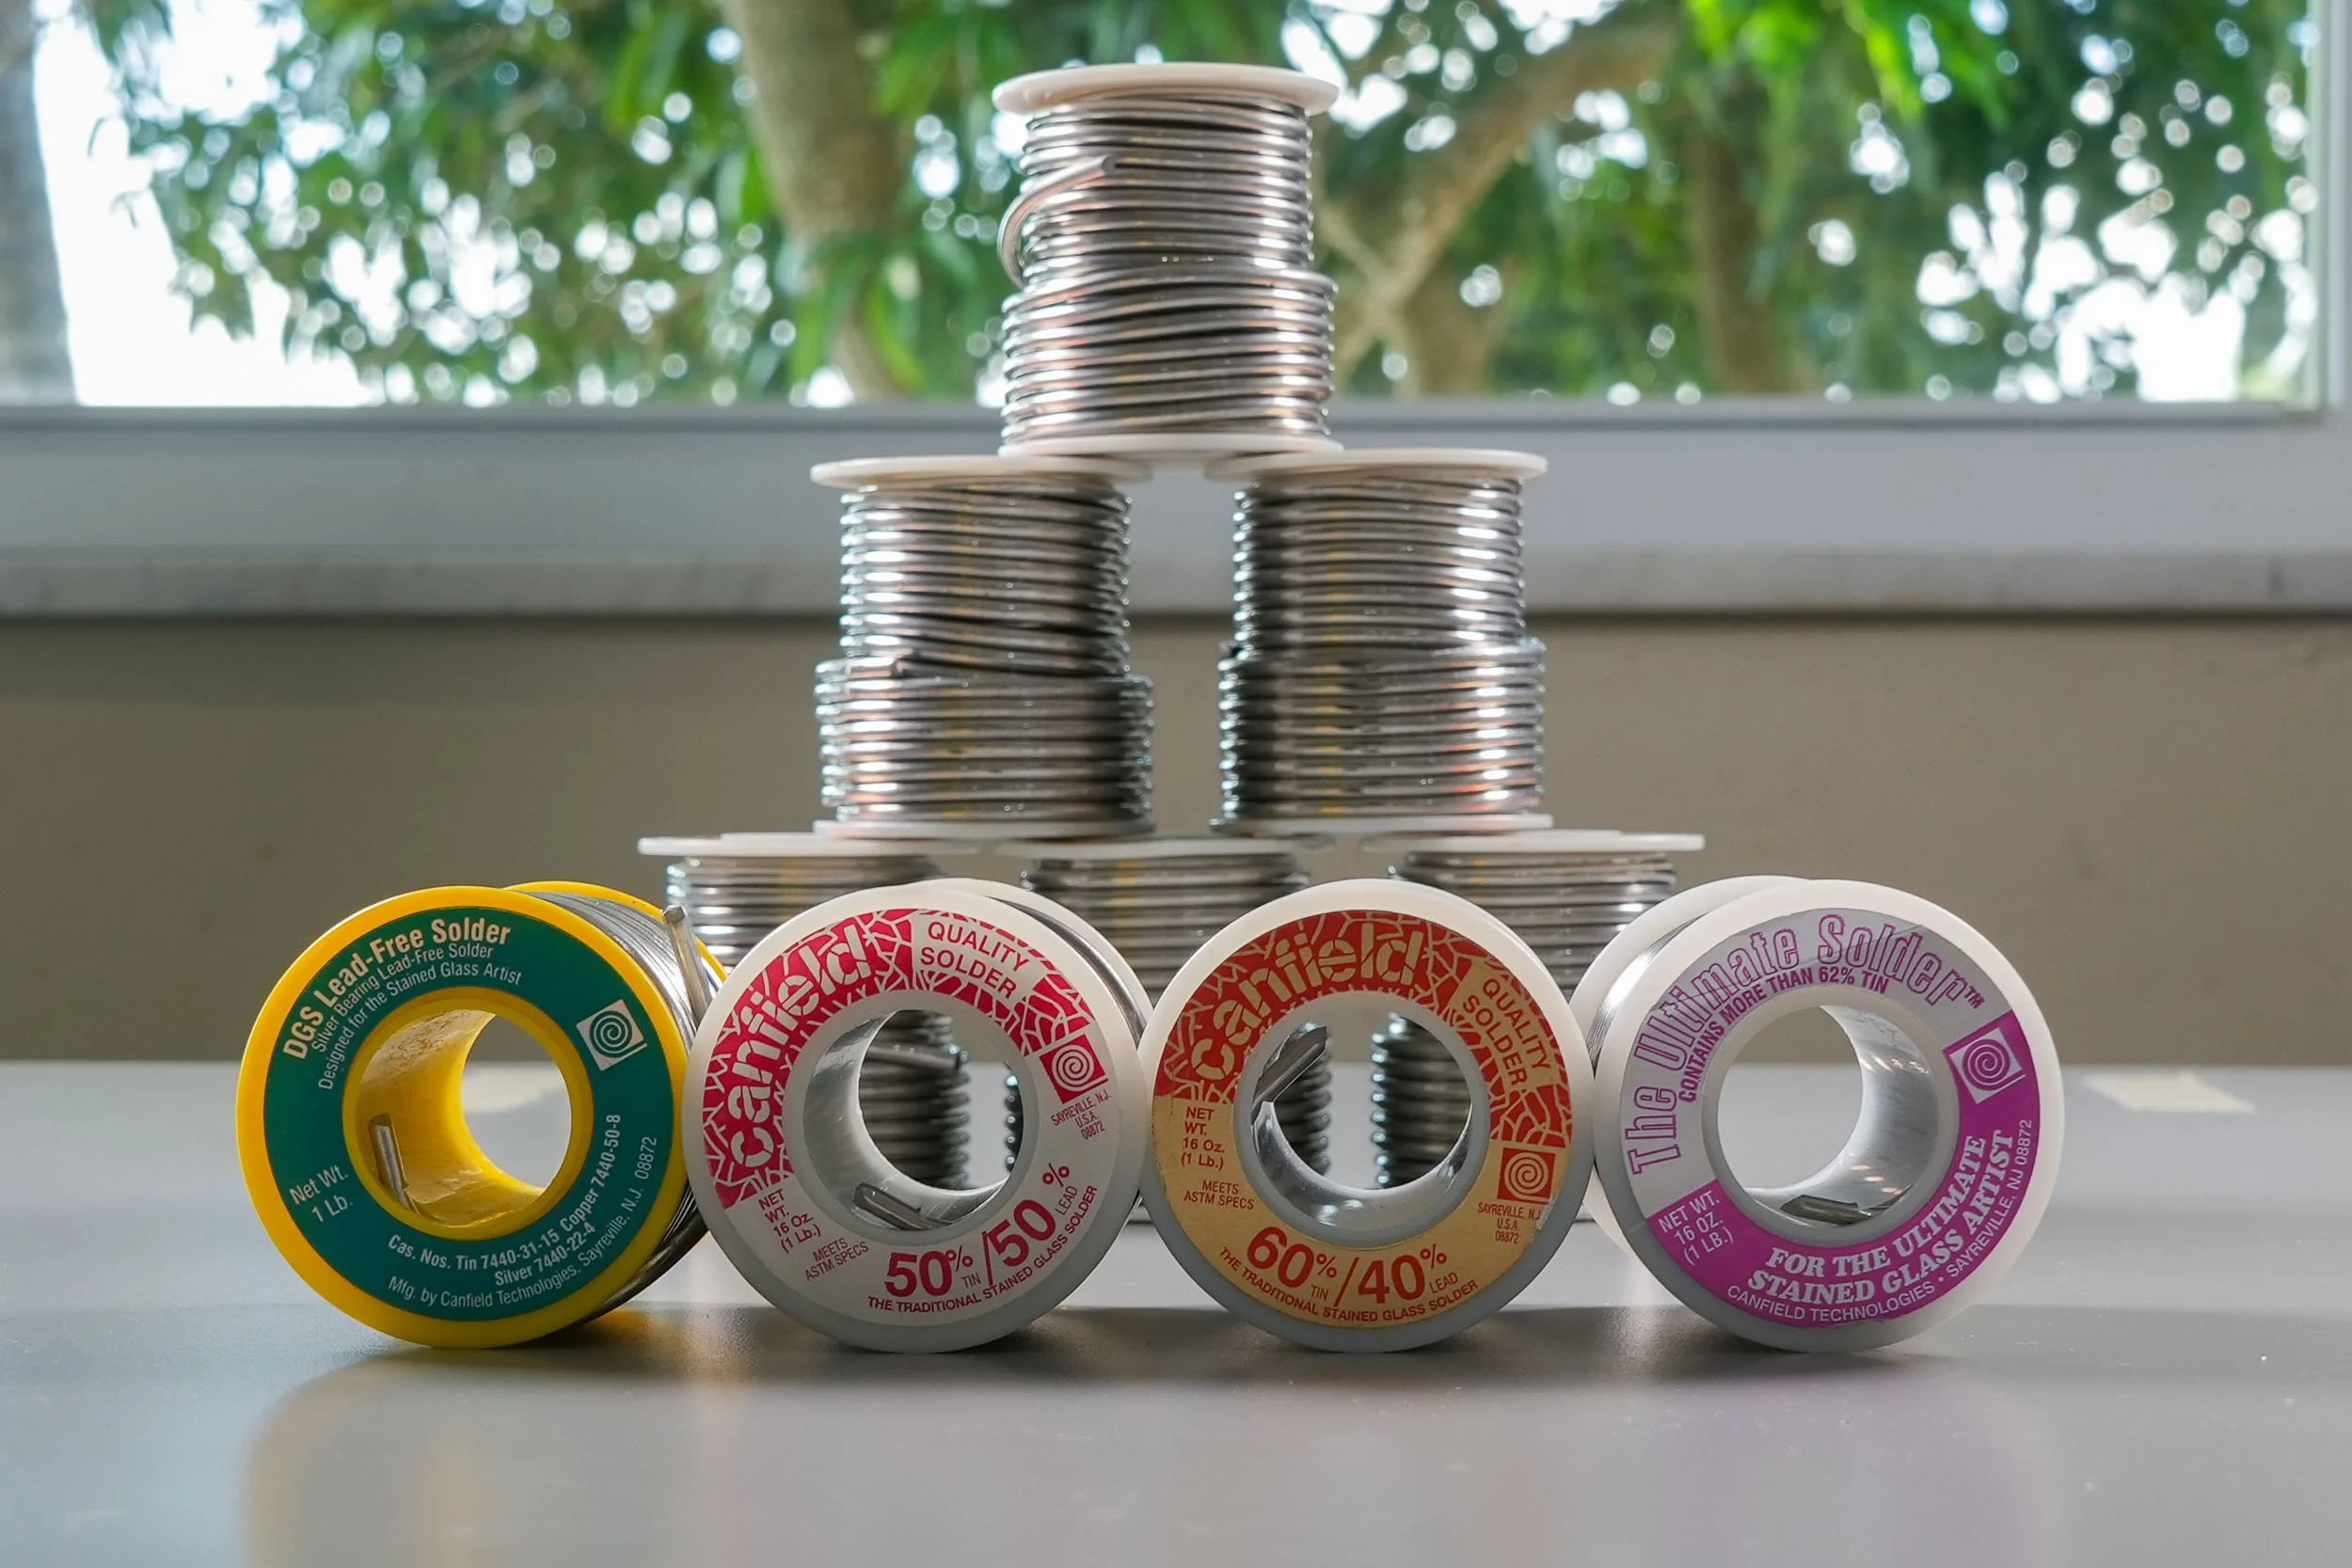
SOLDER
I’ve found Canfield solder to be extremely reliable and of high-quality. I regularly use the 60/40 for standard soldering, the 50/50 for framing channels/lead came, and the 63/37 for decorative accents.
I don’t use it often, but Canfield also makes a lead-free solder (be aware that all lead-free solders are much more difficult to work with than leaded ones).
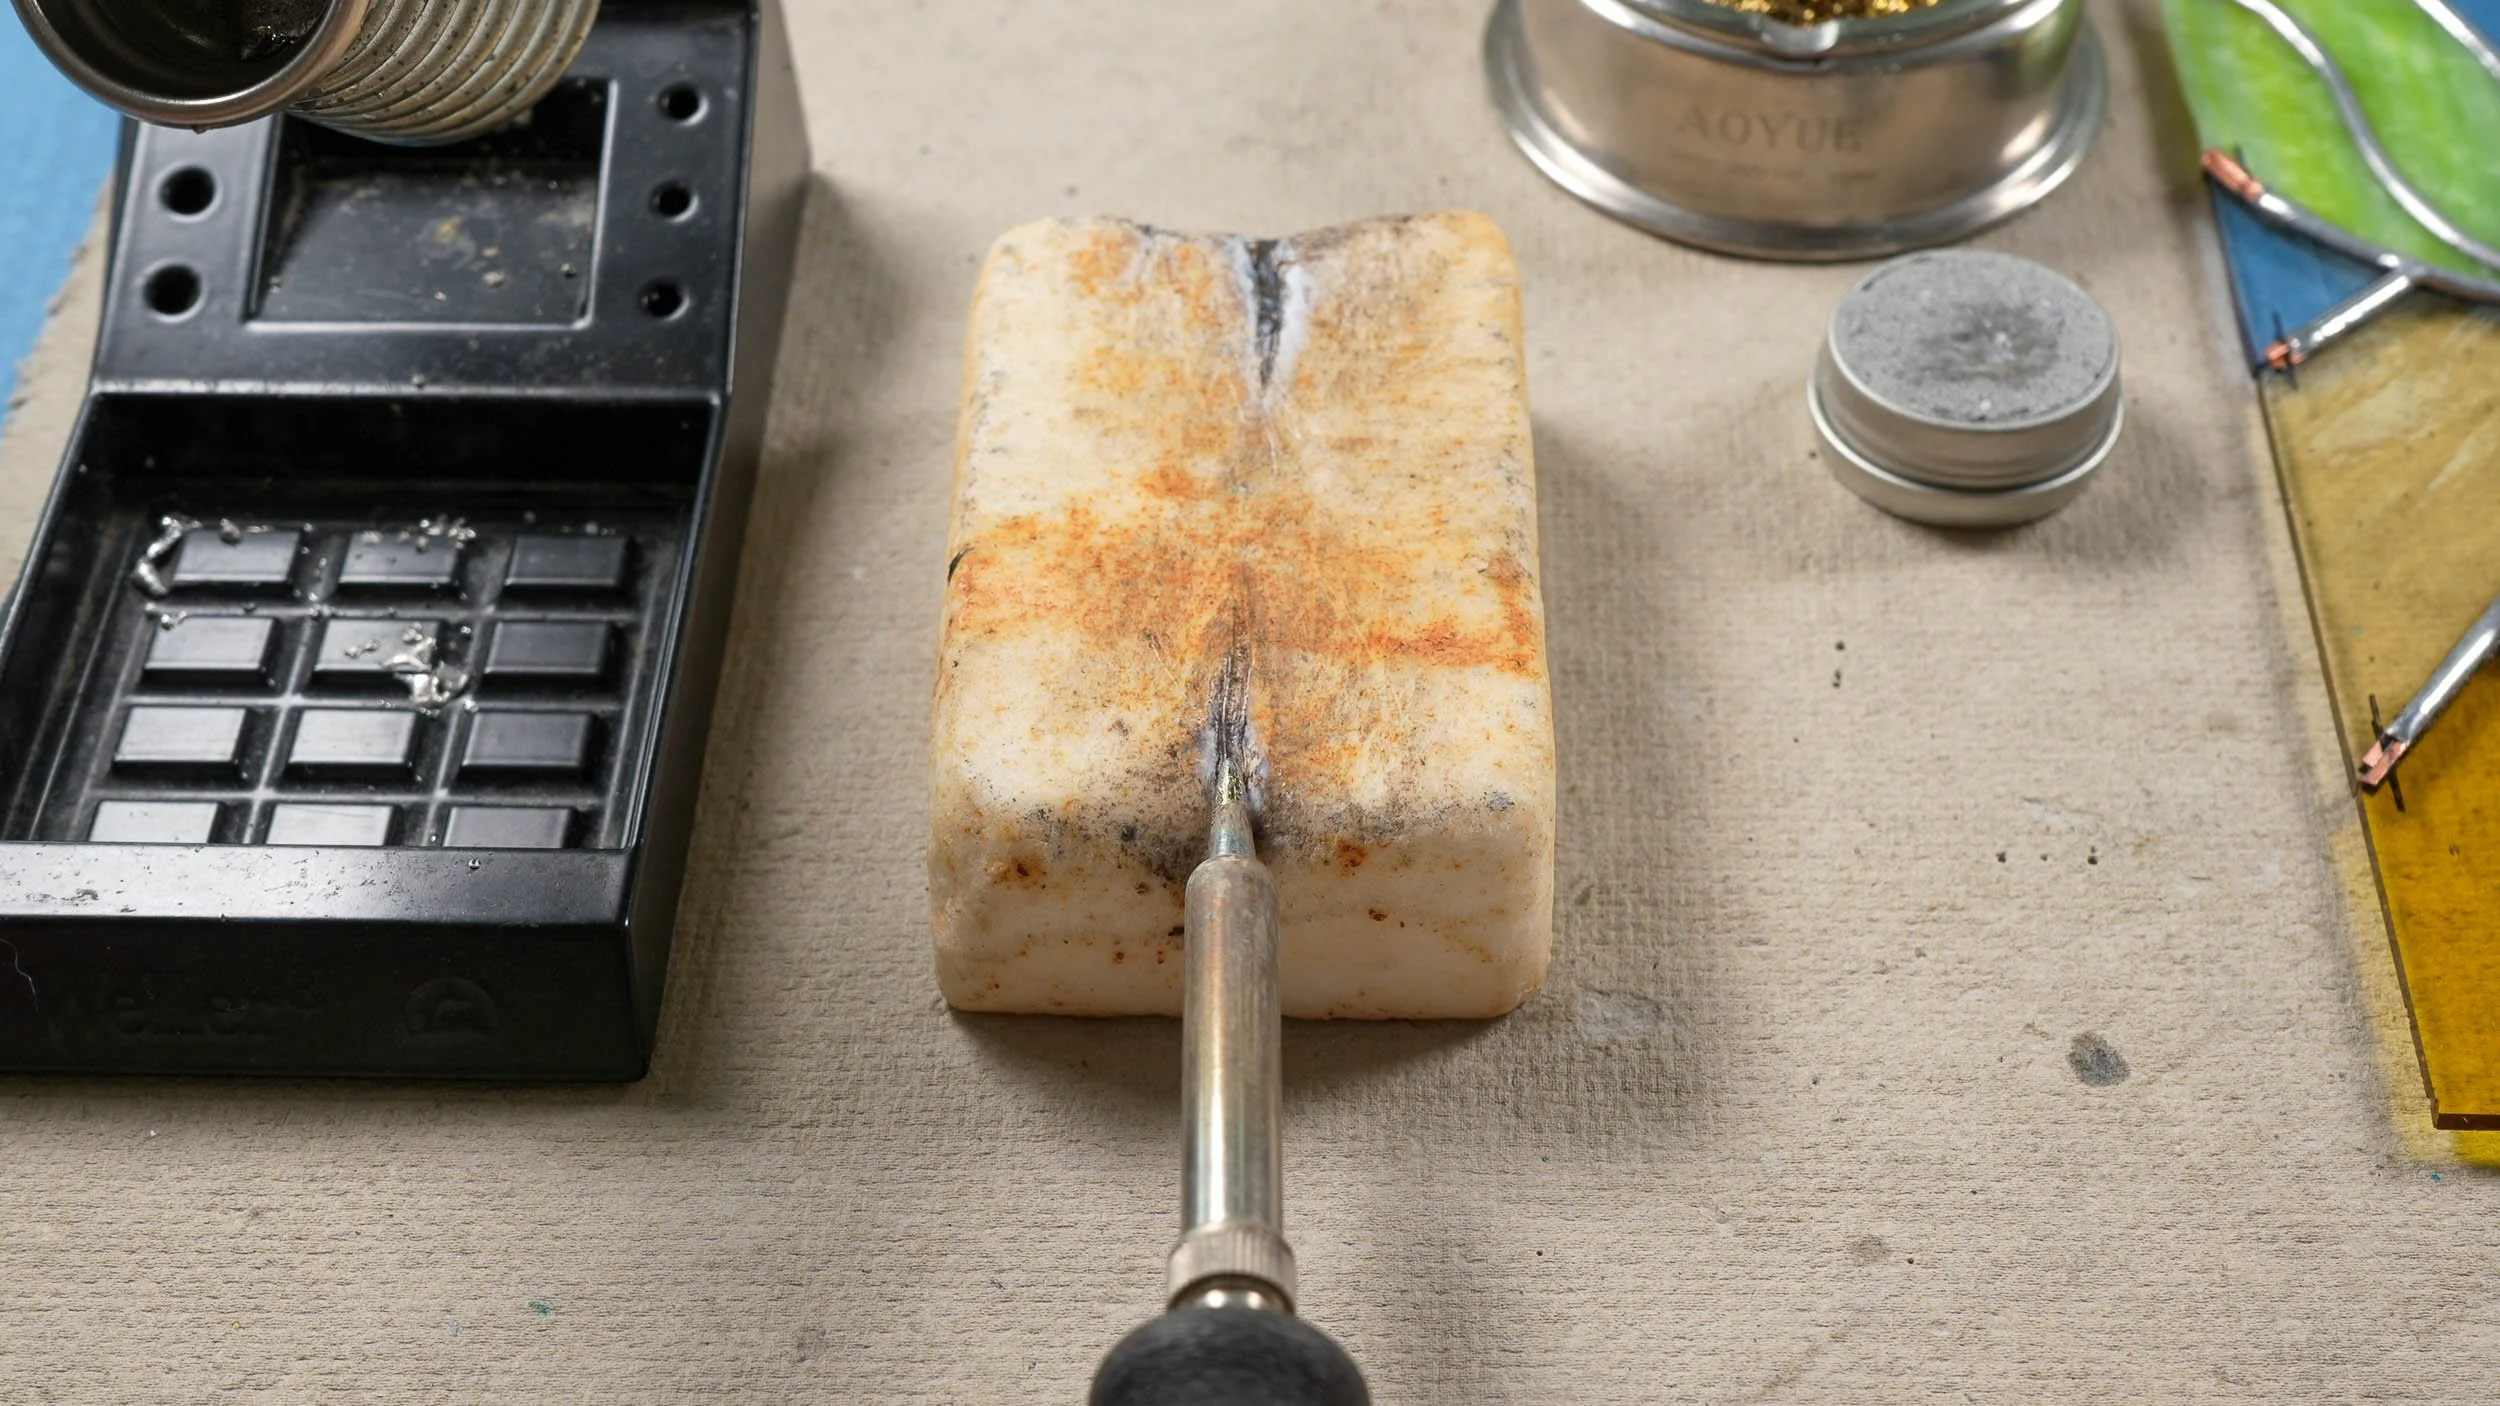
SOLDERING IRON TIP CLEANER
I prefer to tin my iron on an Allen sal ammoniac block because it cleans the tip beautifully and lasts forever.
Weller tip tinner is another great option.
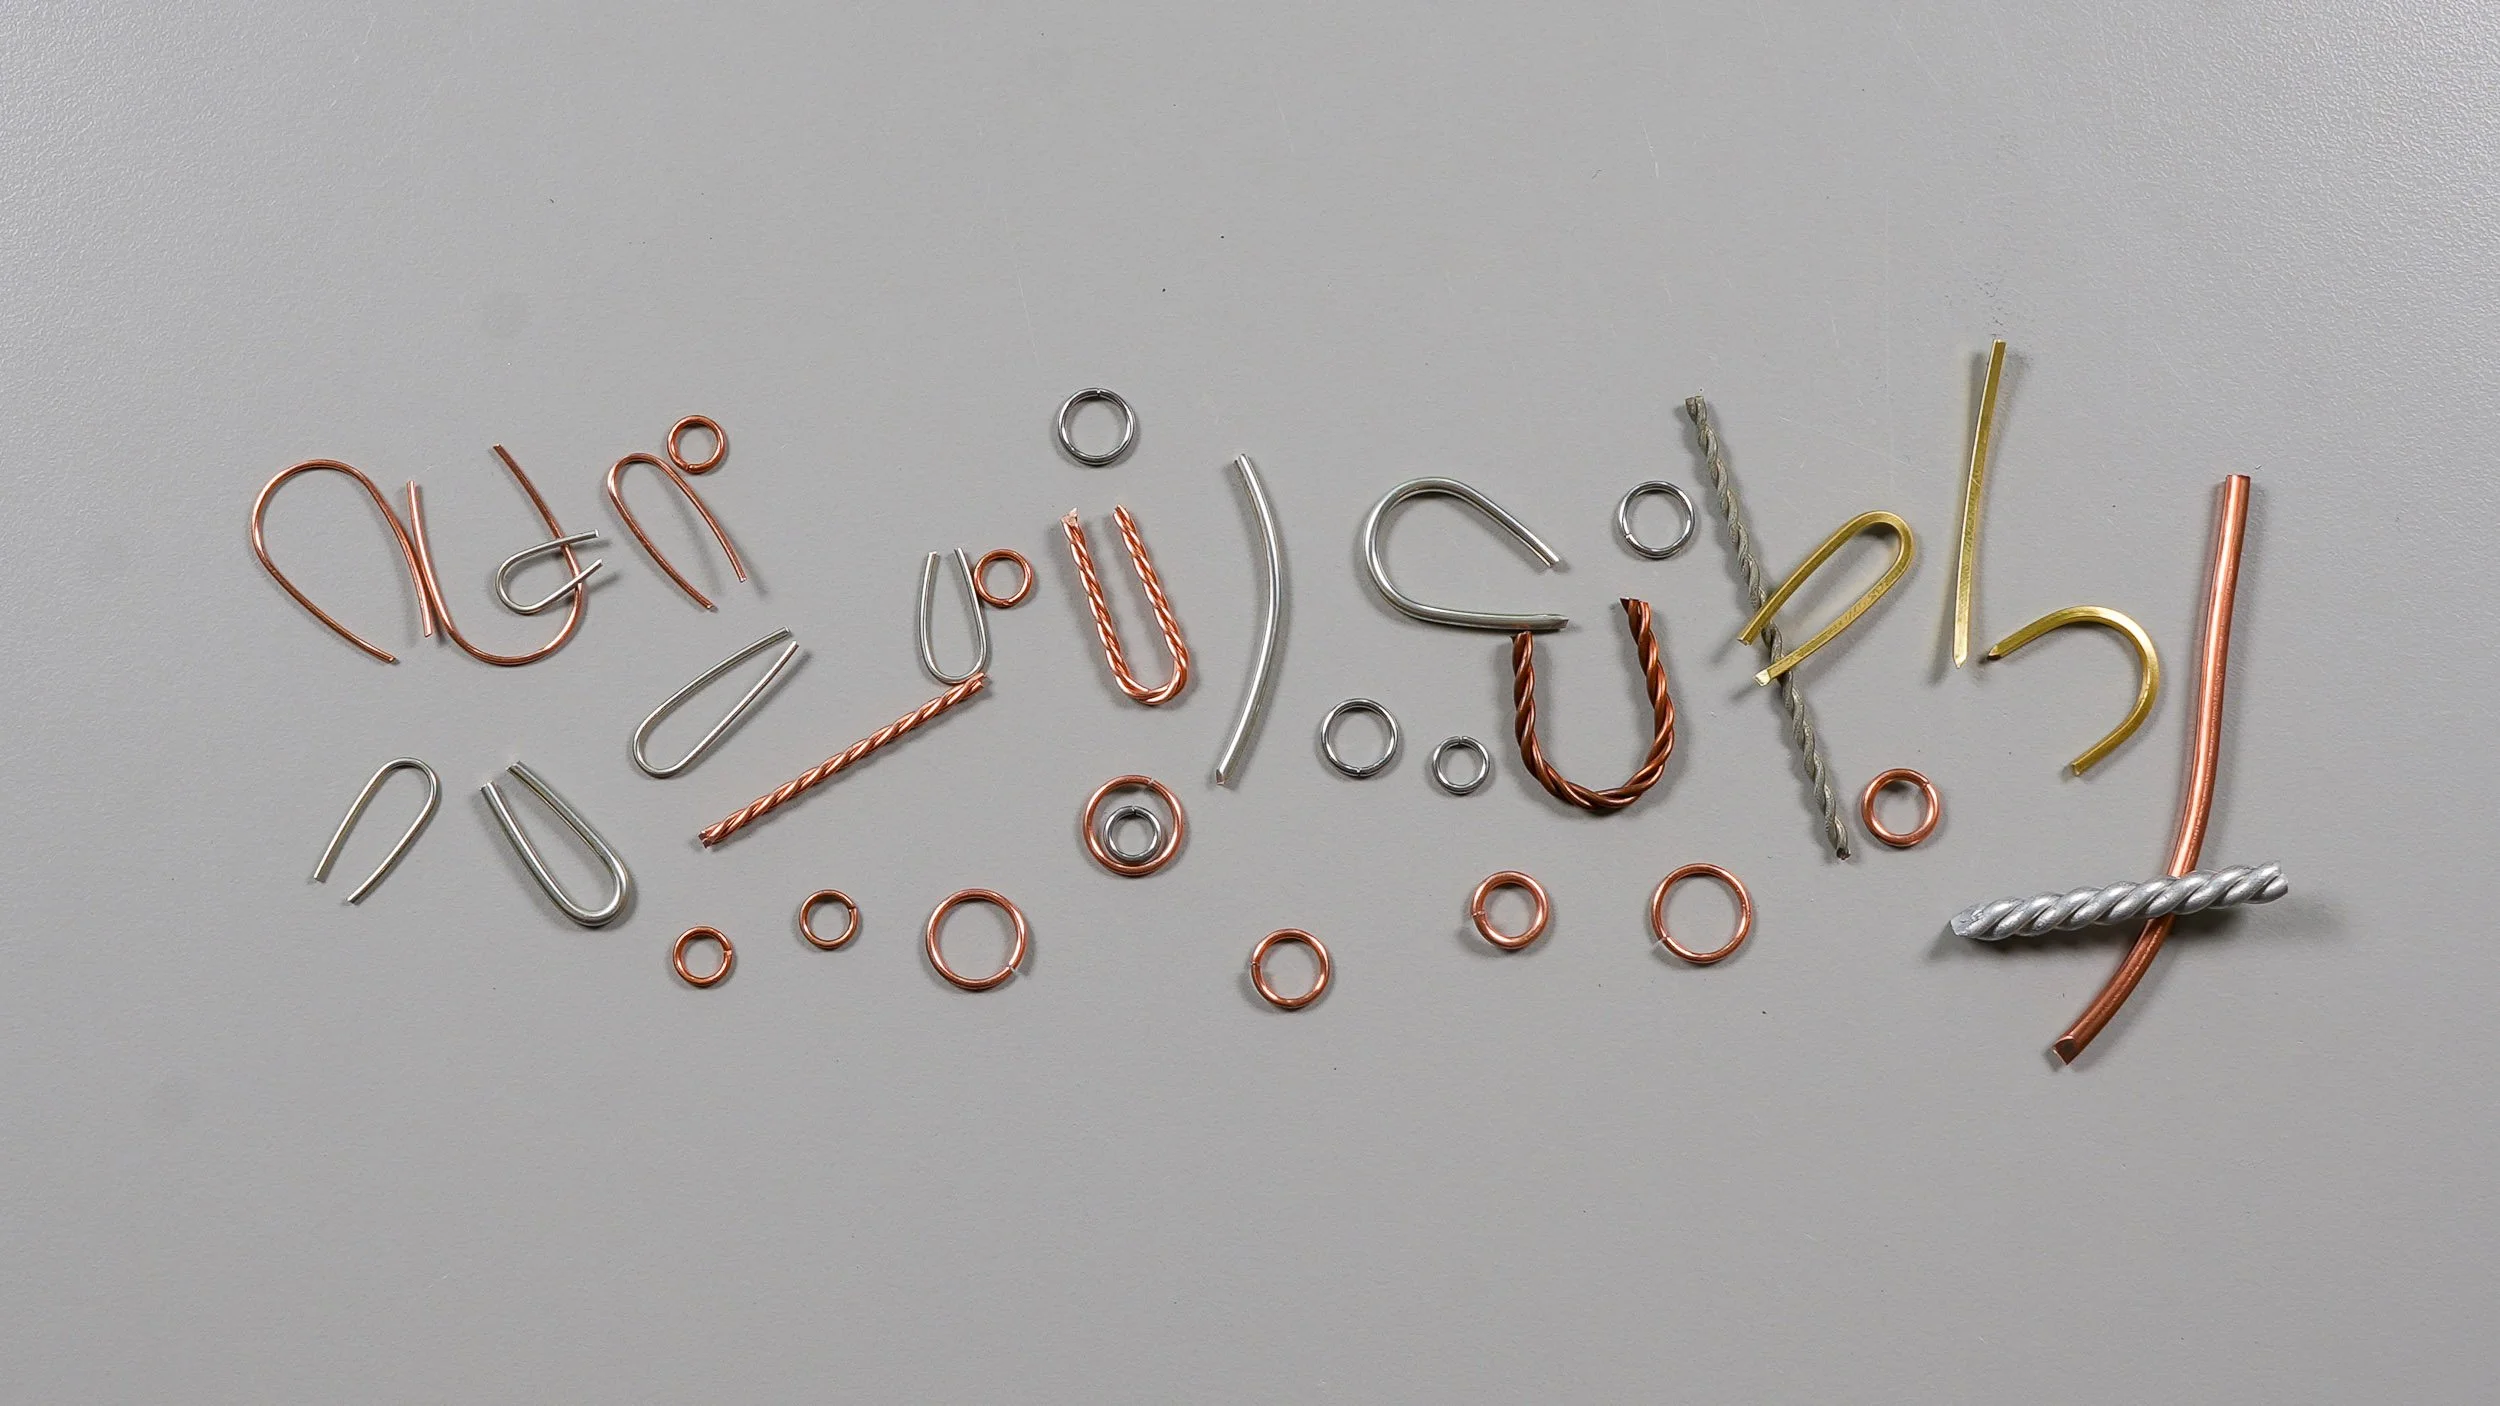
JUMP RINGS / WIRE
I use lots of different wire types for hanging attachments and decorative details, but I most frequently use 14-18 gauge (depending on the project size/weight) copper wire.
Beginners will likely find it easiest to use 8-10mm copper jump rings as hanging attachments, since they’re appropriately sized for most pieces and are already loop-shaped.
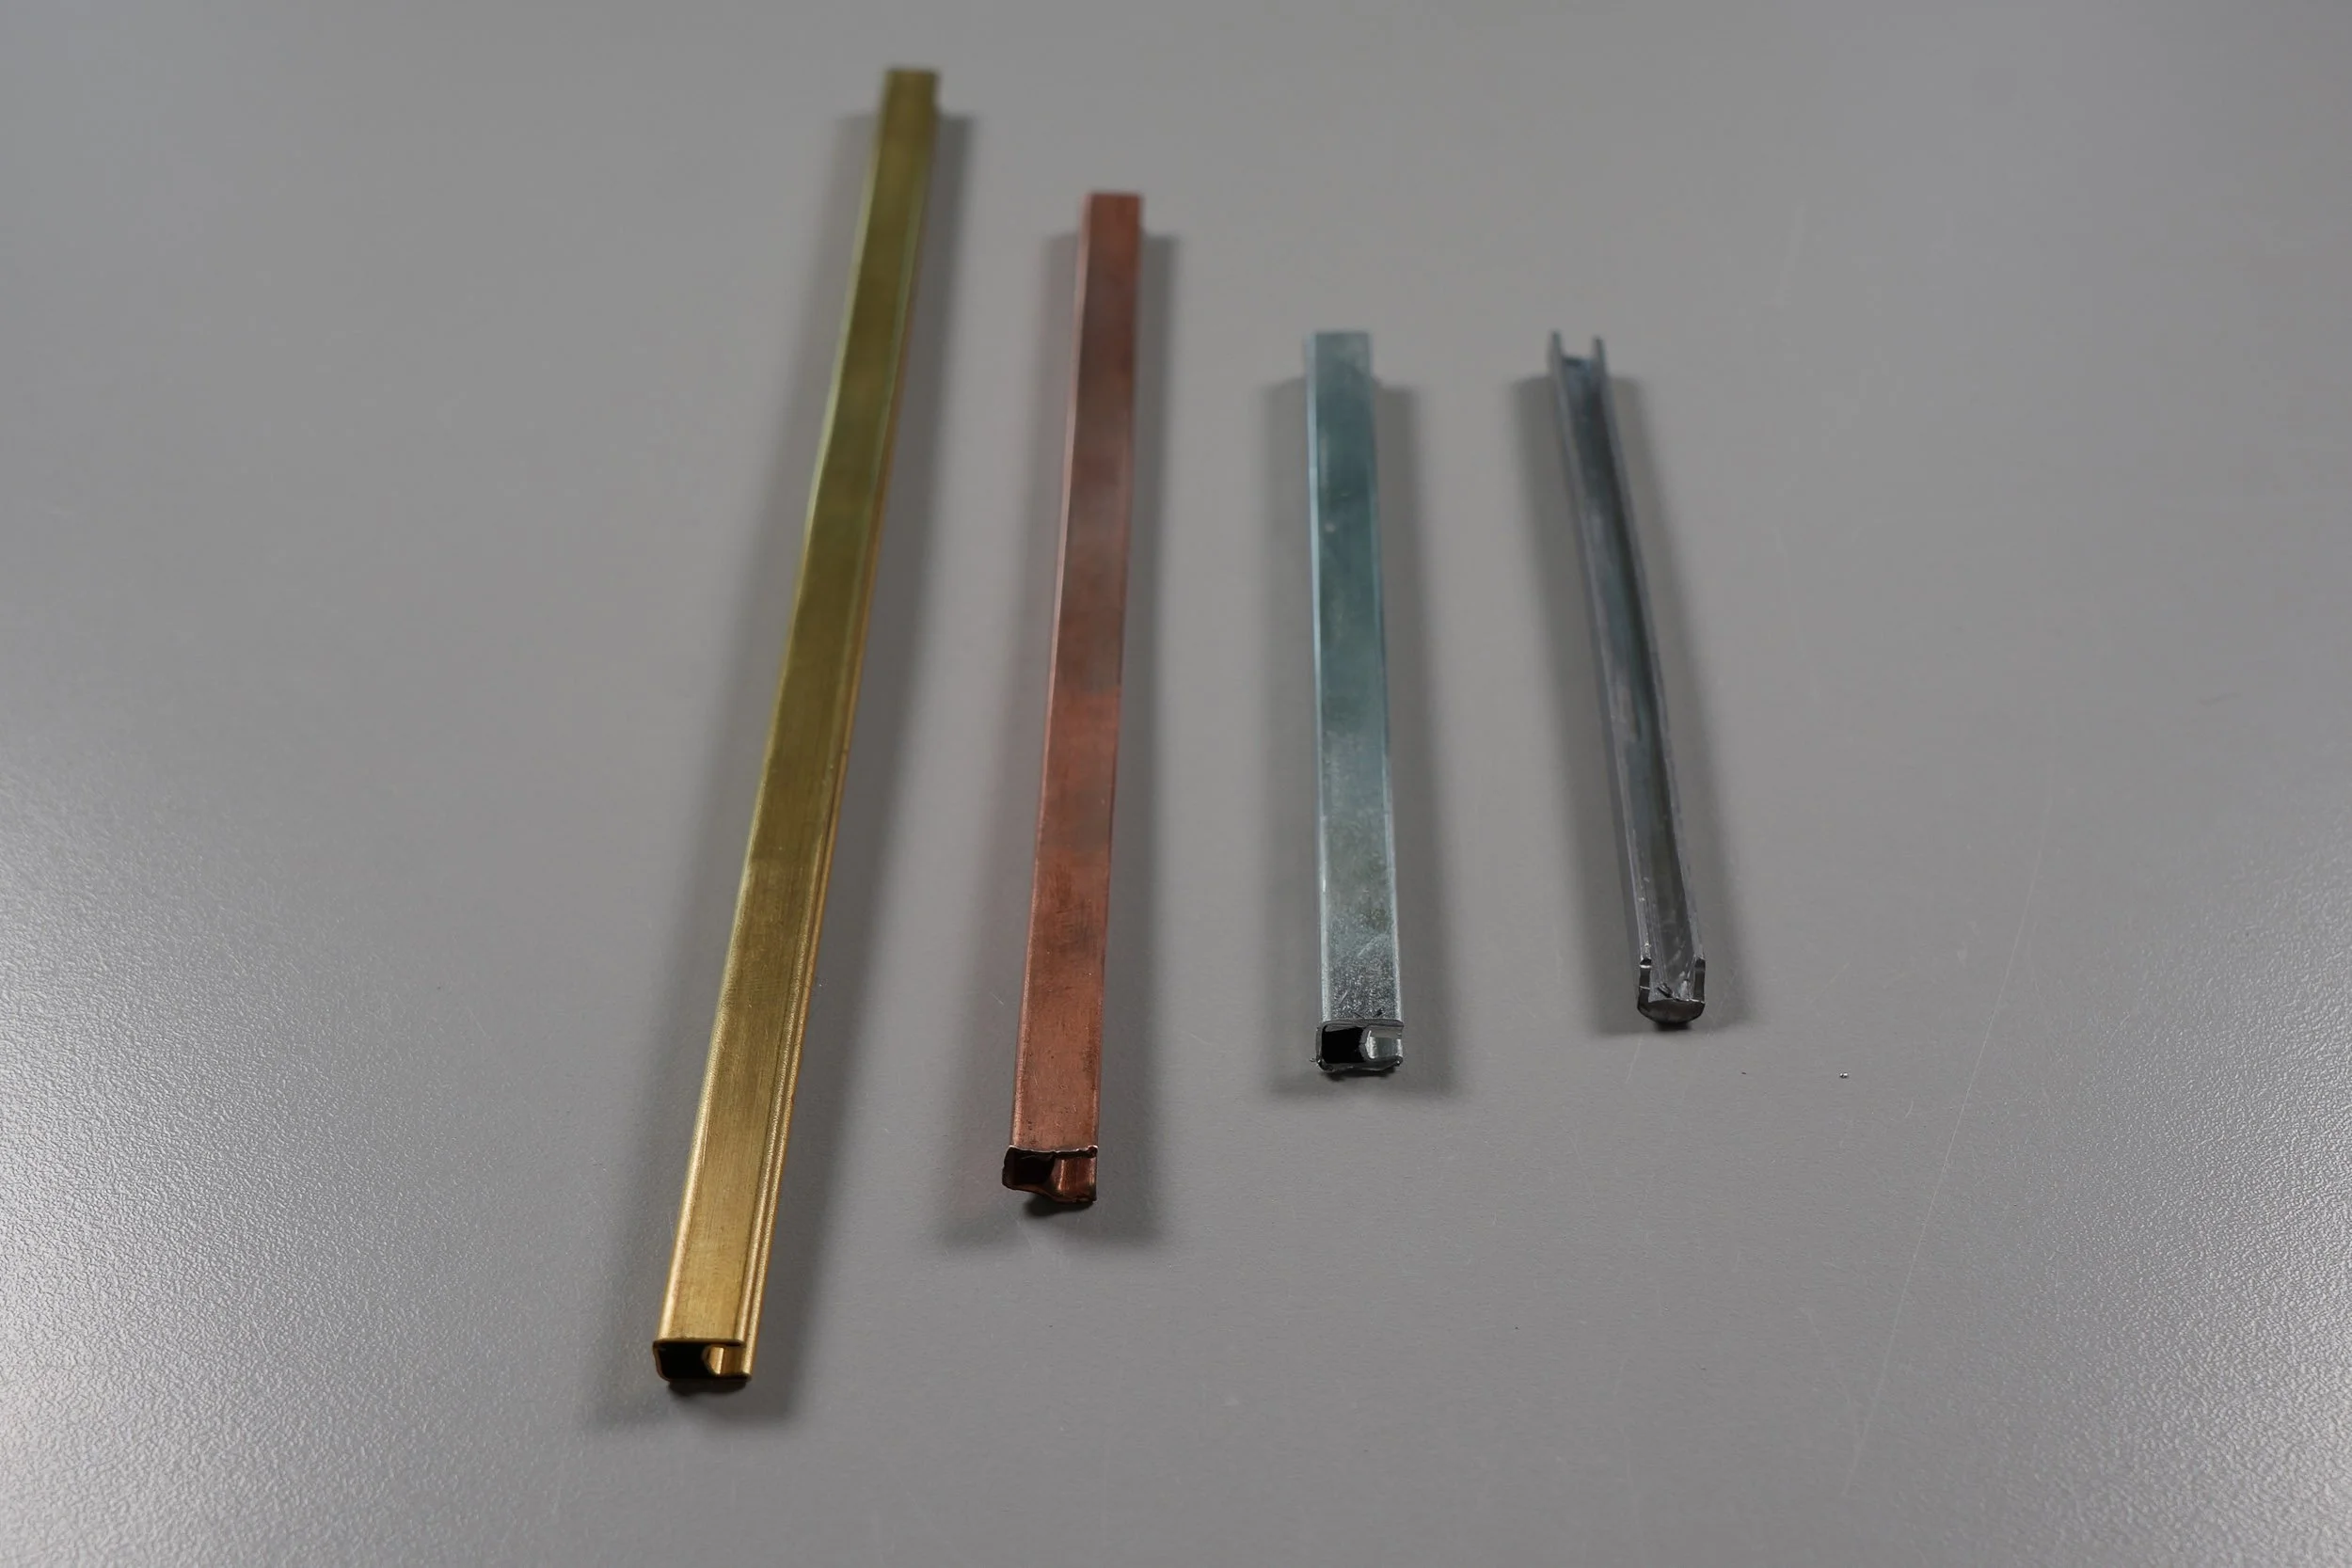
FRAMING CHANNELS
I typically frame my pieces with U-channel lead or zinc came, with the exact channel size varying greatly depending on the project size/style.
For beginners, I’d recommend 1/4” U-channel zinc came or 3/16” U-channel lead came because their face widths (1/4” and 3/16” respectively) will complement most small-to-medium projects, and their channel width (5/32”) will fit tightly around standard 3mm sheet glass.
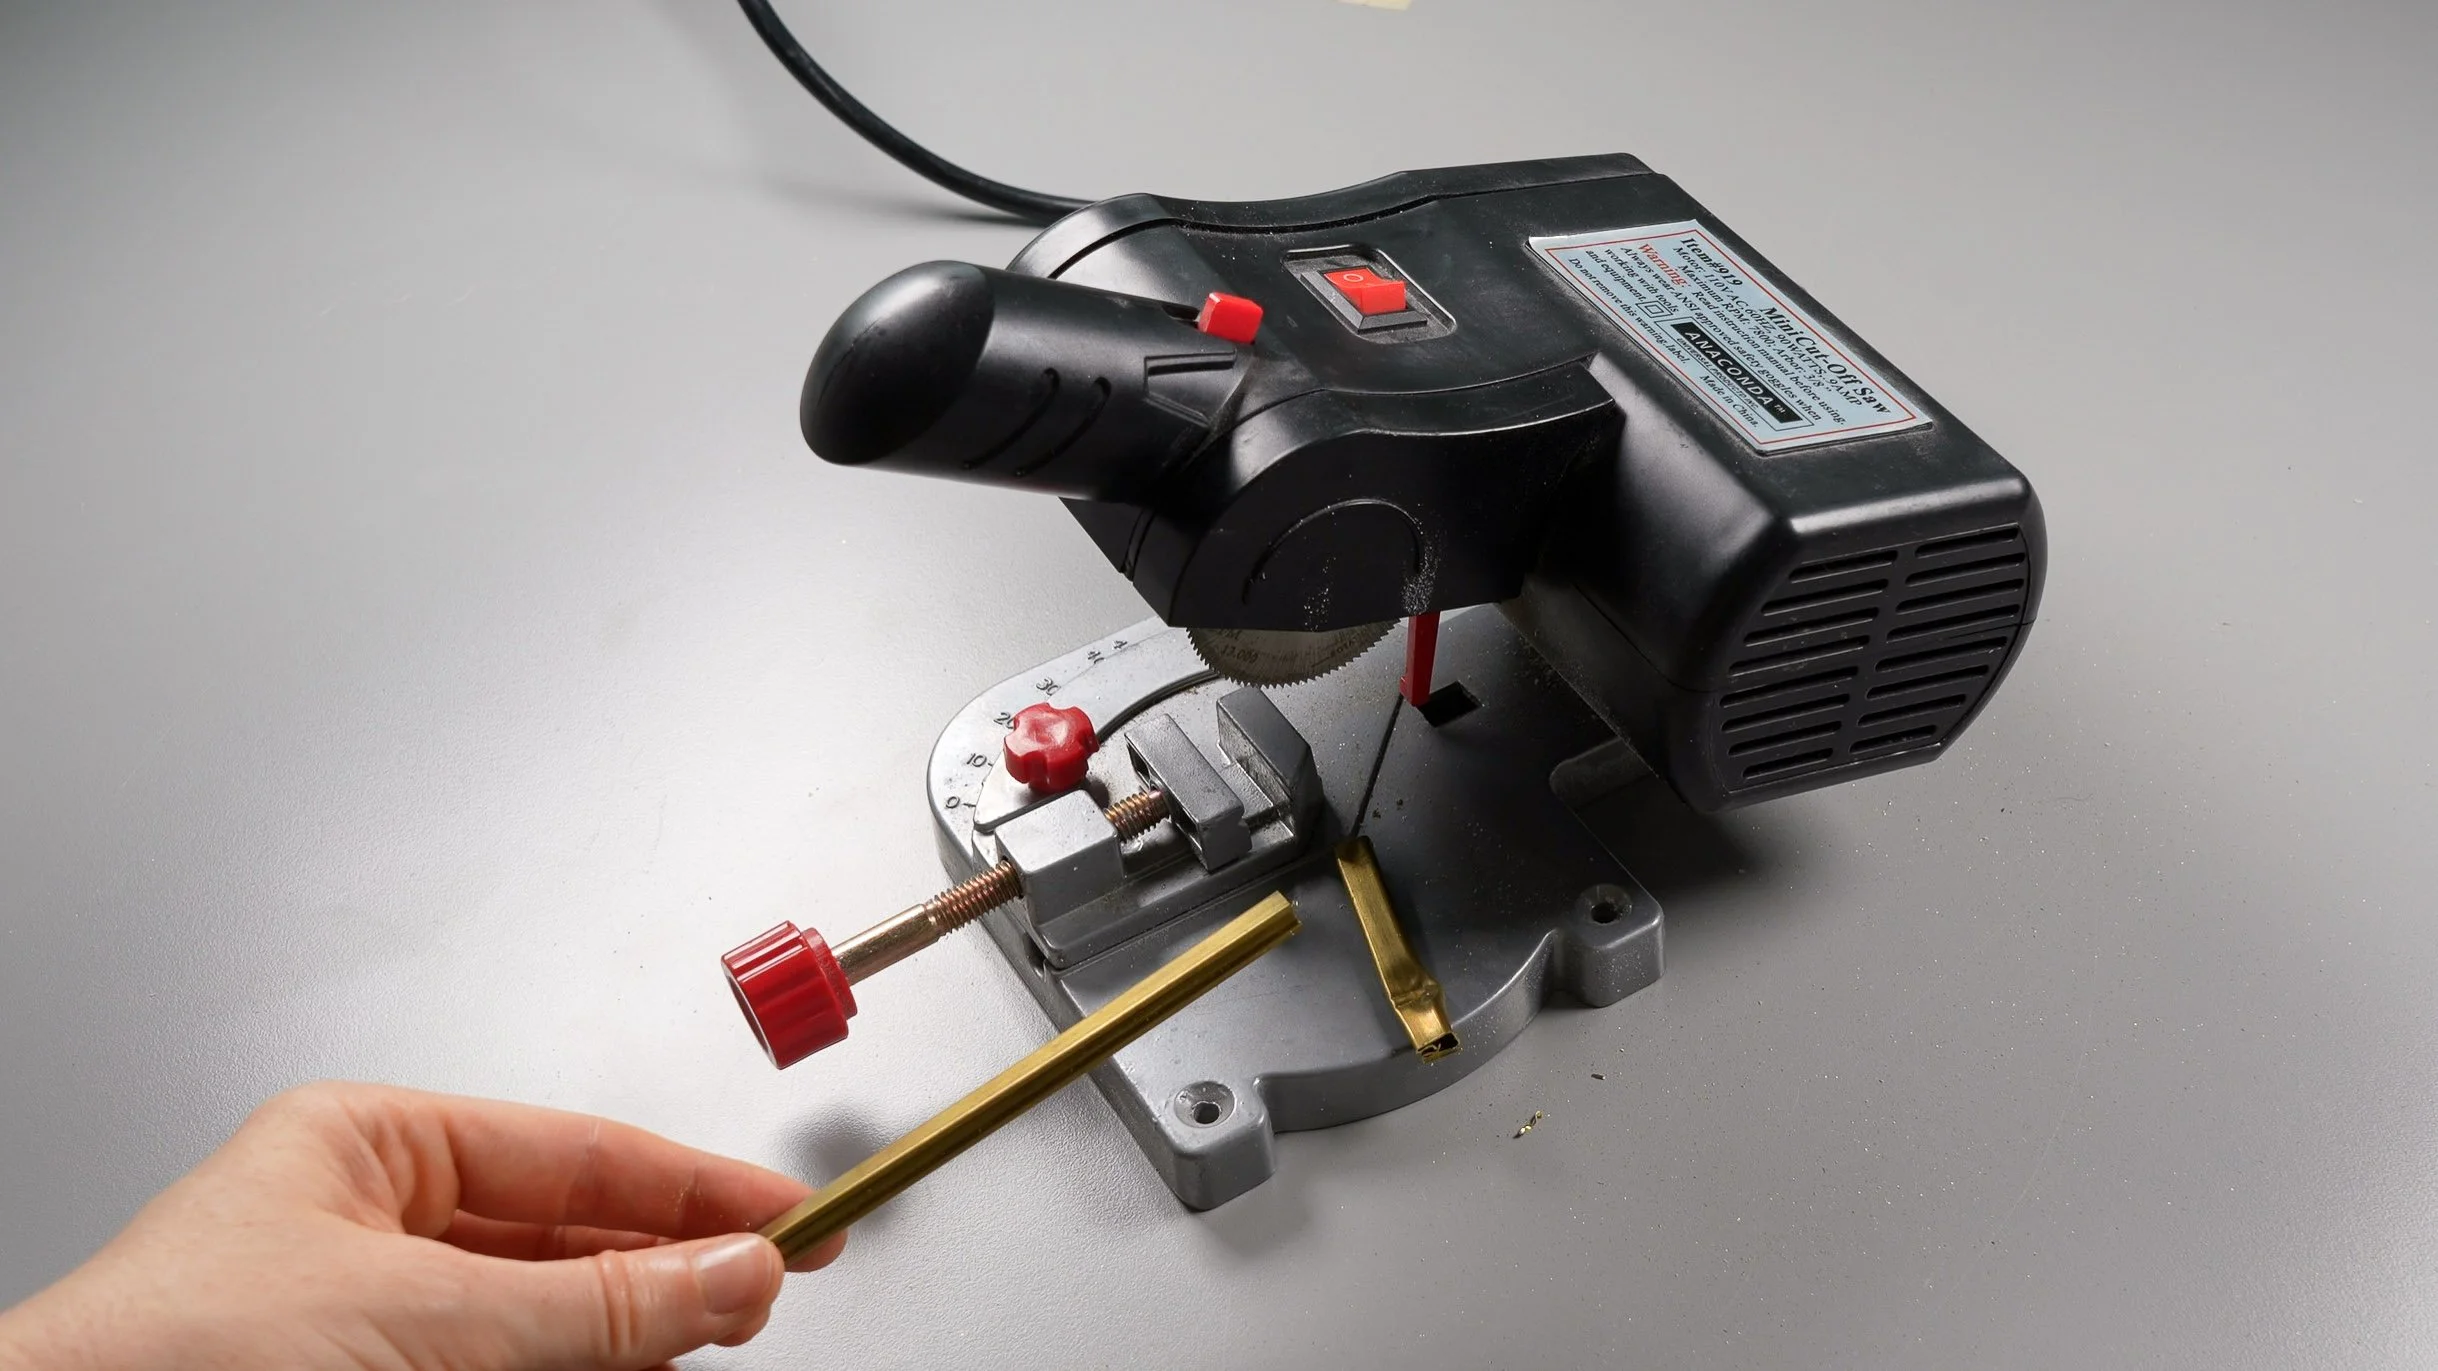
MINI MITER SAW
My mini miter saw is perfect for cutting zinc, brass, or copper came because it can cut straight or at a specific angle, and it doesn’t dent or bend the framing channel in the process.
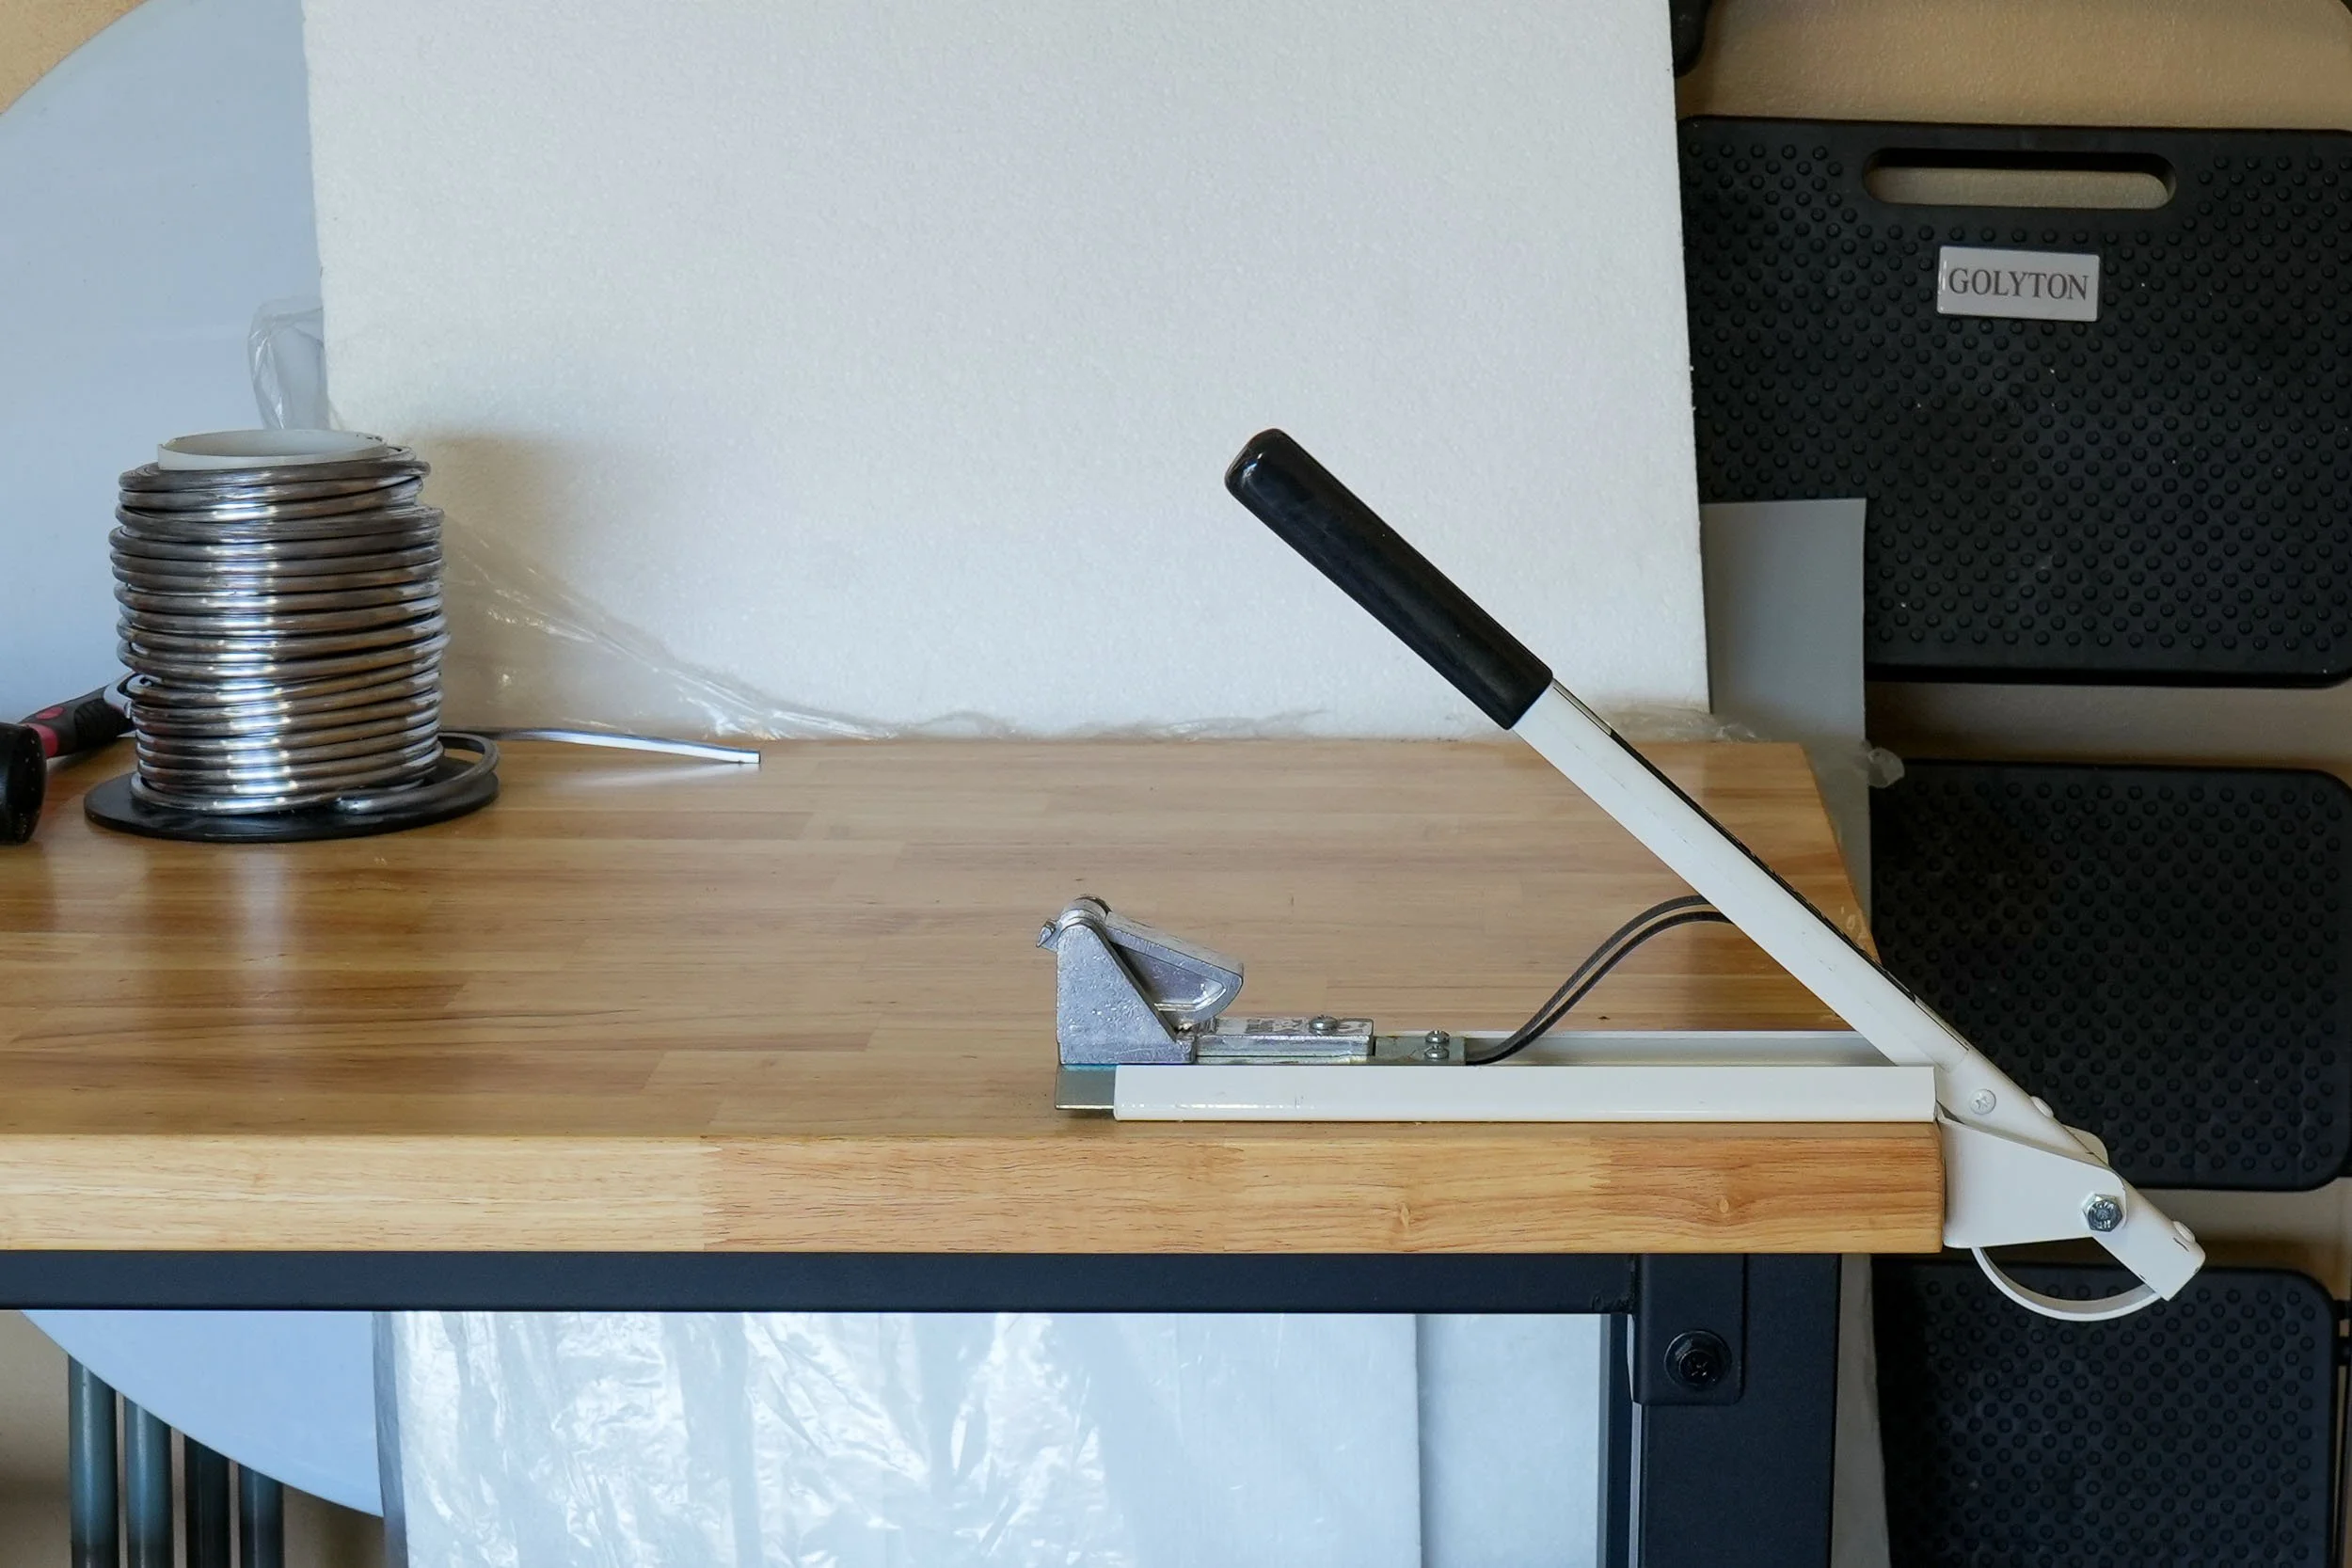
LEAD STRETCHER + VISE
I’m a big fan of my Glastar lead stretcher (discontinued, but very similar one available at the link below) because it makes straightening/stretching came such a quick and easy process.
If you don’t use came often enough to invest in an expensive stretcher, you can alternatively place one end of a came channel in a lead vise and pull on the other end with a pair of grozing pliers to stretch it (note that this can be difficult and requires significant strength).
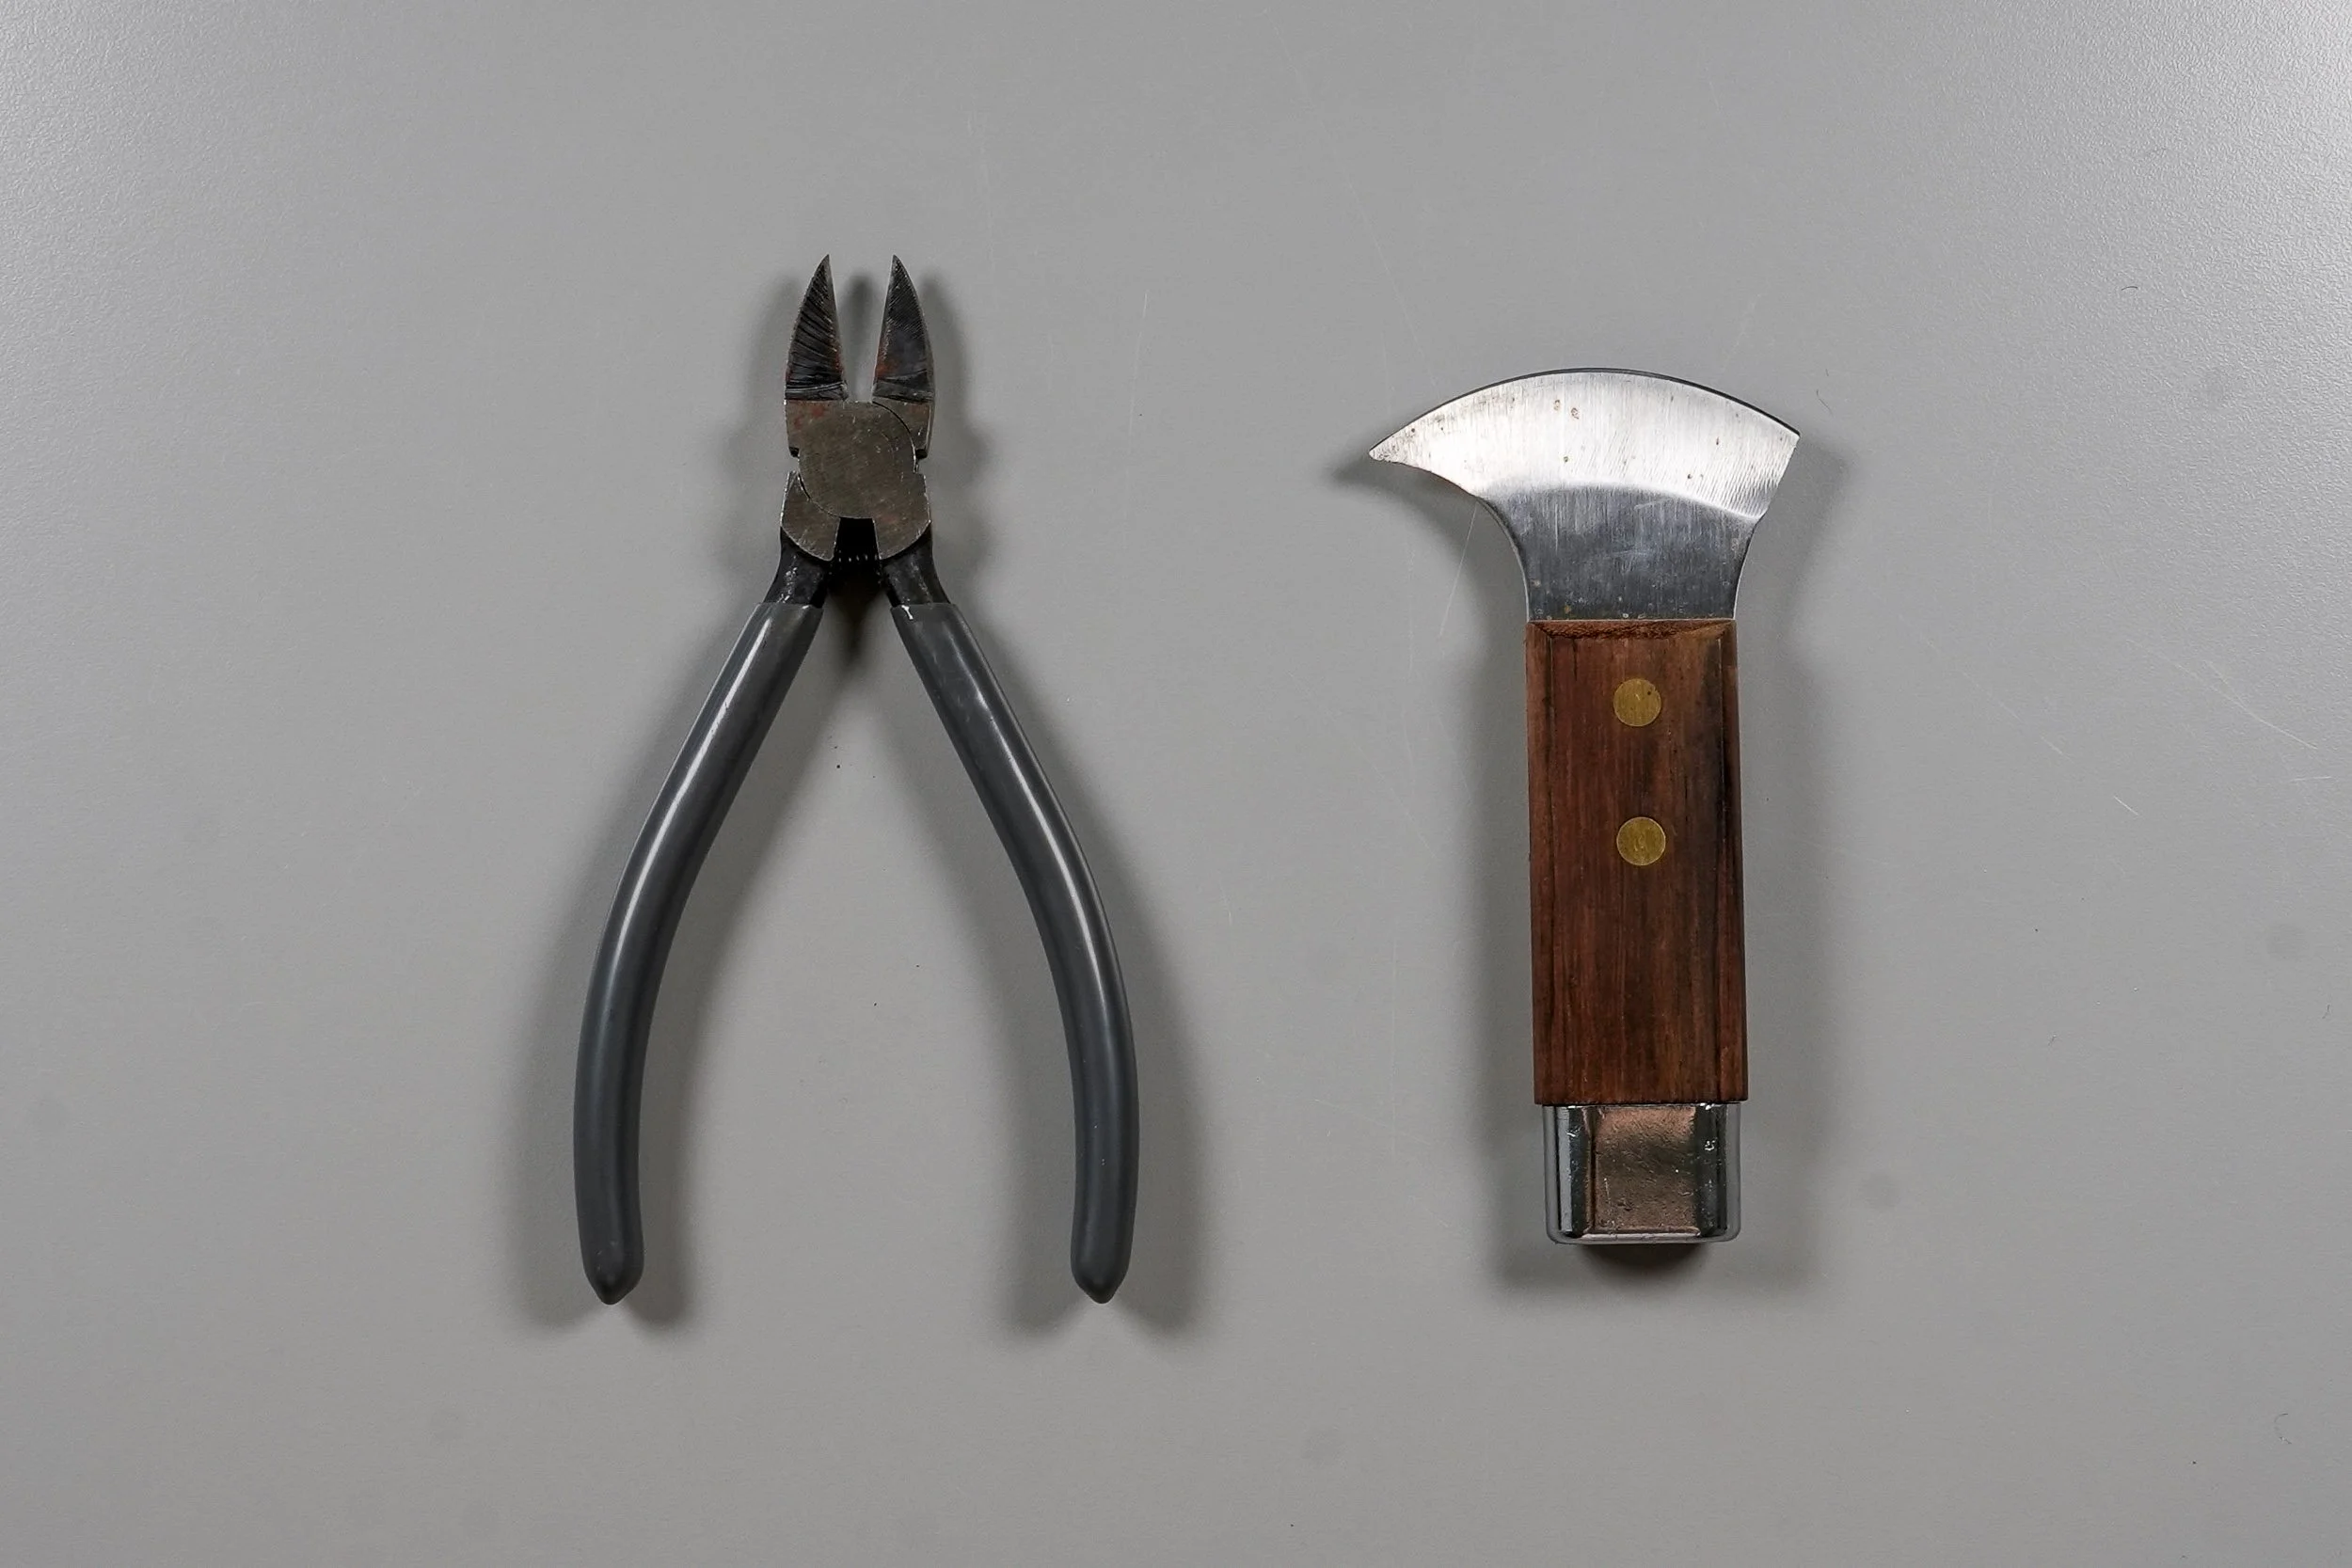
LEAD NIPPERS / KNIFE
I use nippers or a knife to cut lead came because this method doesn’t generate lead dust (as using my mini miter saw would). I especially like the sturdiness and heft of the Leponitt lead knife.
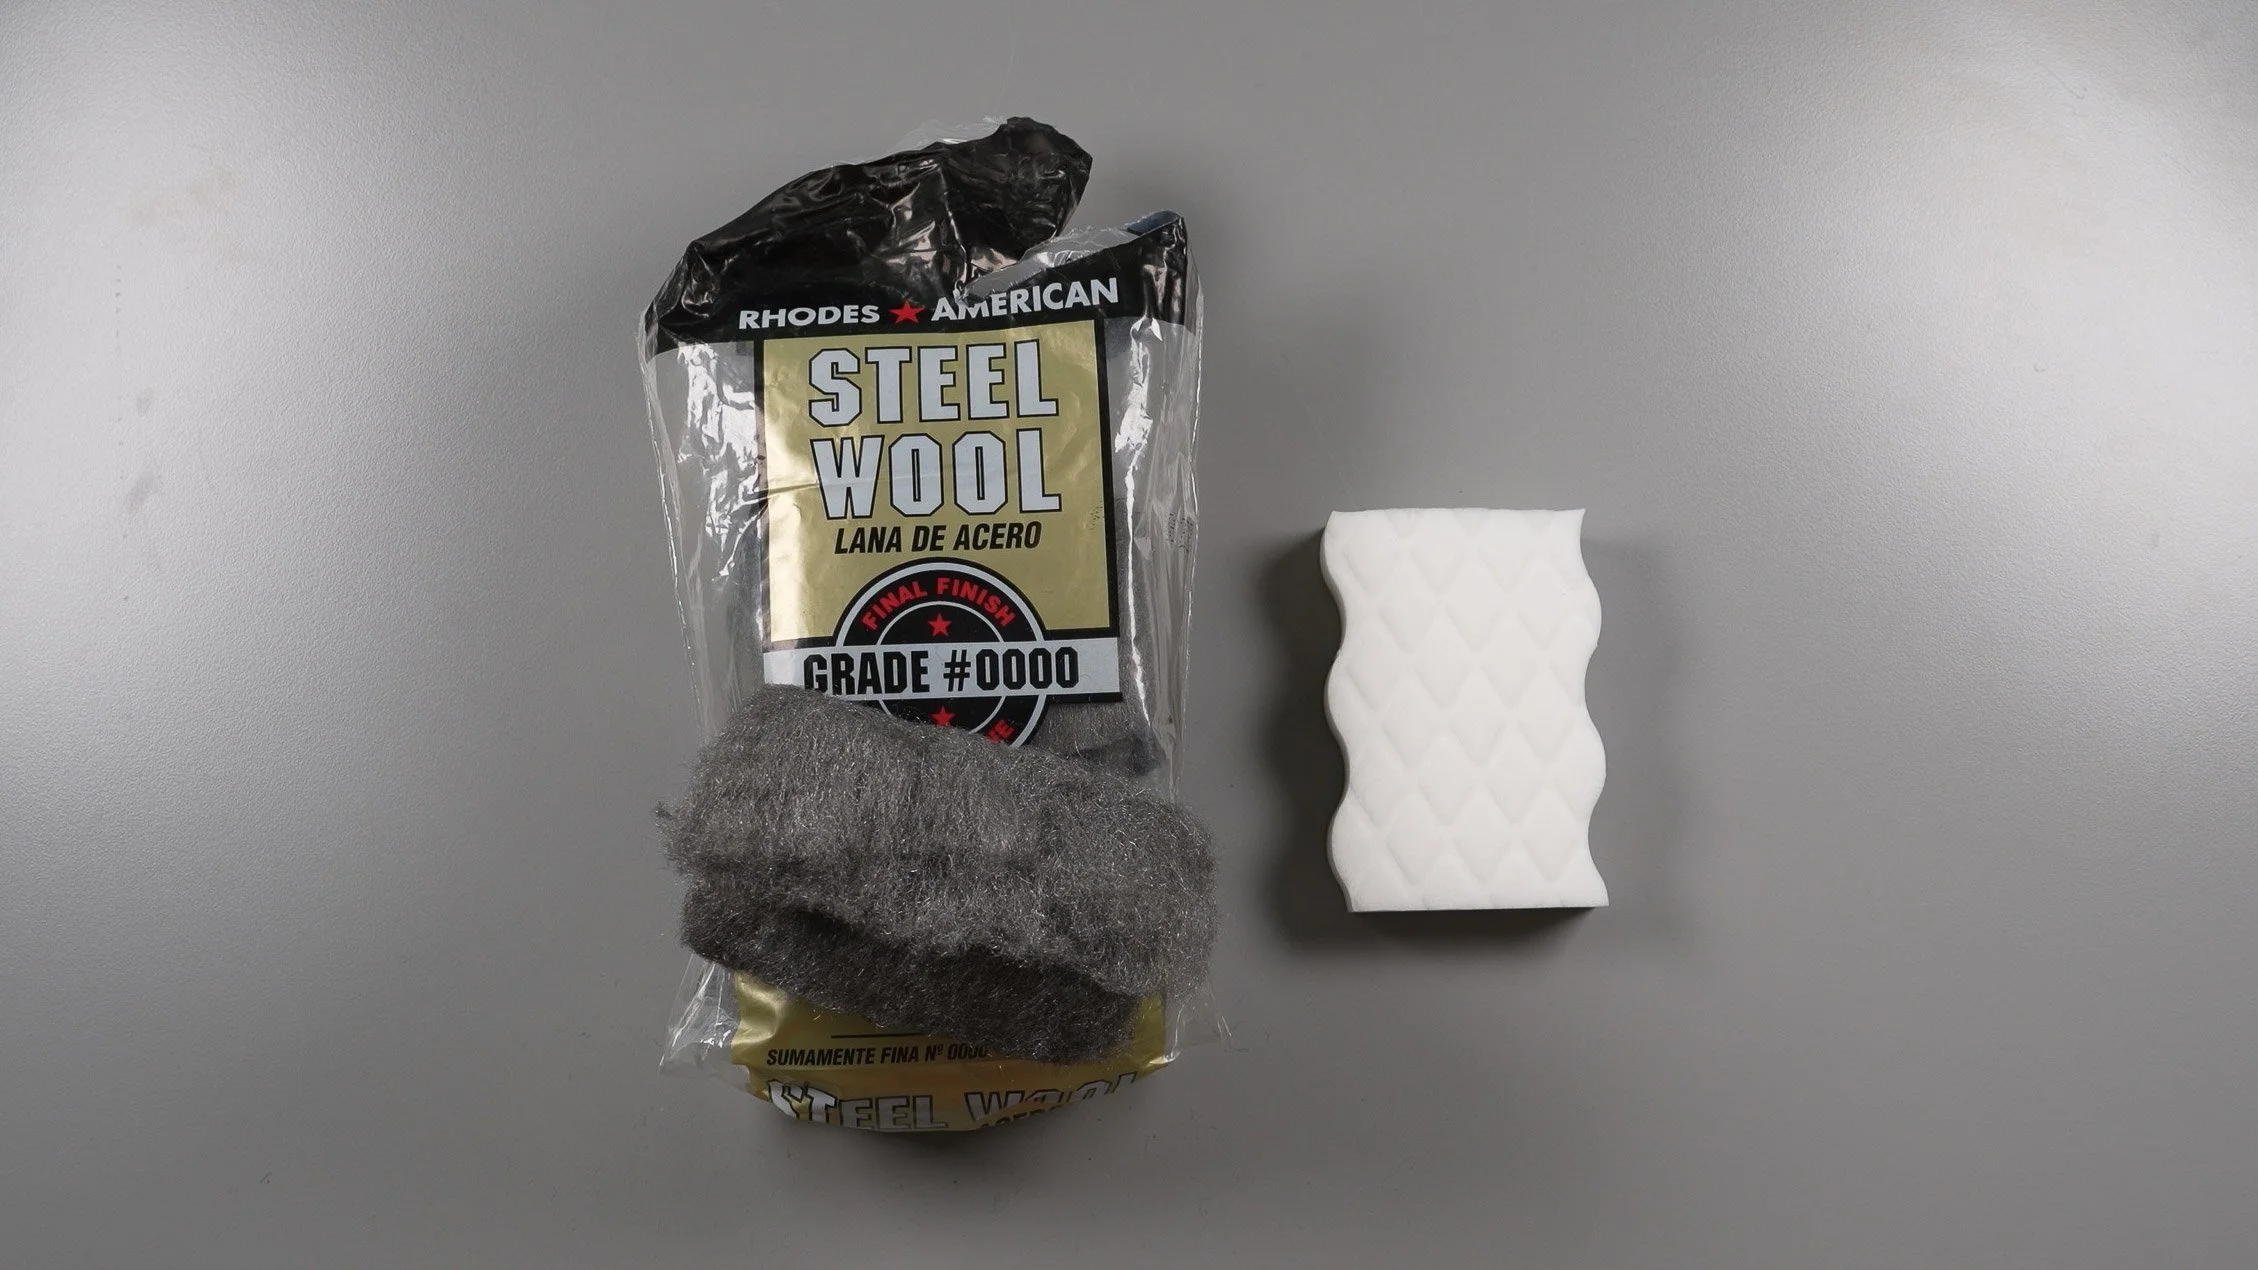
STEEL WOOL / ABRASIVE PAD
I use Rhodes American super fine steel wool to scuff my solder seams prior to patina to better allow the patina to adhere. It’s fine enough that I also use it on my non-patina’d pieces because it imparts a lovely shine to solder/frames without leaving visible scratches on the metals or glass.
Magic Eraser scrub pads work very similarly.
Note that abrading solder seams produces lead dust, so a respirator must be worn during this activity.

PATINA + APPLICATOR
Novacan black patina for lead/solder is my go-to, and I also occasionally use their copper and zinc varieties.
I find that scrubbing patina onto solder/metals with a toothbrush produces the best finish, but cotton balls also work as an applicator.
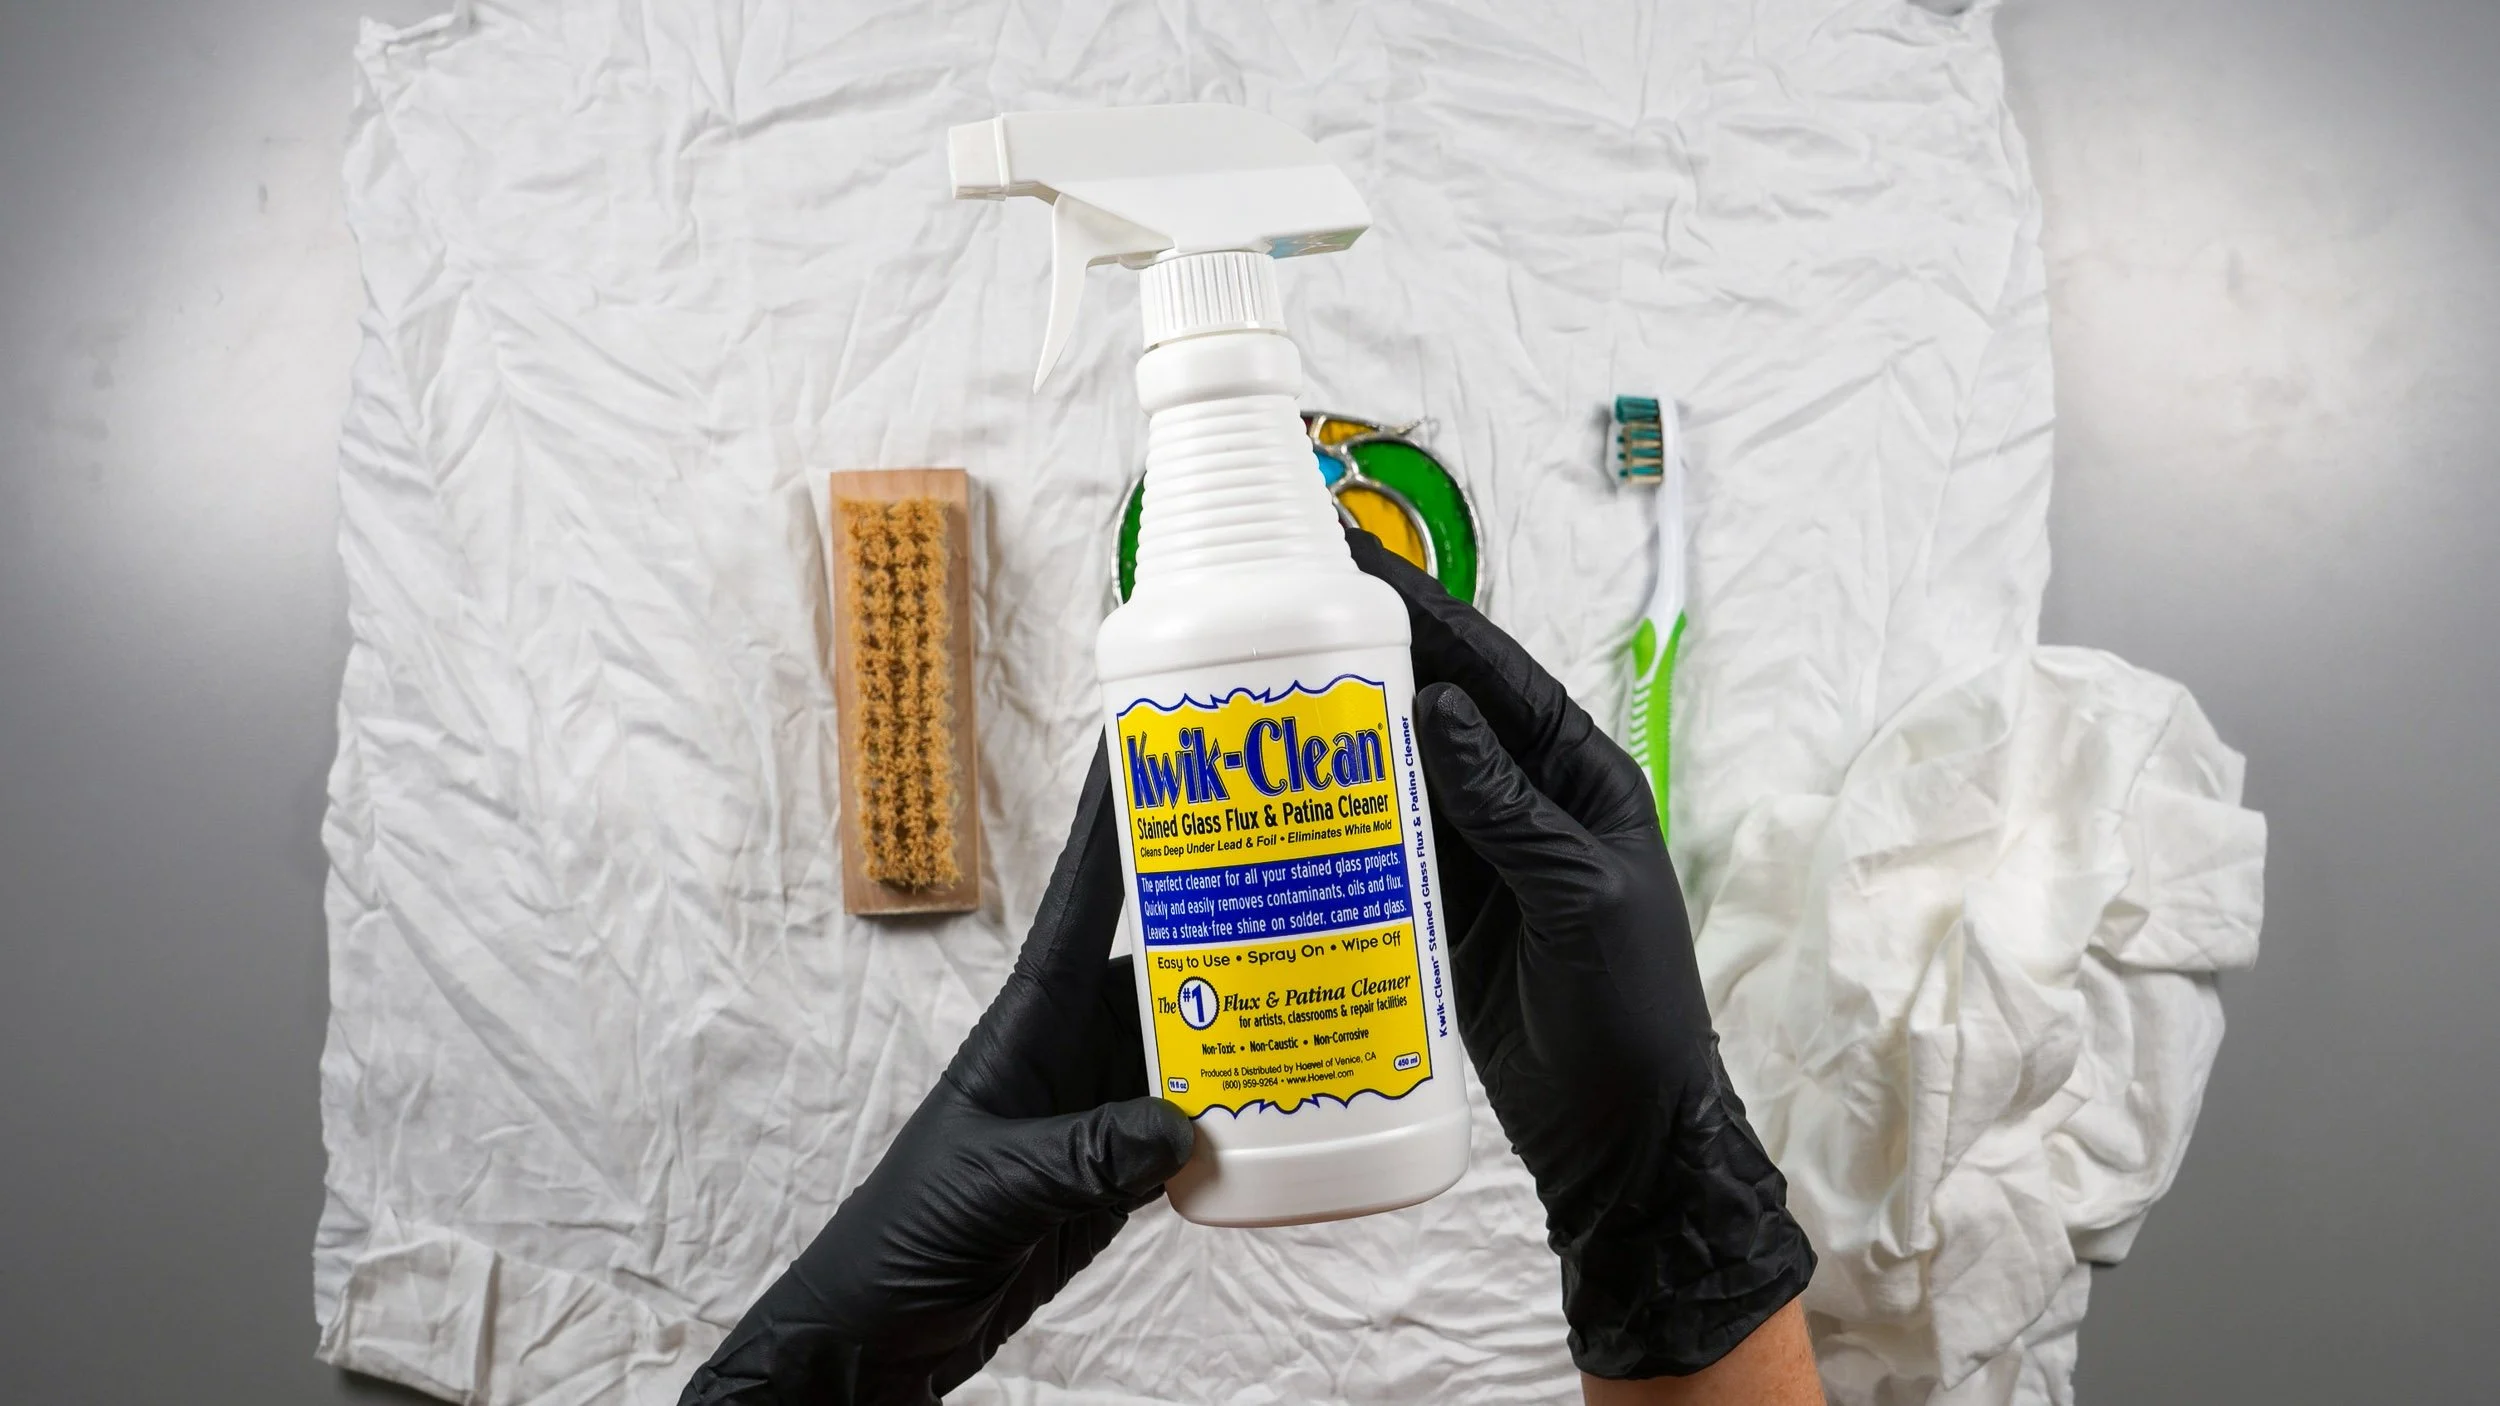
CLEANING AGENTS
I exclusively clean my pieces with Kwik-Clean because after years of struggling with splotchy/dull patina, I realized that washing my pieces with my home’s hard water was the issue.
However, for those without water problems, I’d recommend using a natural soap free of dyes or harsh chemicals (like Dr. Bronner’s Castile Soap) to clean pieces, since that should minimize potential complications with patina/polish/wax/glass discoloration/etc.
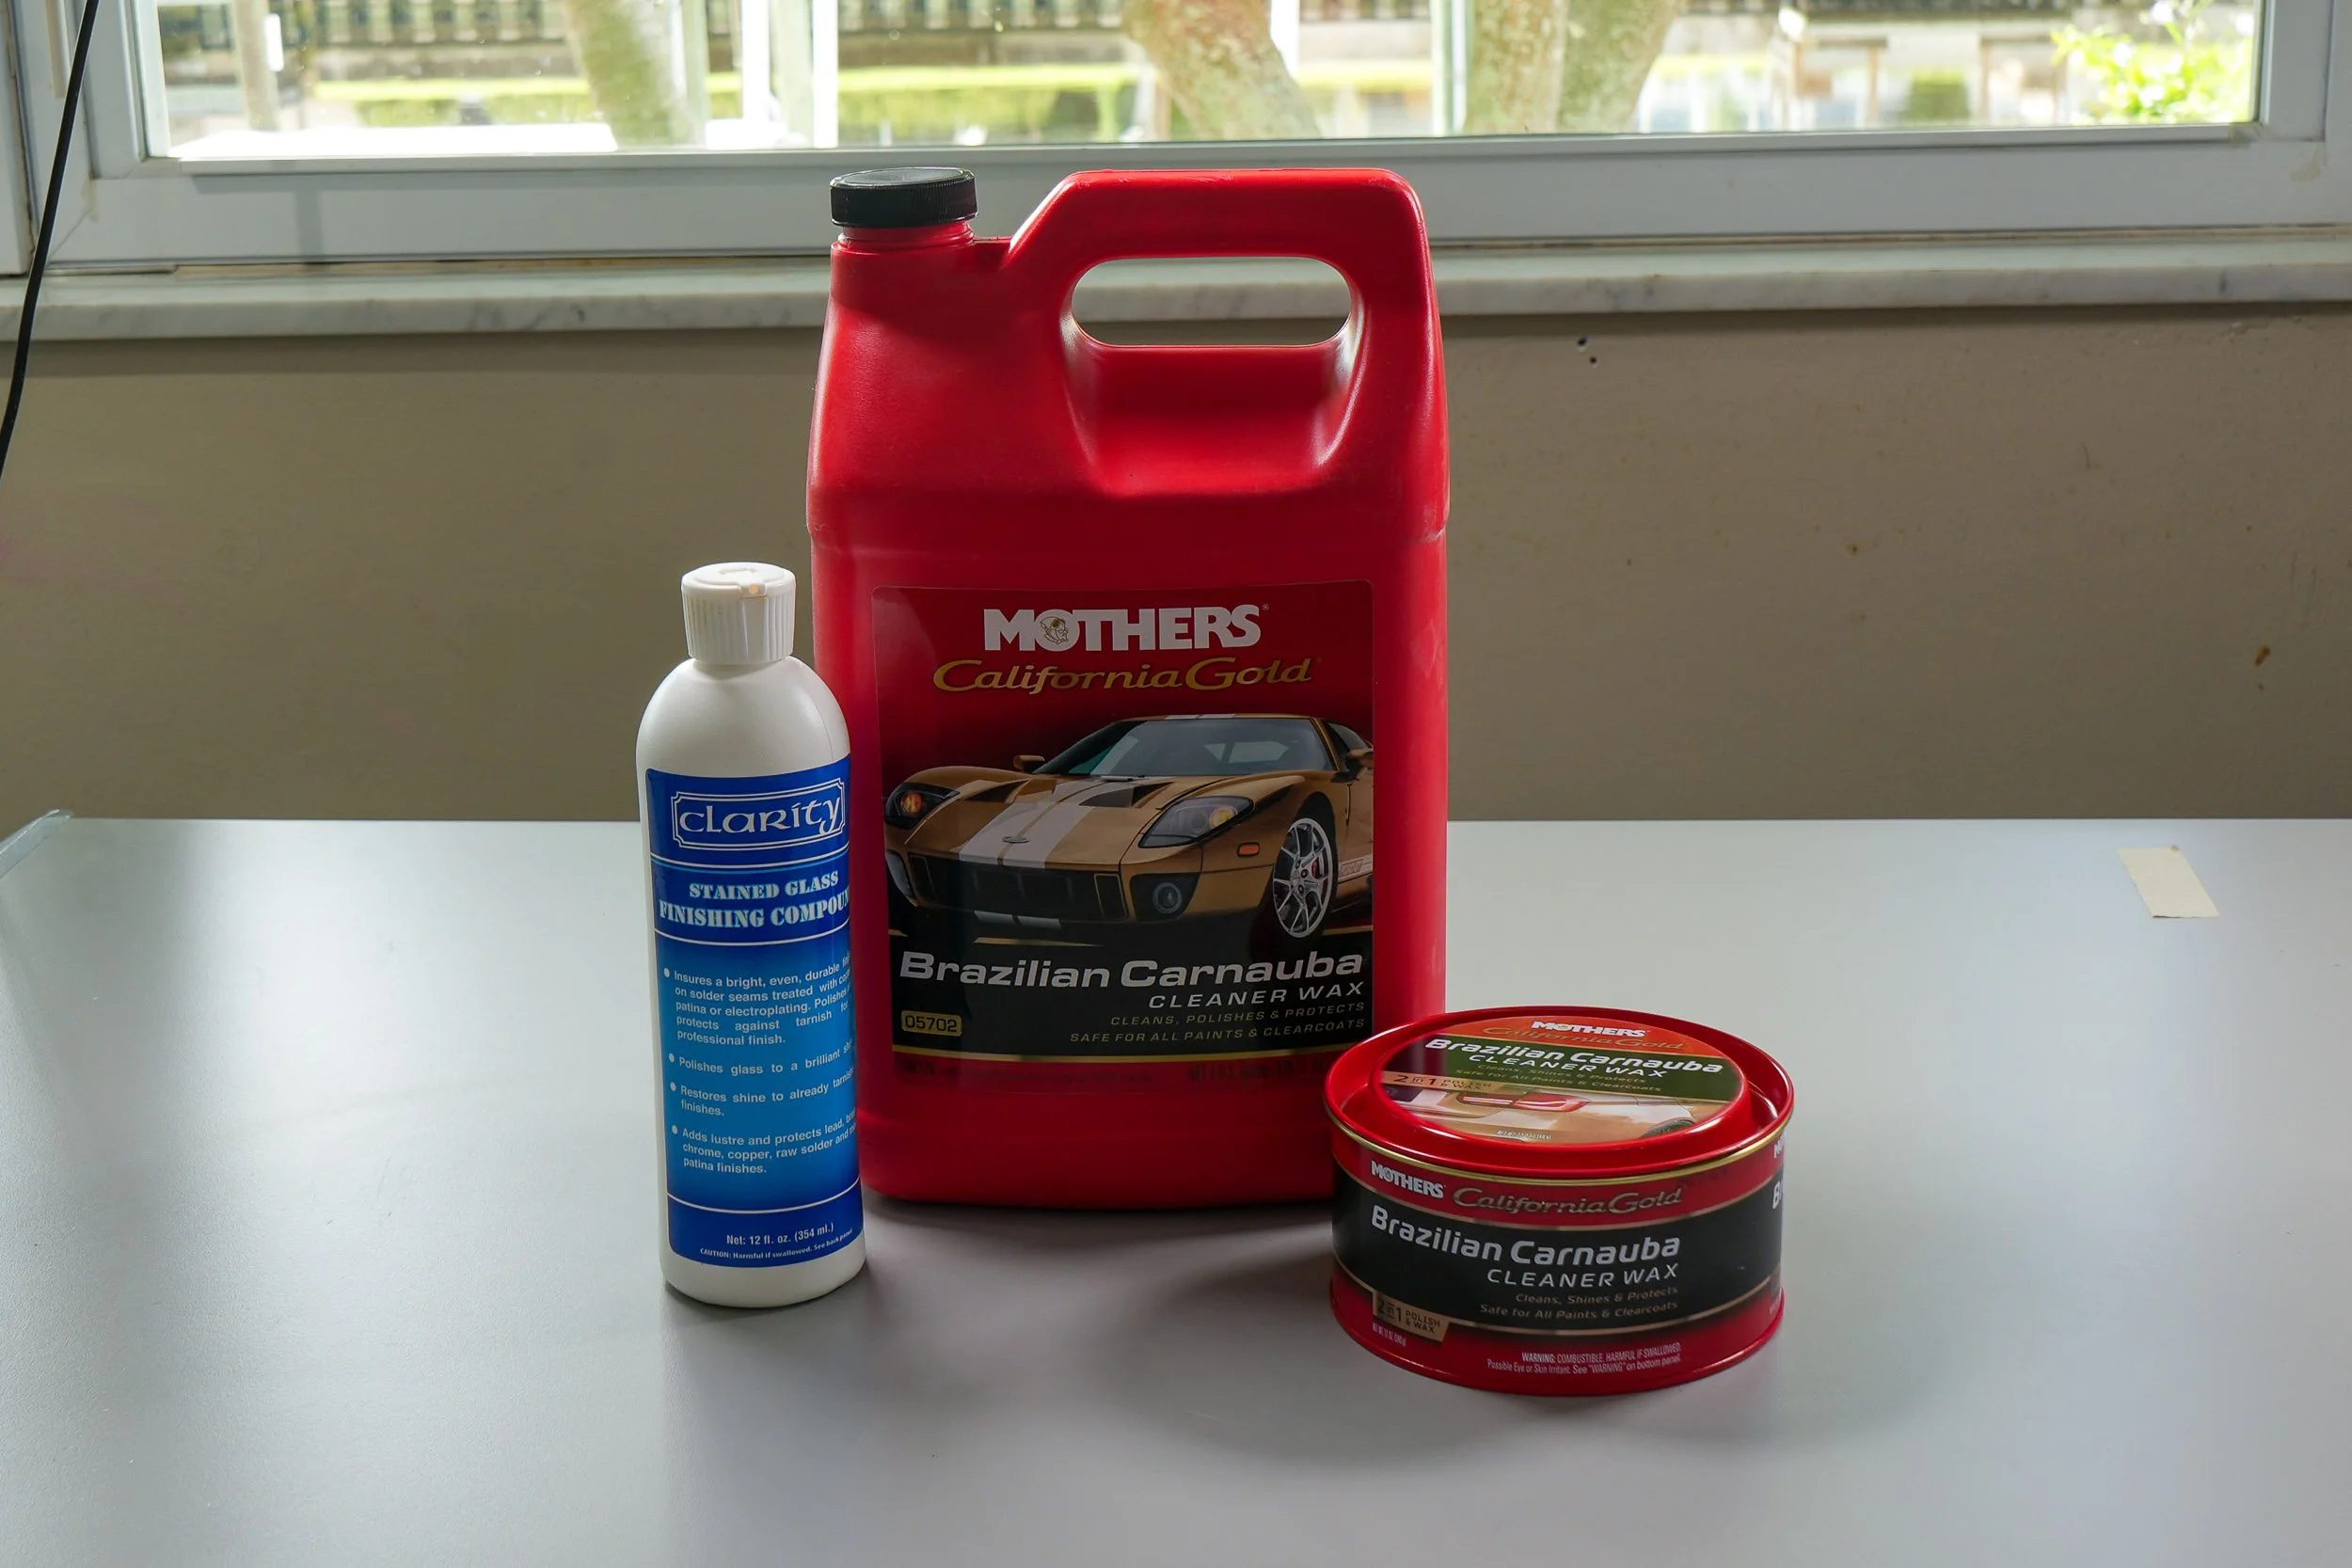
FINISHING COMPOUND / WAX
I use Clarity Finishing Compound to wax my pieces because it’s specially formulated for use with stained glass/solder, but I’ve found Mothers Brazilian Carnauba Wax works just as well.
For pieces without patina, I use Mothers 2-in-1 Polish and Wax compound to give the silvery solder extra shine (beware that this contains an abrasive that will remove patina!).
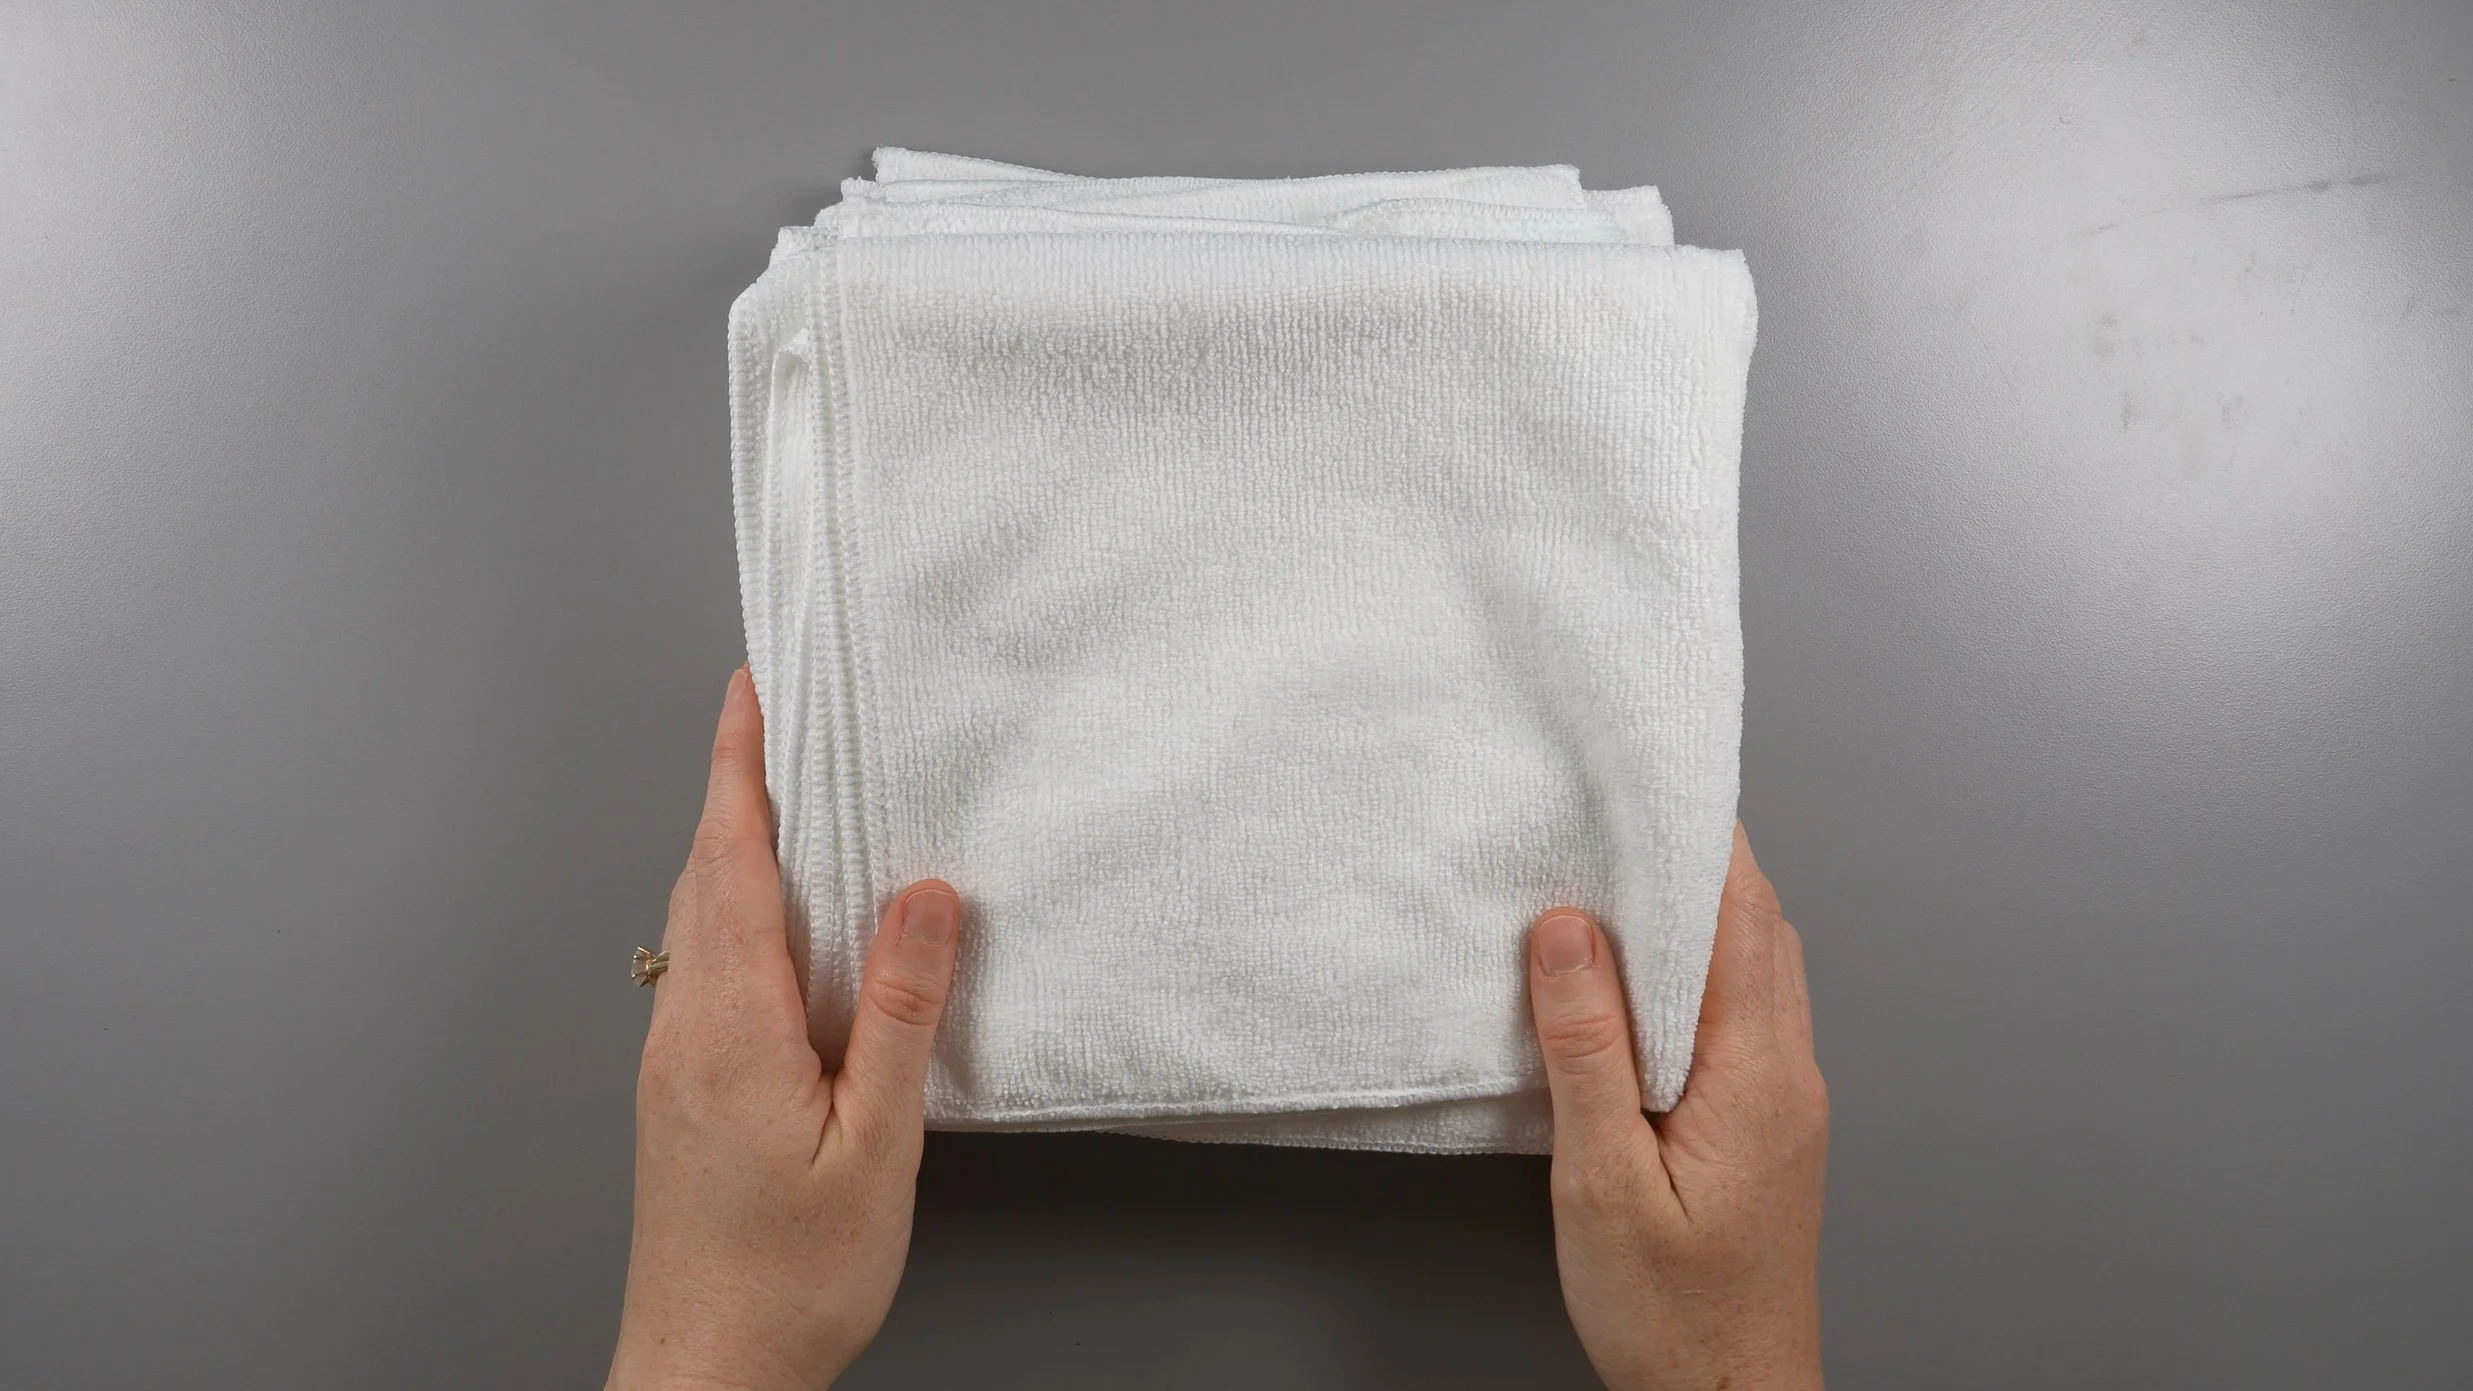
CLOTHS
I always have a stack of fresh cloths on hand for use with cleaning agents and wax. I like those I found on Amazon because they’re highly absorbent, come in large quantities, and are available in lots of colors (so I can easily distinguish between the cloths I use to clean off patina/flux and the ones I use to buff off polish/wax).
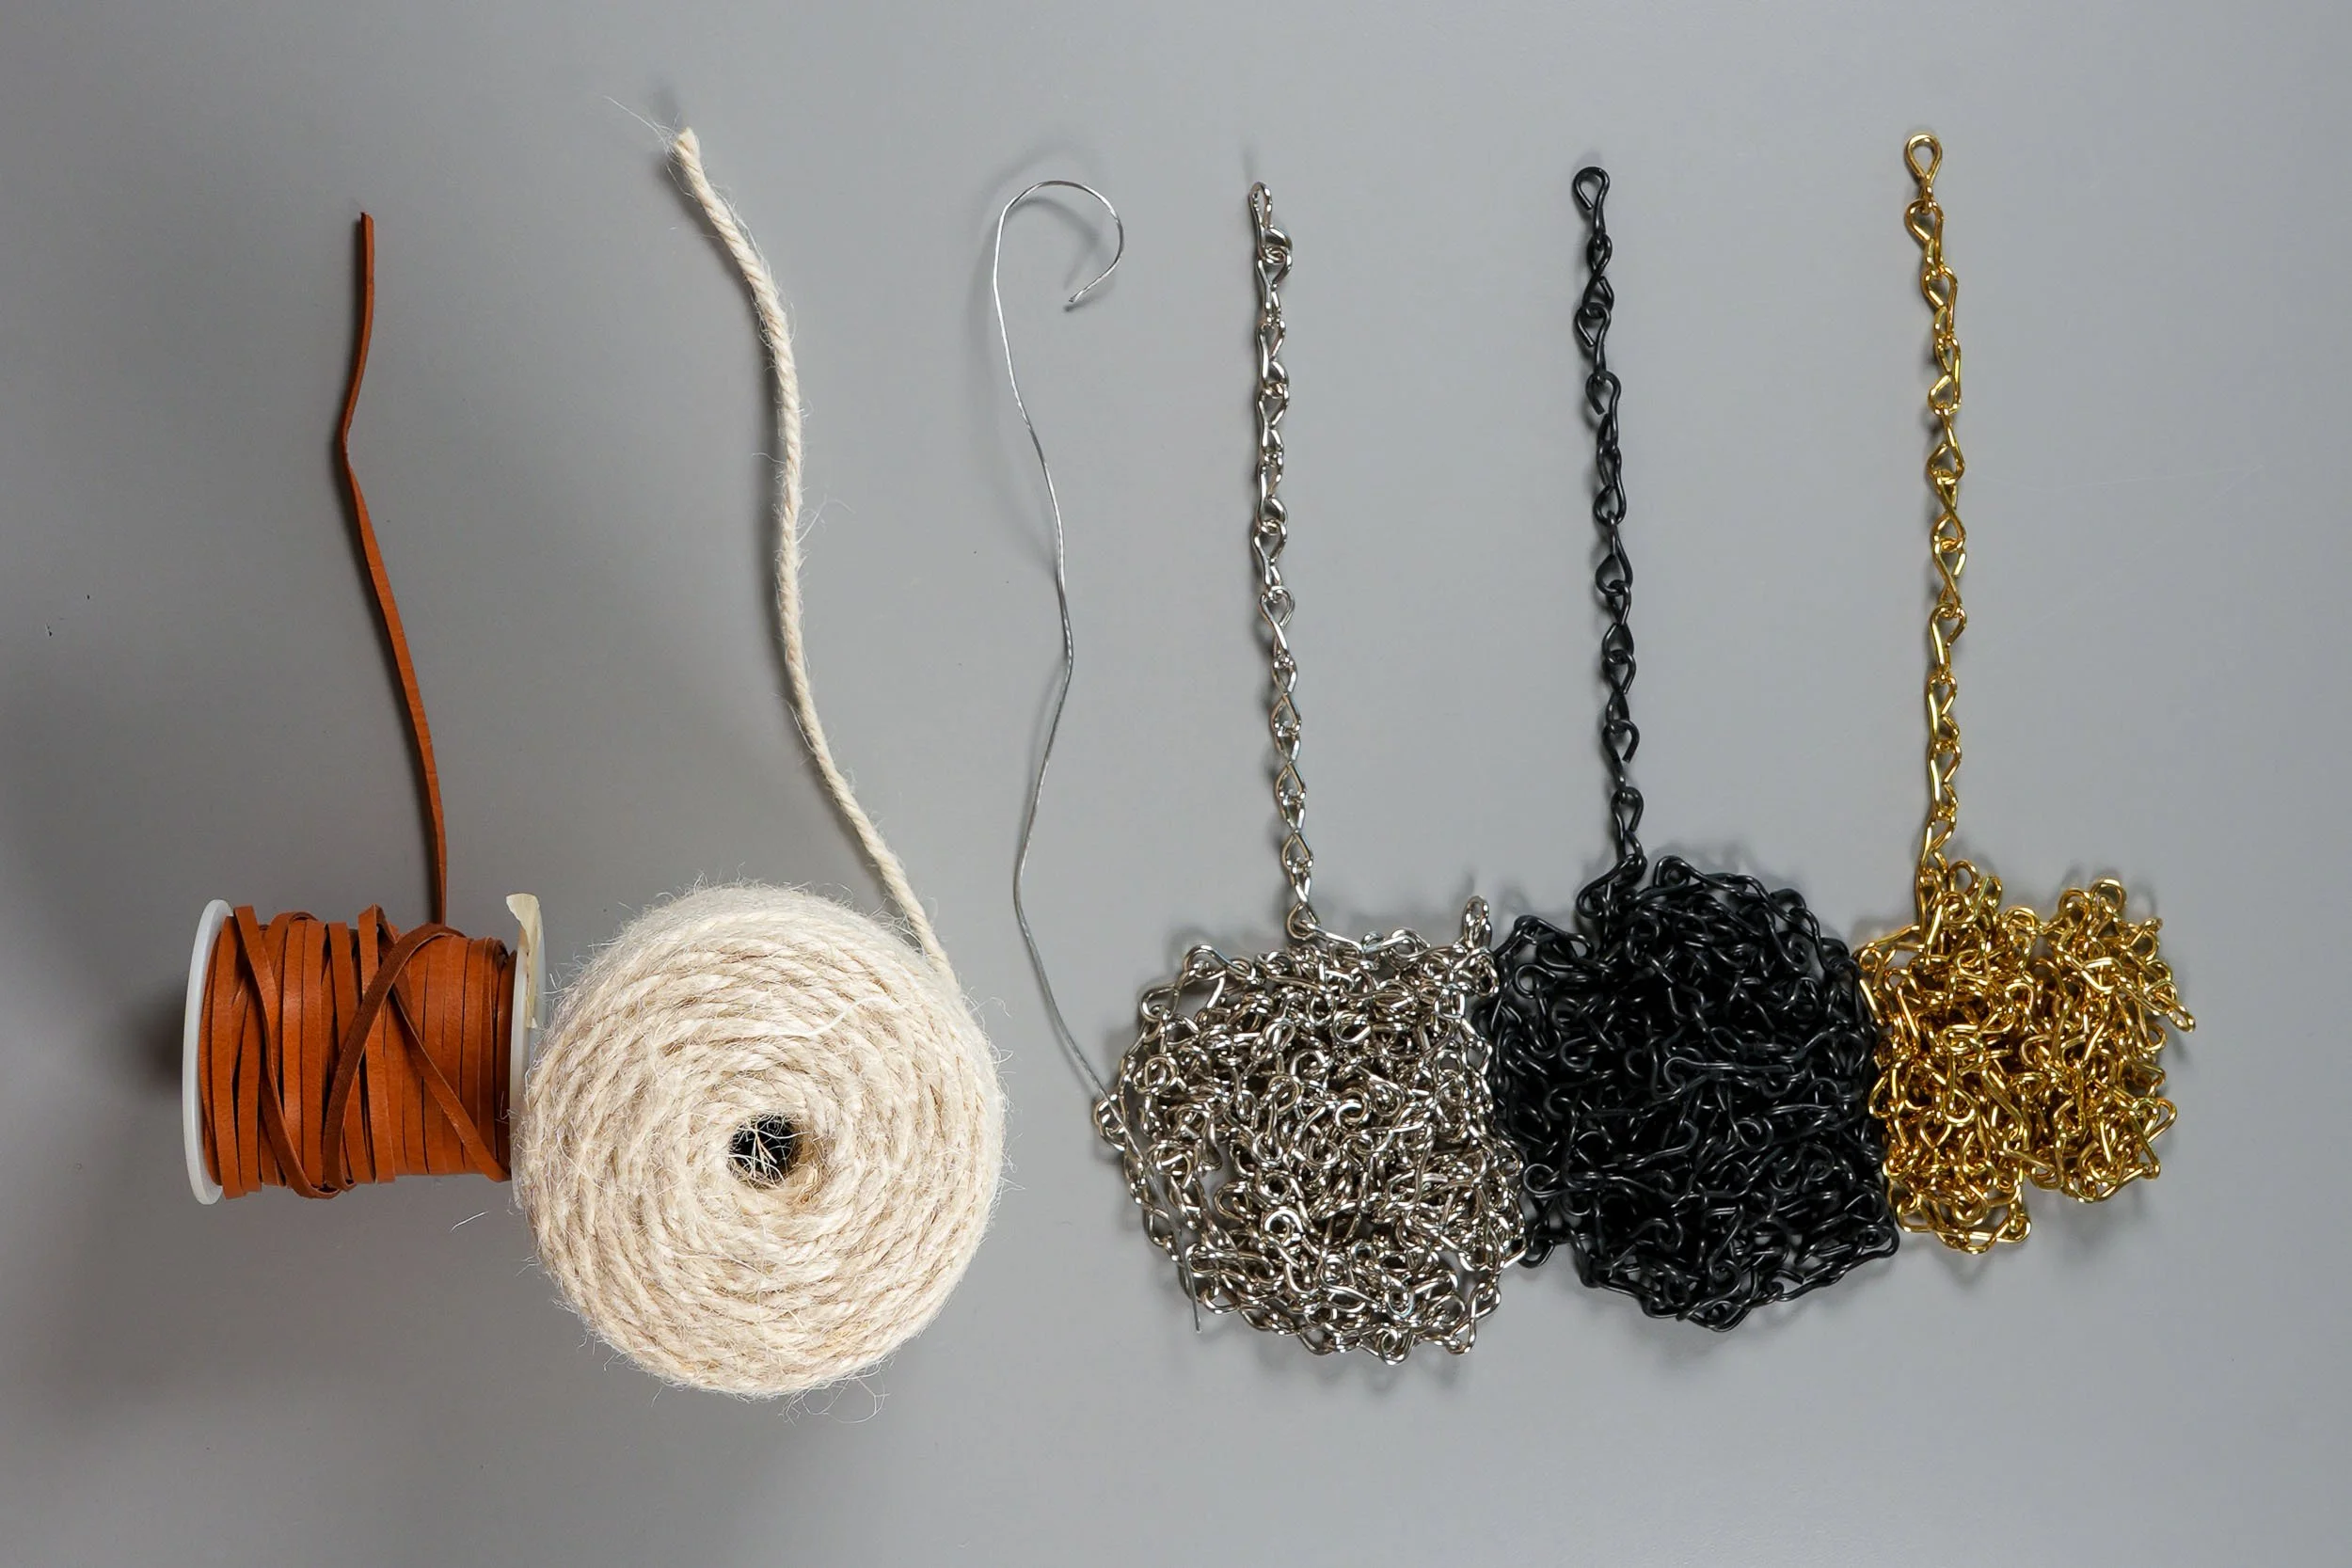
HANGING MATERIAL
I use a wide variety of hanging materials depending on the weight and style of the piece, but the two that are appropriate for virtually any project are steel jack chain and picture wire.

LAMINATOR
I use an Amazon Basics laminator to seal my patterns with a waterproof coating that prevents them from warping or tearing as I build projects on top of them.
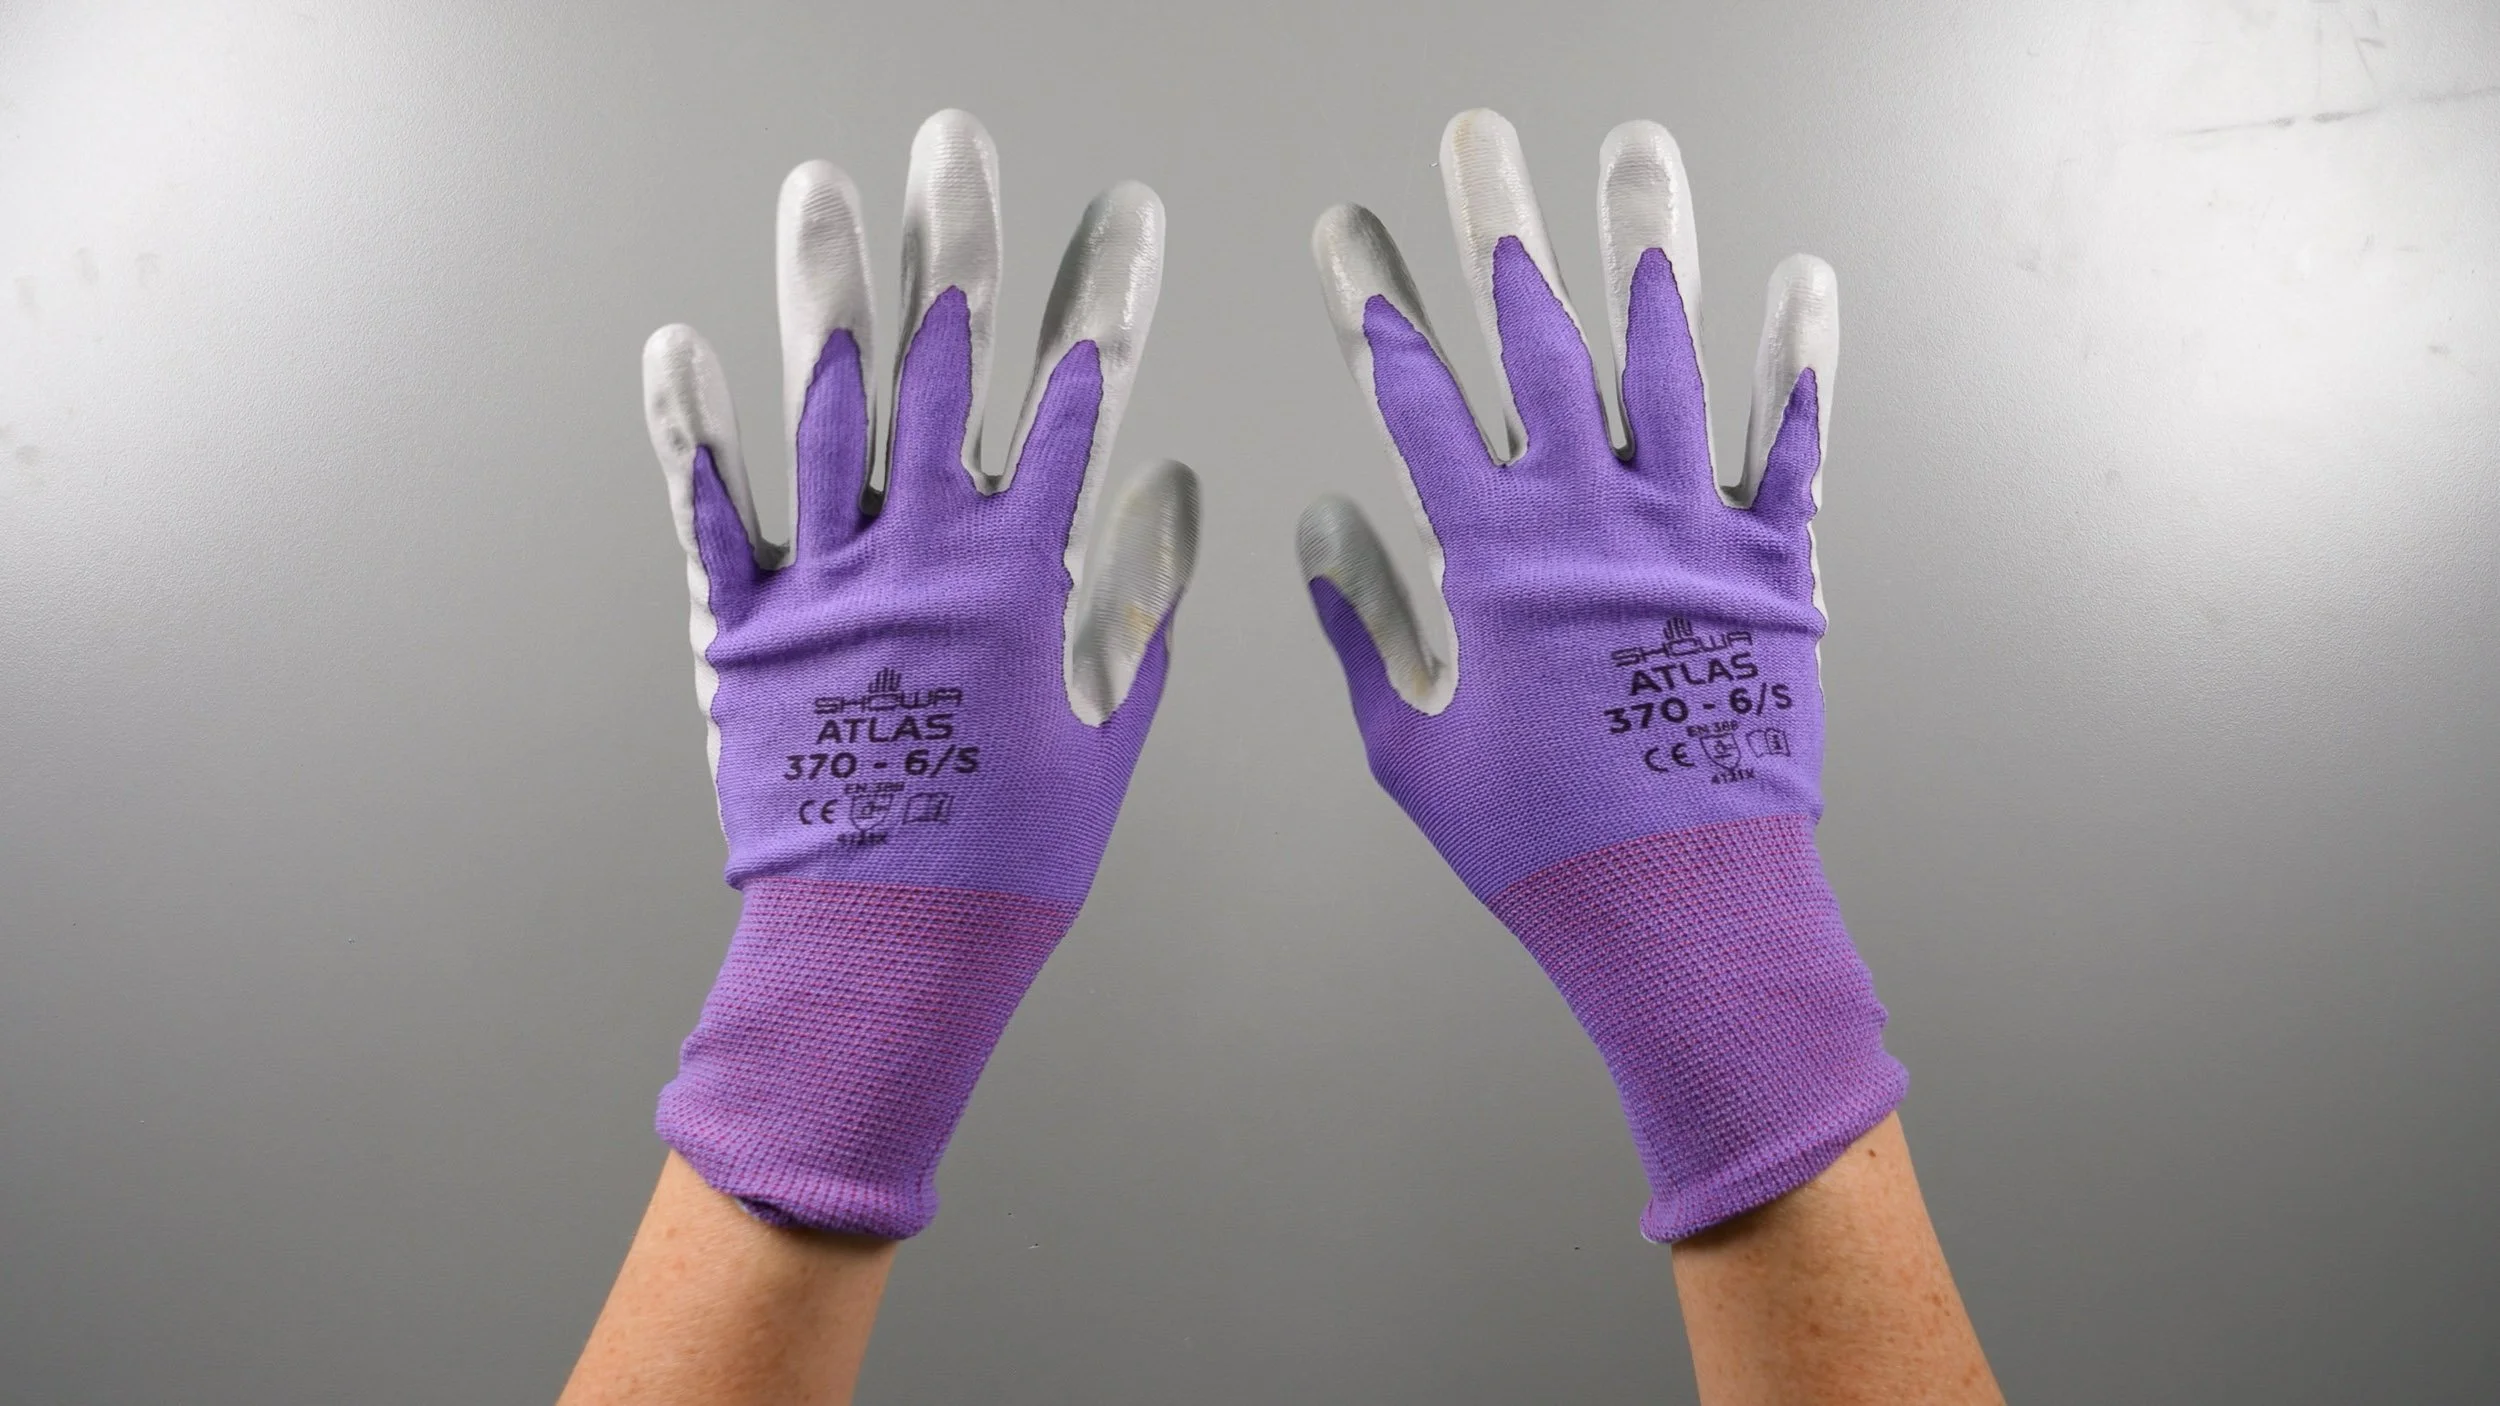
GLOVES
I wear Atlas gardening gloves while soldering because they have a lightly heat-resistant nitrile coating, and they come in a small size that actually fits my hands (ladies, why is that such an impossible quality to find??).
When working with patina or lead, I wear ~6mil disposable gloves.

SAFETY GOGGLES
I wear a simple pair of safety goggles I found on Amazon. I like that they’re strong, lightweight, and have side shields for full protection.

RESPIRATOR
I use a 3M respirator because it’s NIOSH-approved and adjustable so I can get it to fit my face exactly.
I use P100 fume cartridges (when working with patina/solder) and particulate cartridges (when abrading metals) with it because they’re also NIOSH-approved and used by pros in commercial industries like construction/painting/woodwork/etc.
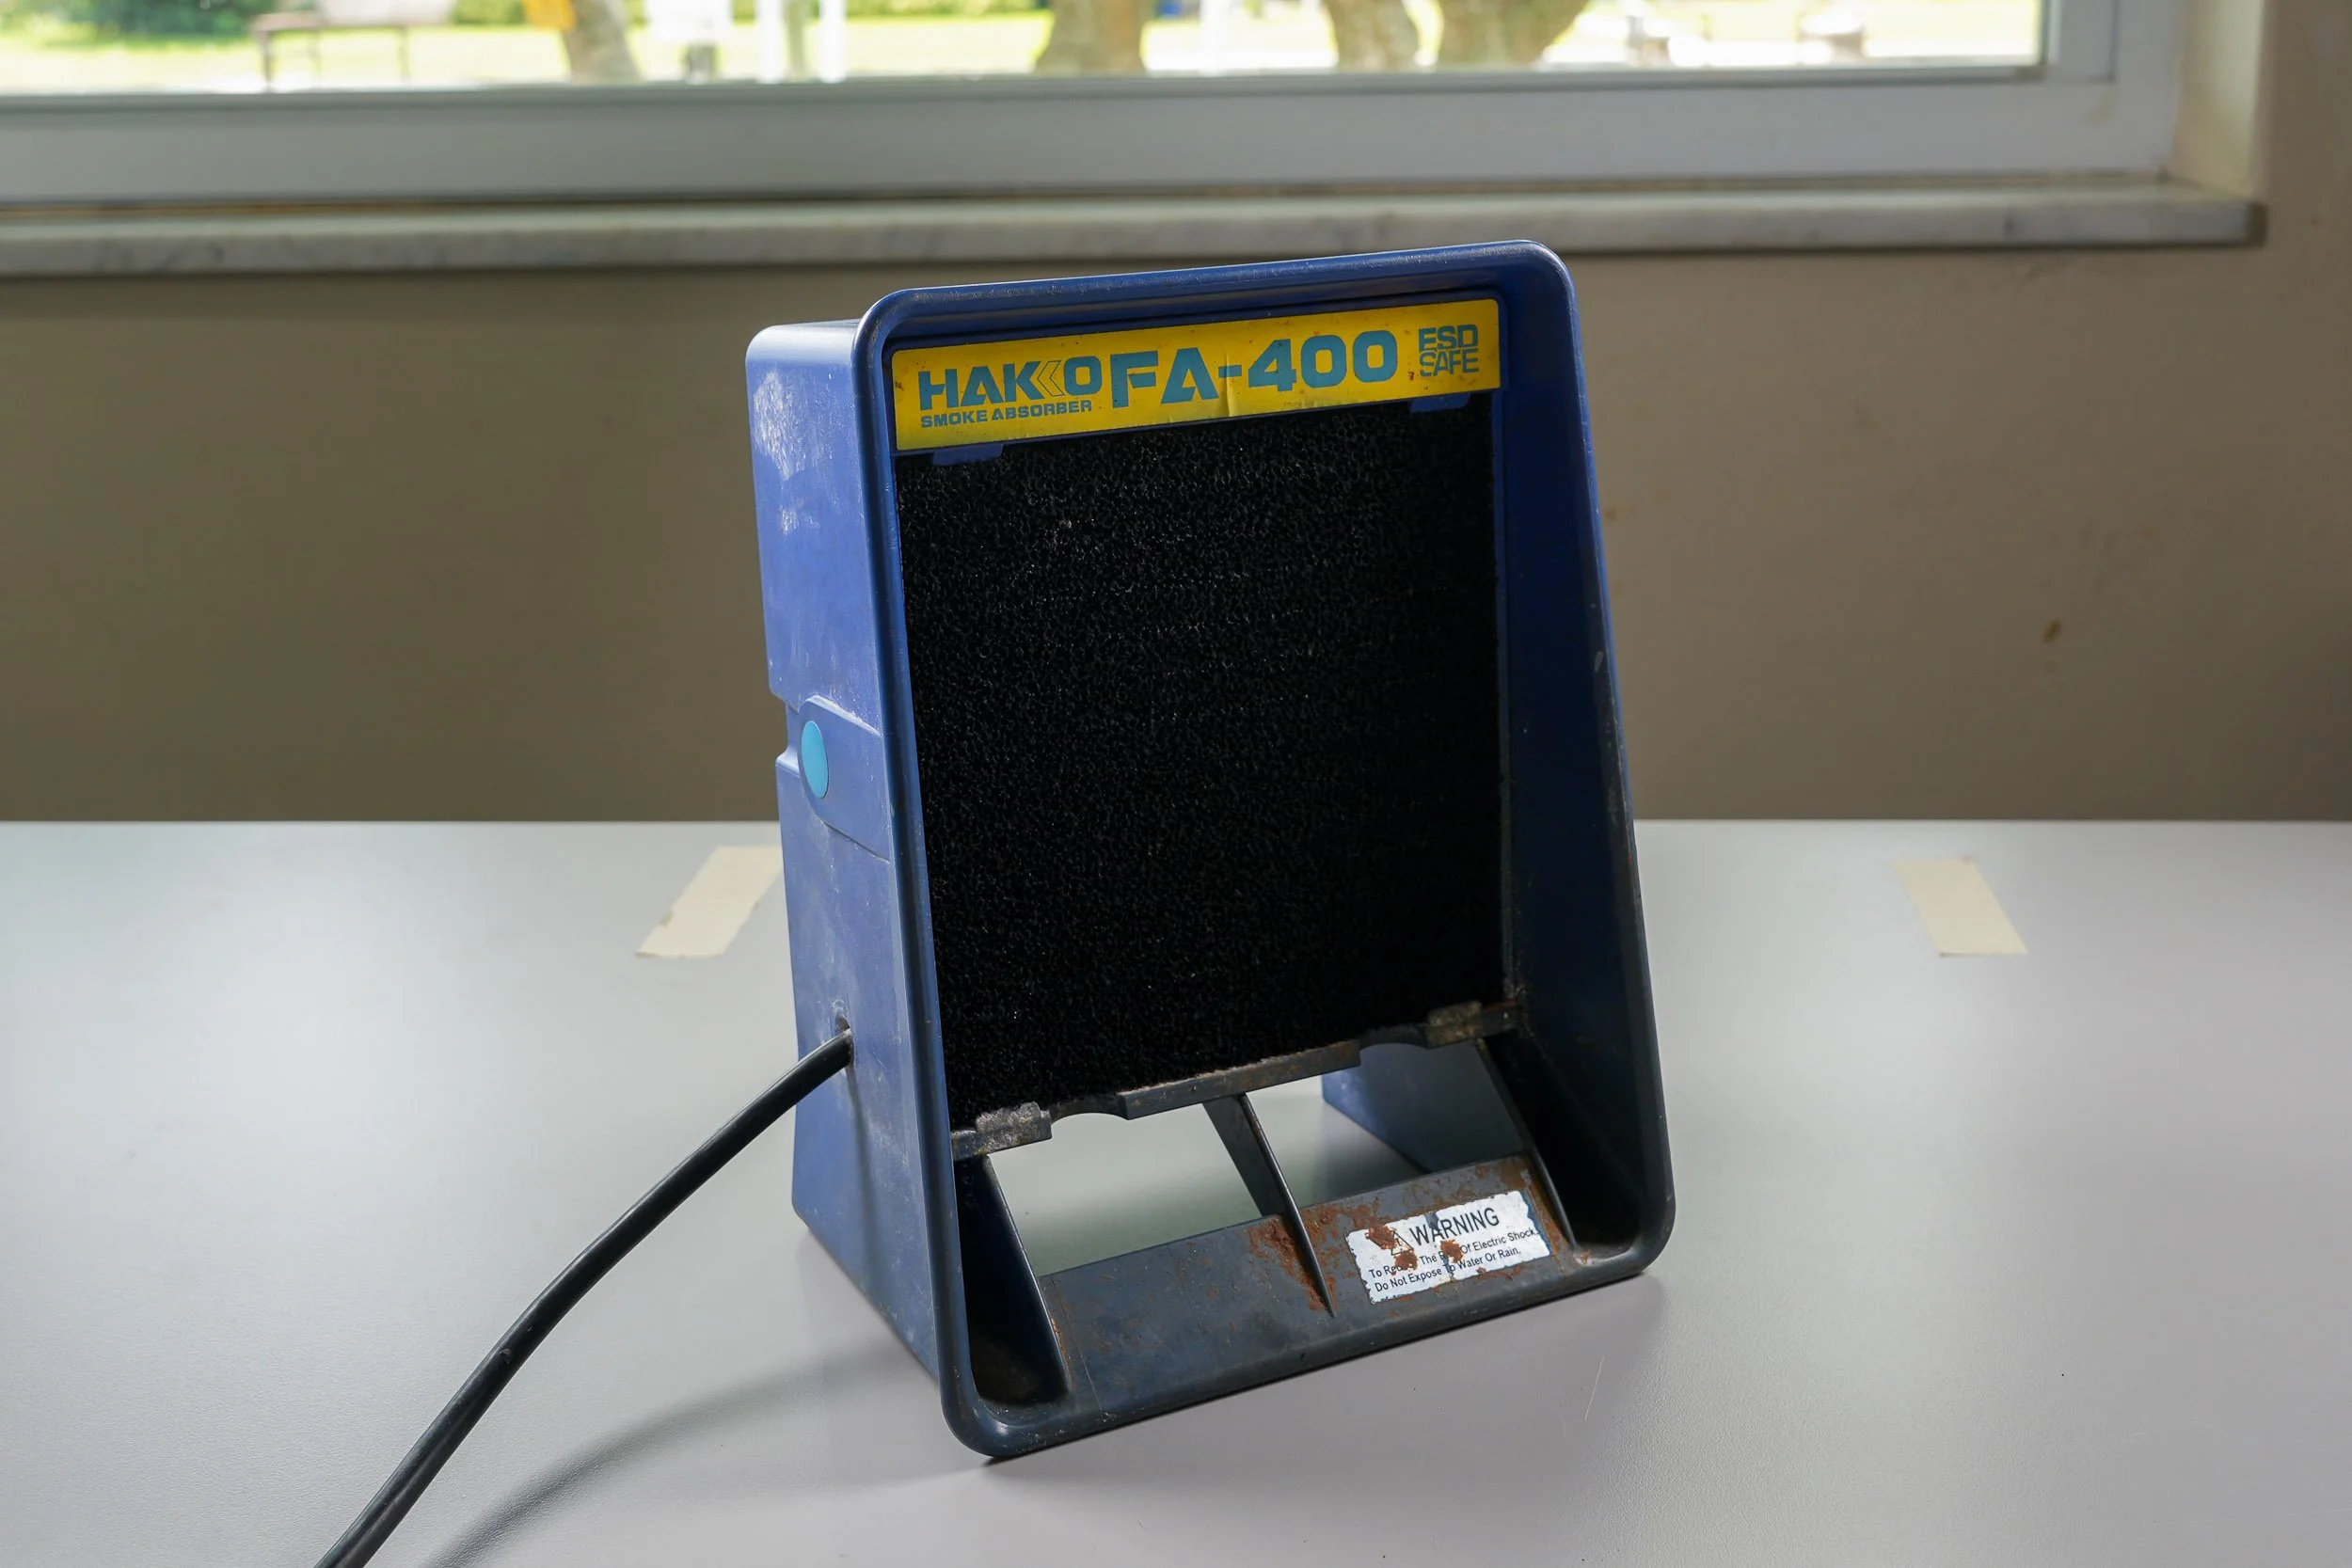
SMOKE ABSORBER
I use a Hakko smoke absorber every time I solder or use patina to filter out the resulting fumes and pull them away from my face.
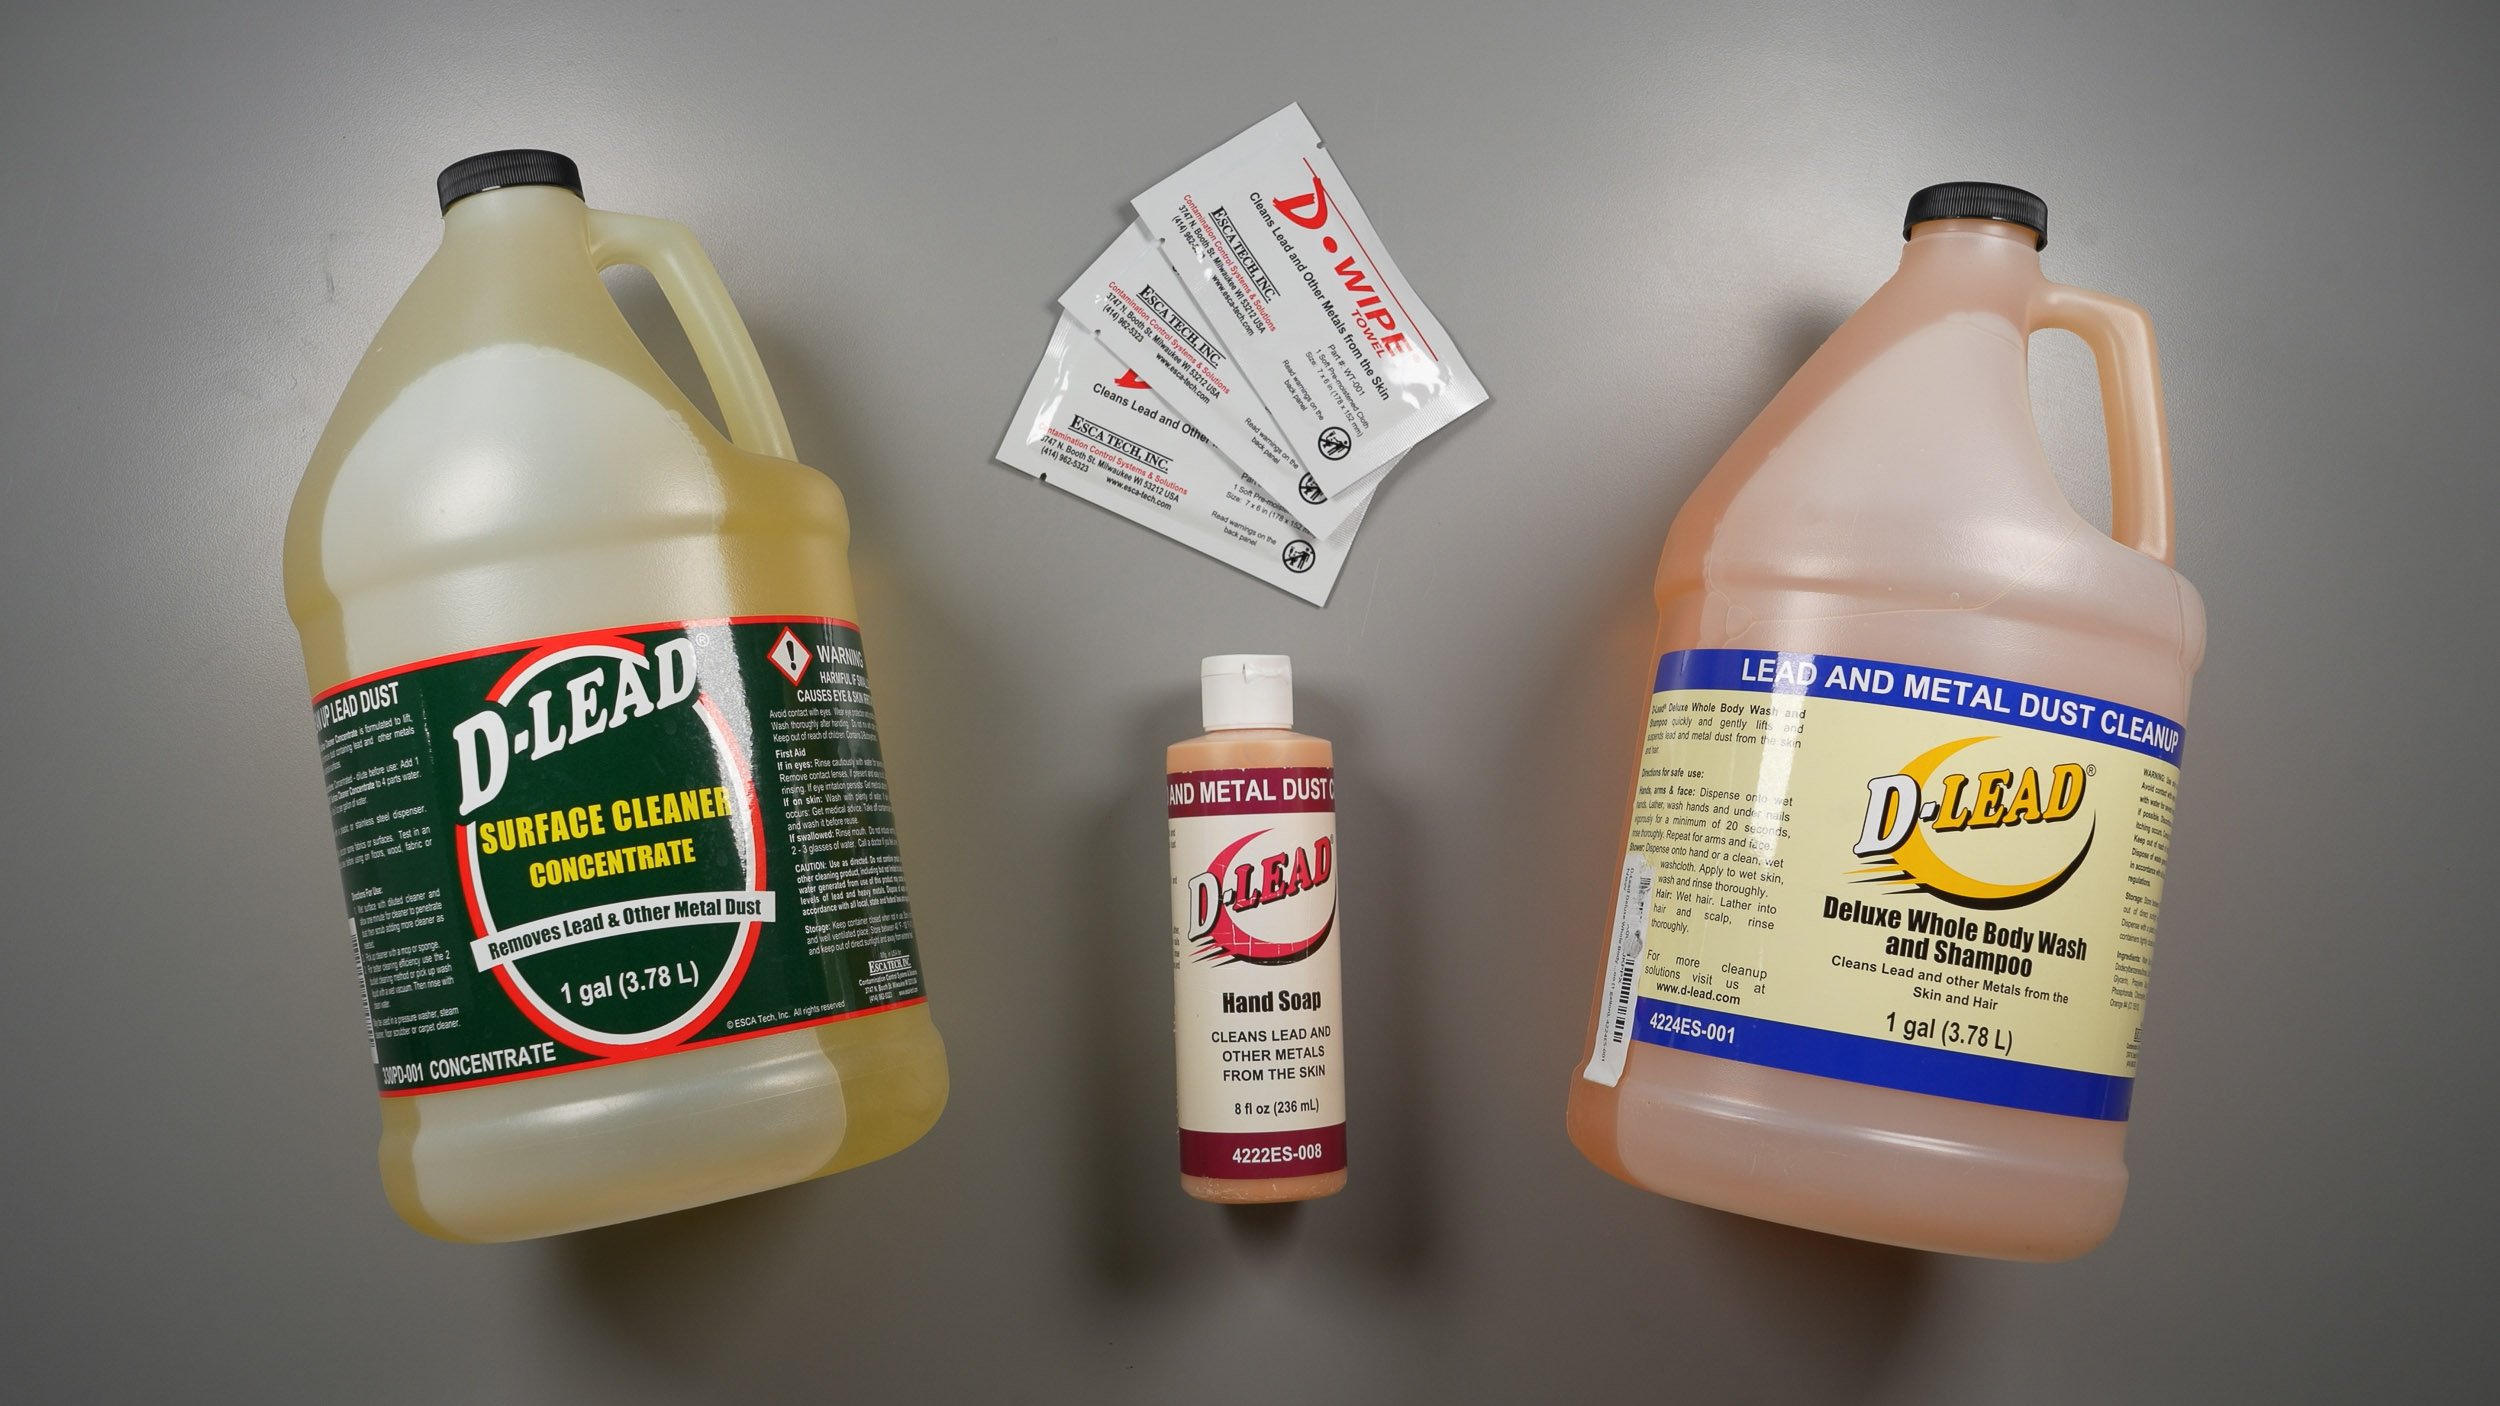
DE-LEADING AGENTS
Since I work with leaded solder and lead came, I use various de-leading agents to protect myself from lead ingestion while I work and to thoroughly clean my studio when finished.
For a more extensive explanation of lead risks and safety procedures, see my ‘Stained Glass Lead Safety’ Studio Journal entry.
Note that many of the above are links from my Amazon Affiliate Storefront, so if you purchase through them you’re supporting me (thank you!). However, if the exact product I use in my studio isn’t on Amazon, I’ve linked to where it is available instead of finding an Amazon alternative because I will never recommend a product or brand that I don’t truly believe in and use myself.
Don’t Be Late for Class!
Learned Something Valuable?
Say Thanks!
👋🏻 Hi! Your instructor, Jackie Knowles here!
Even though I put my heart, soul, and tons of time into creating this course,
I offer it completely free because I want everyone to have an easily accessible introduction
to this art form that I love so much…
…and I believe that creating makes people happy,
and happy people make the world a more fun place to live. 🌍
But if you find this course valuable, you can show me some love with a donation by clicking ‘Buy me a coffee’ ! I reinvest every cent I earn right back into my little biz so I can continue making better and better things for you!
Sharing this course with a friend or on socials is another great way to support my efforts!
If you use your newly-learned skills to make something awesome,
tag @GlassworkPixie to spread the word. 📢
