
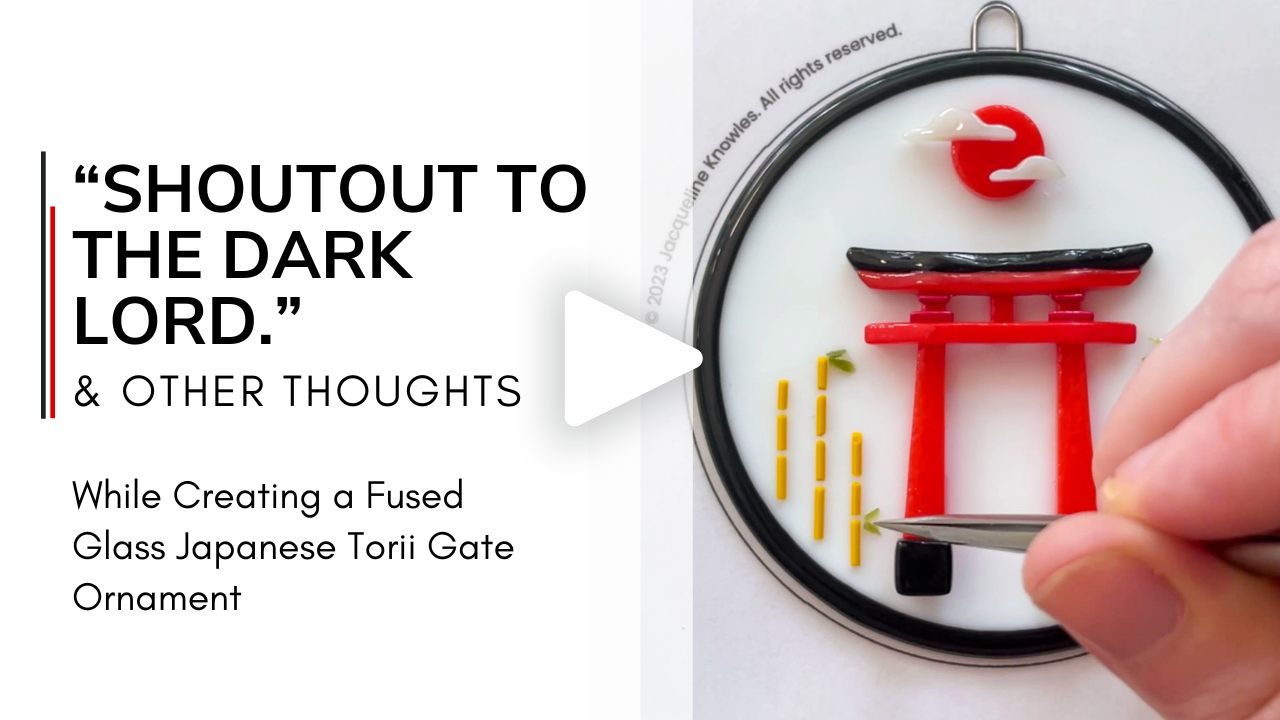
Building a Torii Gate Fused Glass Ornament
This entry picks up where my “Designing a Japanese-Inspired Fused Glass Ornament” entry left off. Start there if you’d like to understand the full creation of this piece from start to finish!
A stylized version of this ornament’s planned design
Laying the Base
To create a background for the torii to be fused onto, I cut and shaped a black ring to an exact 1/8” width (see this post to learn my technique for making these sorts of pieces), and then added a white circle that fit tightly within its center. I fused these pieces together at a full fuse firing schedule.
The black ring to be used as the ornament background border
The ring’s thickness is exactly 1/8”
The background ring and center circle, fit together pre-firing
Background piece, post-firing
I opened the kiln to an unfortunate unintended result: the post-fuse circle had shrunk by ~1/16" all around! When designing this piece, I foolishly forgot to take into account the “6mm rule.”
In paraphrase, the “6mm rule” dictates that the physical properties of glass are such that while melting, it tends to expand or contract (depending on its original thickness) to a final thickness of ~6mm.
Because my design was initially a single 3mm layer, it contracted during the firing process as it thickened toward 6mm, leaving it slightly smaller than my pattern had intended.
This alteration wasn’t ideal, but I mitigated it by decreasing the size of the remaining pattern pieces by the same percentage so they’d still fit onto the background in the same proportion as originally planned (this is an excellent use case for demonstrating how drawing patterns digitally instead of by hand can save tons of time and headaches).
Constructing the Torii

The type of torii I based my design on, built with “Daiwa” style structure.
Image credit: I, KENPEI, CC BY-SA 3.0, https://commons.wikimedia.org/w/index.php?curid=4599956
The central design element of this ornament is a Japanese torii gate, based on the “Daiwa” style shown here. The gate is topped by a black horizontal beam upon a red one (known as the kasagi and the shimaki, respectively). I wanted to stay true to the actual structure by ensuring that these beams came across as a single, cohesive piece as opposed to two separate entities.
In order to accomplish this, I fired these pieces together in a 3-step process before starting on the rest of the torii:
Step 1
I cut the individual red and black pieces and roughly ground them to shape, purposefully leaving them slightly larger than the pattern required.
Roughly shaped kasagi and shimaki pieces below the pattern depicting their final shape
Step 2
I combined these two pieces into one by kiln-firing them at a full fuse schedule.
Roughly shaped kasagi and shimaki pieces placed together, pre-firing
Kasagi and shimaki pieces post-firing, fused into a single segment
Step 3
I used a grinder to shape the fully fused piece to match the pattern as closely as possible.
Fully fused kasagi/shimaki beam shaped to fit the pattern
Once the combined kasagi/shimaki beam was finished, I cut and ground the remaining torii segments and glued them together to fit the pattern design. I then fired the entire structure at a contour fuse firing schedule because unlike the kasagi/shimaki beam (which I wanted to fuse into a single smooth piece with minimal texture), I wanted the rest of the torii elements to maintain a high level of detail and raised texture.
All torii segments glued together, pre-firing
Torii structure, post-firing, with unexpected and undesirable results
Aaaaaaand, that didn’t turn out quite right, did it? A few things went wrong during the firing process:
The kasagi/shimaki beam rolled upward and off of the bottom pillar pieces so it ended up fusing in such a way that the red portion completely covered the black portion, and the entire segment was positioned higher than intended.
The smaller horizontal beam support bits also shifted crookedly (likely as a result of the kasagi/shimaki beam rolling upward).
The edges of the entire gate softened more than I wanted, especially considering it would eventually need to be re-fired in order to be fused to the background.
Taking note of what went wrong, I tweaked my strategy and started a new gate from scratch.
Note that I chose to build the torii and other design elements separate from the background piece, and then fuse them all onto the background at the very end, after all the individual elements were finished.
This way, if one of the design elements went awry during fusing, I could modify that individual element without needing to redo the entire background piece.
(obviously a prescient move, considering this failed fusing attempt)
This time I made several adjustments to my construction strategy:
I de-intensified the firing schedule from a contour fuse to a tack fuse to maintain sharper edges.
I used 2mm stringers to create the four very small horizontal beam supports instead of sheet glass to create a more evenly spaced, symmetrical result, and to give them some added roundness that differentiated them from the rest of the torii. I used a grinder to flatten the backsides of these stringers to minimize the likelihood of their rolling during firing.
I extended the length of the vertical segments to very near the outer edges of the horizontal ones to decrease the chances of the horizontal beams rolling off of them.
I tack fused the horizontal beam sections together before tack fusing them again to the vertical segments to further decrease the chances of any single individual segment shifting on its own.
Horizontal beam segments, post tack fusing
All torii segments glued together, pre-firing
Backside of all torii segments glued together, pre-firing
The resulting fused piece wasn’t quite perfect (the top kasagi/shimaki beam curved about the lower vertical pillars more than I liked, and the spacing between the tiny horizontal bits wasn’t perfectly symmetrical), but overall it was close enough to move forward with (and an unquestionable improvement over the first attempt!).
Entire torii gate structure, post-firing
Sprouting Bamboo
Referring back to my sample tests, I created bamboo stalks via the delicate process of sifting through various shades of green frit for the perfect leafy bits. I glued them to the base layer along with the torii gate and clouded moon elements in preparation for the ornament’s final fuse.
All ornament details glued in place, ready for the final firing
Finishing Up…Or Just Getting Started?
I contour fused the entire ornament, aiming to keep as much texture and detail as possible while ensuring all the elements were solidly fused in place. Upon removing it from the kiln, I was done! …or was I?
Torii gate ornament, post-firing
I really liked how the moon and torii turned out, but the bamboo just wasn’t reading quite right. I knew it was supposed to depict a bamboo forest, but I wasn’t sure that someone viewing it for the first time would immediately understand that.
Since the client knew the context of the piece, I was sure they’d recognize the bamboo and be happy with the ornament as it was, but I just can’t bring myself to sell work that isn’t the absolute best quality I can possibly produce. I’d have always wondered if I could have done better.
Even though it meant doubling the time and materials (bye, bye, any potential profit!) I decided to redo the entire thing.
Reworking the Greenery
Since I was happy with the majority of design elements in the first version, I only made two significant changes to the second iteration:
I updated my original pattern to correctly account for the “6mm rule” (increasing the size of the black and white background by ~1/16”) to ensure this version ended up the exact size I’d initially intended.
I created the bamboo stalks with 1mm stringers instead of sheet glass bits to create a slimmer, more consistent look that would hopefully read more realistically as bamboo.
I created a test sample to preview different stringer colors before deciding which to use in the final piece.
Bamboo stringer sample test, pre-firing
Bamboo stringer sample test, post-firing
Since stringers are round and prone to rolling during firing, I ground one of its sides to flatten it before nipping it into several small bamboo-sized segments.
Second iteration of the torii gate ornament, pre-firing
Admiring the Final Fuse
When I pulled the second iteration from the kiln, I was relieved to see that the effort of redoing this piece was totally worth it. Both the torii gate and the bamboo had significant improvements over their predecessors, and there was no question of the bamboo being misinterpreted this time.
Upon receiving this piece, the client was thrilled and left a very thoughtful review to show it, which is always the ideal way to wrap up a commission!
Client review of their Torii Gate ornament commission
Related Studio Journal Entries
Related Thoughts
A friendly reminder that I share details of my creation processes with the intent of empowering people with knowledge and techniques that may help them reach their full creative potential, not with the intent of enabling other artists to recreate my pieces. All of my designs are protected by copyright and are illegal to reproduce, reuse, or republish without my permission under any circumstances.